Guides & Tutorials
Netlify pro tip: Using Split Testing to power private beta releases
Sometimes it can be useful to give your users early access to a new feature of part of your site or application. We often think of this kind of access as a “private beta”. We do this regularly at Netlify when preparing to launch a new feature and when we want to get it into the hands of some enthusiastic beta testers or early adopters.
Typically this entails advertising the details of the new feature to a set of users, and giving them the ability to opt in to the beta via a suitably informative page.
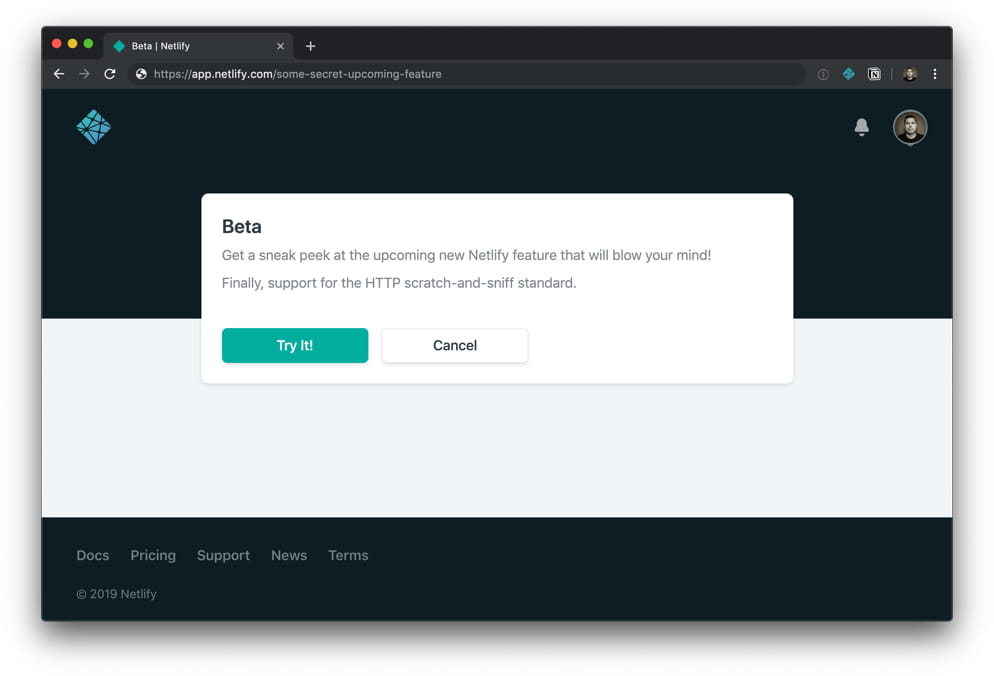
Here’s one which is similar, but not quite identical, to the opt-in for an upcoming Netlify release:

Netli-ception
This is yet another example of Netlify using Netlify to build Netlify! We dogfood our product very eagerly. Often this leads us to discover crafty little hacks and uses for our own tools. This tip came about exactly that way.
Making your own opt-in beta testing UI, and then serving new features just to those invited users is far more straight-forward than you might expect, thanks to the way that the Netlify Split Testing feature works.
In this post, I’ll explain how to create your own opt-in for a private beta. You could use this with any type of site you like, regardless of what tools or static site generator you used to create it. The example in the video below was a site created with Hugo, but it could be anything. I also use it regularly with sites made with Gatsby or Eleventy.
If you’d prefer to watch a video rather than read the details, you can watch the short explanation and demonstration in the video below. Or for a little more info, and some code snippets, read on.
Creating your beta
Before you can give users the chance to opt-in to trying your new beta functionality, you need to build and deploy it. (In my little example above, I chose to test out a version of a site which had a new colour theme – just for the sake of an obvious illustration.)
But how to deploy multiple versions of your site? This is where Git branches come to the rescue!
Netlify can build all of your branches and serve them on dedicated URLs. Creating a feature branch for your new beta and having Netlify’s continuous deployment pipeline build and host it for you gives you an addressable version of your site with its new features.
Netlify’s Split Testing feature uses your deployed branches to power different variants of your sites as part of multi-variant tests. If you’ve not explored this before, it’s worth checking out my previous article and video about A/B testing on Netlify. (tl;dr: You can invisibly shape your site traffic across any of your branch builds right at the CDN, with no loss of performance).

Giving the user control to opt in and out
Hosting the beta feature is taken care of by a branch build. And the split testing feature can provide users with access to different branch builds invisibly (that is, all from the same production URL).
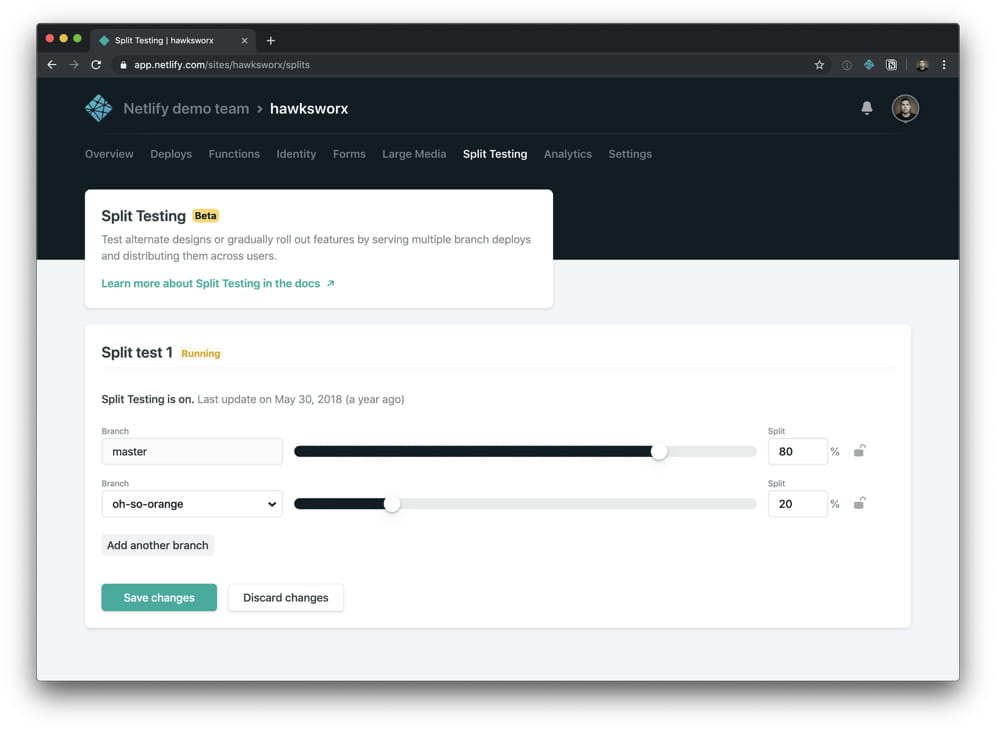
By creating a split test which divides traffic between your production branch (usually master) and your beta branch (which I called “oh-so-orange” in my example), but then configuring the traffic shaping to direct 100% of the traffic to the production branch, you’ll take the element of chance out of determining which version your users see. Everyone will see your production version, unless they explicitly opt-in to be served from the beta branch.
And we have a mechanism to allow them to do that.
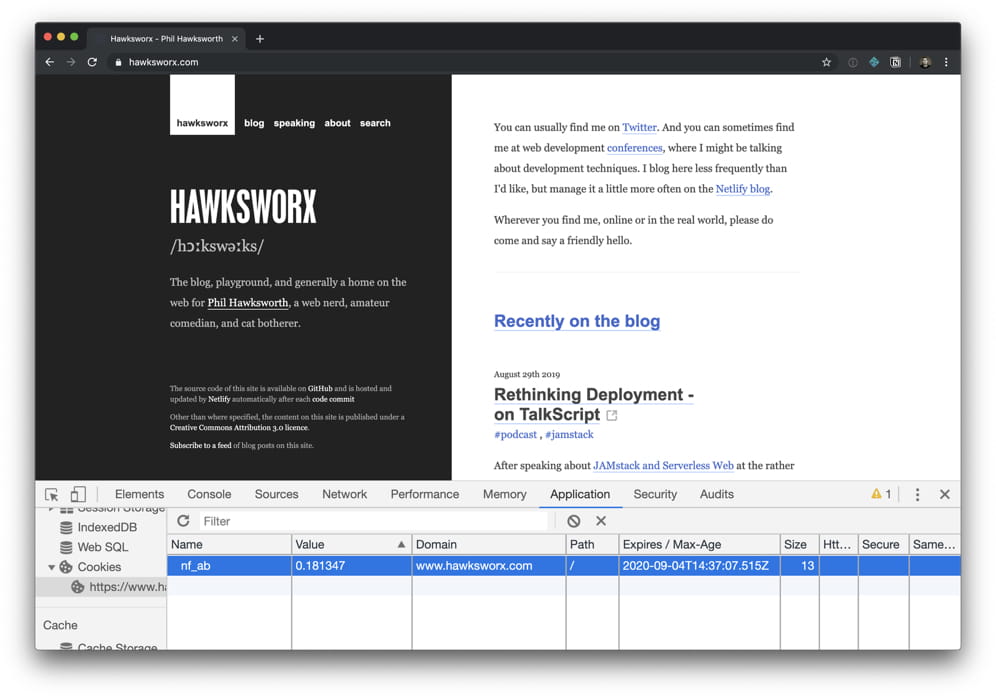
Netlify split testing allocates visitors to the different available branches by setting a cookie in their browser. This cookie, called nf_ab, is set by the Netlify CDN when a user visits a site with an active split test. It contains a random floating point number between 0 and 1.
Here’s the cookie added by the Netlify CDN when I visit my own site:

That numeric value was randomly generated and will persist in the user’s browser until it expires, or until the spit test is terminated. The value of the cookie will determine which branch services the user’s request. It corresponds to the weighting of each branch participating in the split test.
For example, if we had a test running across 3 branches with these weightings:
- master: 50%
- test-branch-1: 20%
- test-branch-2: 30%
…then the users with a cookie value between 0.0 and 0.50 would be served by master. Those with values between 0.50 and 0.70 would be served by test-branch-1. And those with a value of 0.70 to 1.0 would be served by test-branch-2.
Using a cookie in this way ensures that all users have affinity with the branch they were randomly allocated. That avoids getting a mixed experience across different branches in subsequent visits.
But cleverly, the cookie doesn’t only support a numeric value. It can also hold a string. This lets us set it with the name of a branch.
This crafty technical design decision means that setting the value of a cookie via a user interaction in the browser, will have the effect of nominating a specific branch to use. Even if that branch is set to receive 0% of the traffic in a split test.
Providing a UI
It’s important to know what you are getting yourself into when you opt in to a private beta, so it is good form to provide a page which describes what the beta will include. This can live on a page within your site with a convenient URL for you to share with those whom you’d like to invite to participate.
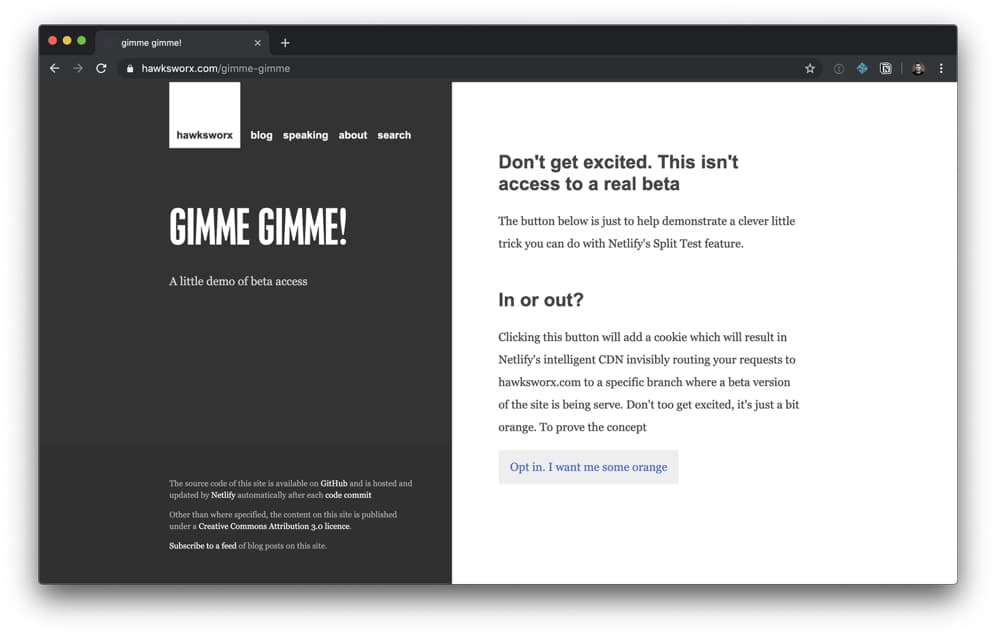
My own site, which I used as the example in the video above, has evolved a little since the time of recording, but that invite URL lives on. These days, it looks like this:

You can go to this opt-in page and give it a try.
The button which users can click to opt in uses JavaScript to do 2 things:
- It sets the
nf_abcookie to hold the name of the branch serving the private beta (“oh-so-orange” in this example) - It reloads the page, causing Netlify’s intelligent CDN (which, more accurately, we call our Application Delivery Network or ADN) to now service requests according to the branch specified by the cookie.
This requires only a few lines of client-side JavaScript which looks something like this:
// a little helper for handling click events
function buttonHandler(selector, callback) {
  var btn = document.querySelector(selector);
  if(!btn) { return; }
  btn.addEventListener('click', function(event) {
    event.preventDefault();
    callback();
  }, false);
}

// Set a cookie to opt in to the beta
buttonHandler('#btn-opt-in', function(){

  // set the cookie with the name of the branch of our private beta for 1 year
  var now = new Date();
  var expires = now.getTime() + 1000 * 3600 * 24 * 365;
  now.setTime(expires);
  document.cookie = `nf_ab=oh-so-orange; expires=${ now.toUTCString() }`;

  // reload the page to pick up the new option
  // (forcing the browser to re-request it, rather than serving from browser cache)
  window.location.reload(true);

});
Where this link exists in the HTML for the user to interact with:
<a href="#" id="btn-opt-in">
  Opt me in to the private beta please!
</a>
Let me out!
I also like to make it easy for the user to opt out again. A good convention is to use the exact same URL in the beta branch to serve a link which resets the user back to the default production branch. In this way, people can return to one page in your site to toggle their participation in and out of the beta.
You can try it here: https://hawksworx.com/gimme-gimme
Opting out is as simple as clearing the cookie which is specifying the beta branch. Another few lines of JavaScript can do that for us:
// Clear the cookie to opt out of the beta
btnHandler('#btn-opt-out', function(){

  // clear and expire the cookie.
  document.cookie = "nf_ab=;expires=Thu, 01 Jan 1970 00:00:01 GMT;";

  // reload the page to pick up the new option
  window.location.reload(true);

});
From obscurity to security
When we enable branch builds, Netlify will serve them on a URL containing the branch name. This is the URL convention:
https://{BRANCH-NAME}--{SITE-NAME}.netlify.com
If you are using a custom domain, you can also configure things to use a subdomain for each branch.
This is great, and very helpful for using branches as testing, staging, or feature branches. But if are using the branch builds for our private betas, we might not want somebody to circumvent the invitation or opt-in process by directly visiting the URL for the beta branch. (Assuming that they could guess or somehow discover the name of this branch).
We can add a safeguard to prevent anybody from accessing the beta branch directly by visiting its URL. For this we’ll use Netlify’s Redirects API which also operates directly on the Netlify ADN.
A couple of redirect rules can ensure that any visits to the beta branch will be redirected elsewhere. The only way to access the content of that branch will be if it is served via our split test and opt in. Here’s what the redirects would look like. They live in the beta branch in Netlify’s configuration file: netlify.toml :
[[redirects]]
  from = "https://a-branch-deploy--example.netlify.com"
  to = "https://example.com:"
  status = 301
  force = true

[[redirects]]
  from = "https://a-branch-deploy--example.netlify.com/*"
  to = "https://example.com/:splat"
  status = 301
  force = true
With rules like these in place, there’s no more direct access to my “oh-so-orange” private beta branch.
Try it 👉 https://oh-so-orange--hawksworx.netlify.com/
Server-side, but without the server
This approach to providing opt-in beta access is another example of the advantages you begin to enjoy when you build atop of a git model, and pre-generate your sites. Very much a core tenet of the JAMstack approach to building modern web sites.
By generating each variant of our site at build time, and serving each one as a collection of static assets directly form a CDN, each one enjoys the same performance profile as the production site. No client-side logic is involved to render different variants. Our only client-side logic is in our code which allows the user to nominate to access a particular branch from that point forward. Everything else is performed automatically for us on the CDN.
No server to maintain. No infrastructure to manage.
If you find more creative ways to make use of branch deploys, or split tests on Netlify, I’d love to hear about them.
Please do share them, or your questions about this technique in the Netlify community forum.
Resources
Where to go from here?


