Guides & Tutorials
Building an Angular Jamstack App with Scully
Angular finally has a static site generator!! 🎉 Thanks to the team at HeroDevs we now have Scully to pre-render our Angular applications. You can learn more about it in our Scully announcement post. HeroDevs just had a live demo of their alpha release and I wanted to give you a companion code resource to cover everything that they announced.
Today we'll:
- use Scully to pre-render an existing Angular app into static HTML pages
- rely on a JSON plugin to feed user information to render pages
- use Scully's routes service to display all our active routes as links
- create a blog and post with Scully's generate schematics
- deploy the whole kit and caboodle using Netlify
🚨ALPHA ALERT: Just a reminder this is the alpha release of Scully so it's a WIP that is very open to any feedback & help for any bugs you find or features you'd love. The HeroDev team is shooting for a beta release at the end of January 2020. Also, as of this publication Scully only supports v9 of Angular (v8 support on the way). Here's a post to guide you through updating to v9.
Words, words, words, let's code!
Static Sites with Scully
We're starting with a simple Angular app (here is the repo) that has 3 views you can route to: About, Home and Users. Right now if we build and serve this application just using Angular it will ship with some handy but heavy files. Today we want to keep it light and fast so we'll use Scully to pre-render our app out into HTML files that don't even need JavaScript.
Scully in Action
Scully can be installed and setup in our application using Angular schematics. The first step is to run the ng add command which will install dependencies needed, add a Scully config file (scully.config.js), and add some code to your existing files. When you run the command it will log out what it's doing (pictured below) but you can also check out the commit to our project repo to see what has changed.
ng add @scullyio/init

Scully uses a built project to find the routes created and crawl the app to render everything into HTML files. So, before running Scully we'll need to build using ng build (we can also run build using the configuration flag ng build --prod).
ng build && npm run scully
Since we'll have to build and run Scully each time changes are made, I made a build script in the project's package.json file:
"scripts": {
  "scully-build": "ng build --prod && npm run scully"
}
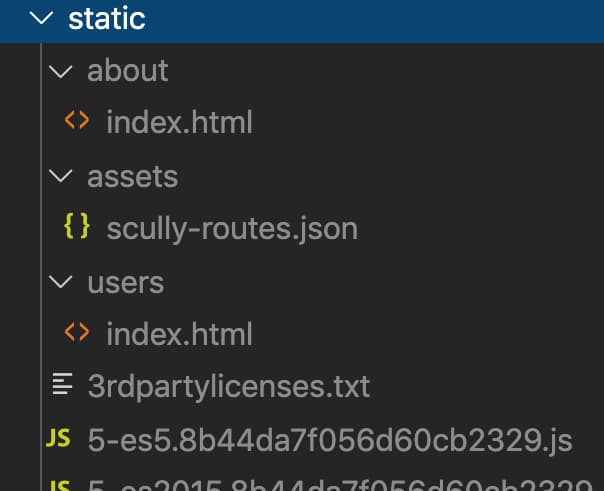
When we run ng build a compiled project is put into dist/<project name>. Now, when running npm run scully we'll find another folder in dist called static. Guess what's in there! That's right a bunch of static HTML files inside aptly named folders along with some JavaScript and asset files.


That's right, three commands and we have generated a stellar, static app 👩🏾💻✨.
Serving Scully
To take a look at what has been created we can use the Scully command to serve up our static files.
npm run scully serve
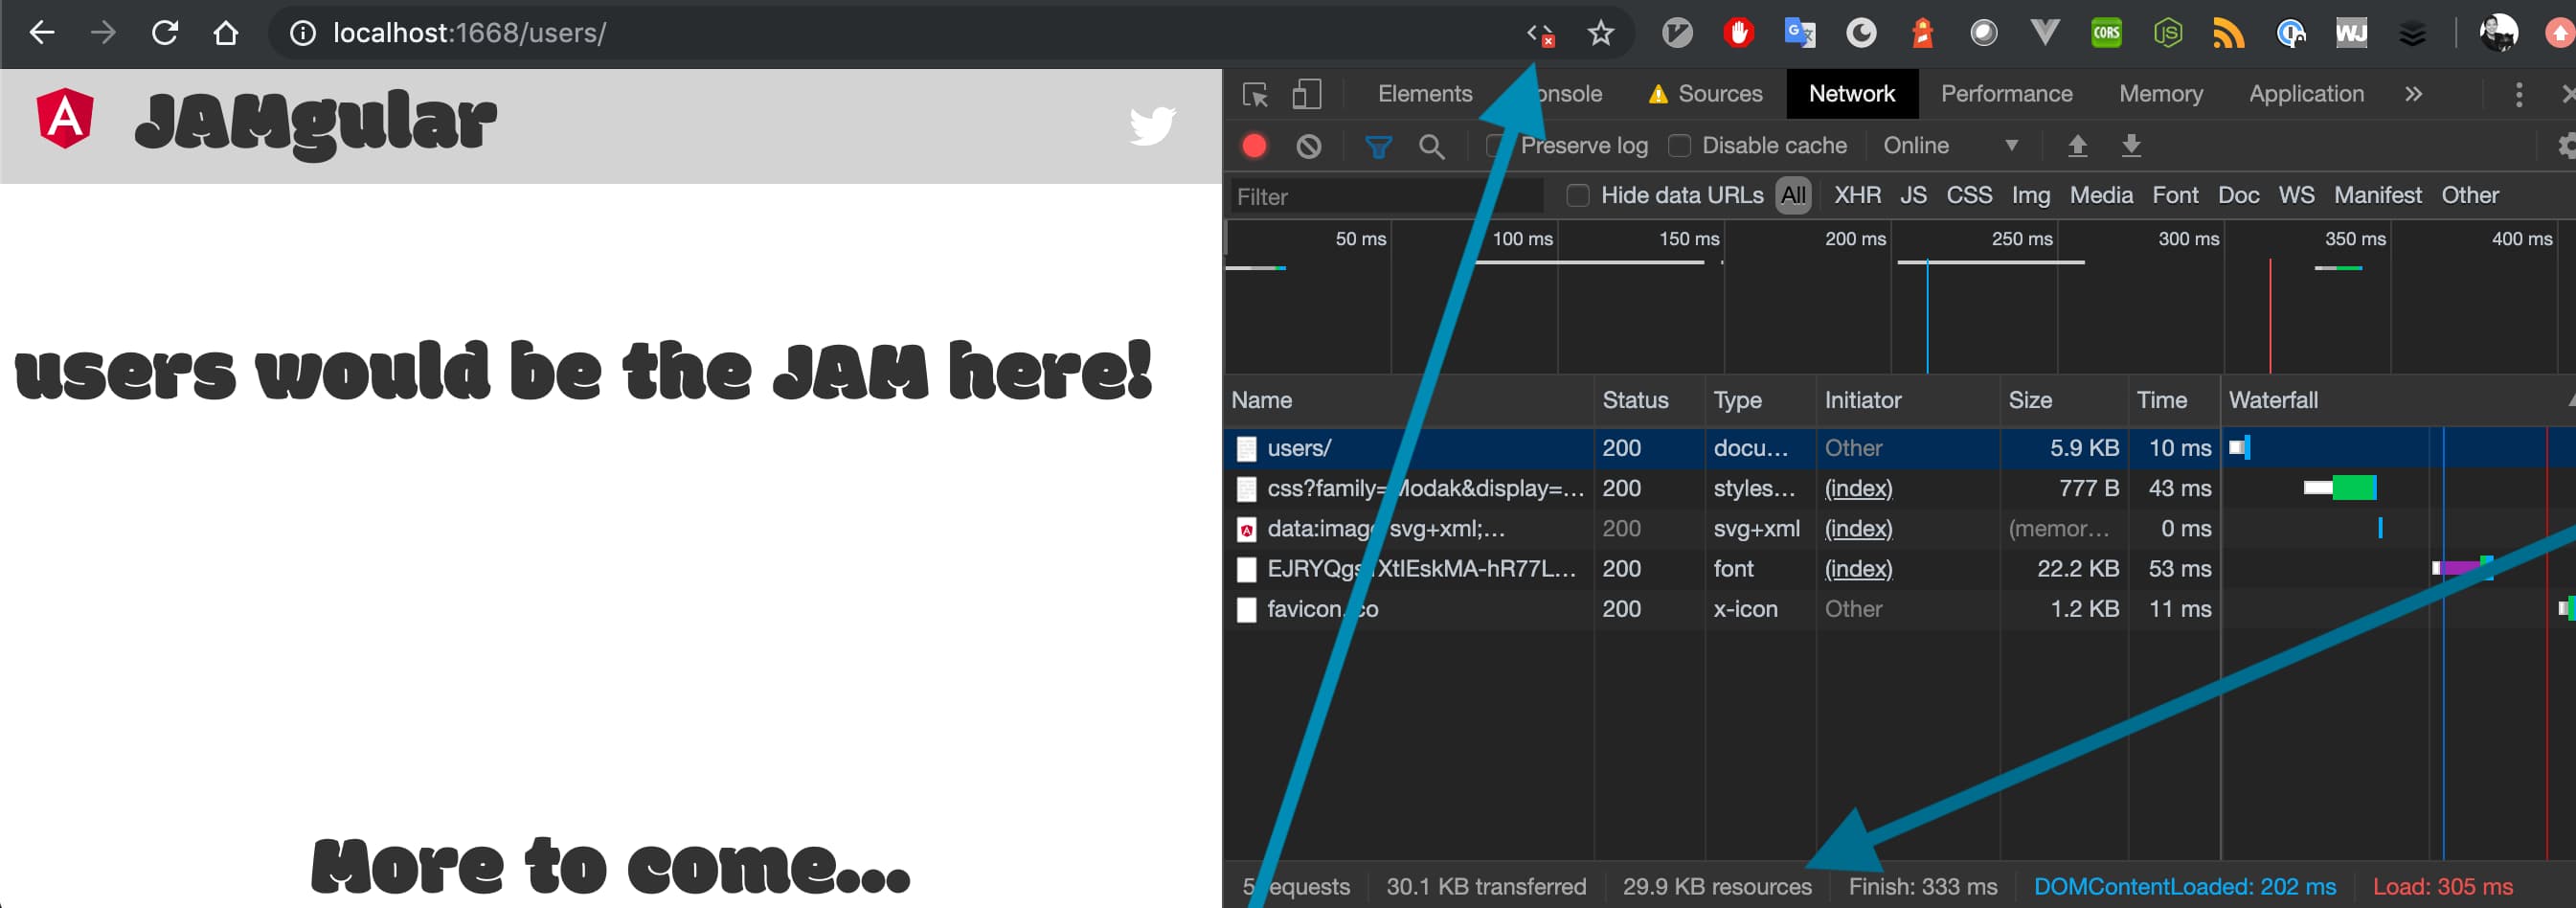
Heading over to localhost:1668 we can see we have all of the pages loading perfectly. We can even use the browser tools to disable JavaScript, reload and see everything still works! You've heard it here first, the world did not burn if JavaScript was disabled 😉.
While we're in the dev tools we can also look at what was served and see that our app only sent out 30.1kb of data. To be clear 22.2KB of that was my unnecessary font, BUT look how sweet it is. So, without a bloated font we would have only transferred 7.9KB!
📣 This app served regularly via Angular uses 9.3MB of resources and using Scully and leaving behind unnecessary JS files can bring us down to under 10KB!

That is the core functionality of Scully, helping you quickly create a static site from your Angular app, just using the Angular you know so well. BUT WAIT...there's more!
Plug it in, Plug it in
As you may have heard, we are big fans of plugins here at Netlify and Scully has incorporated a plugin system to help add data to your apps. The app we're using has a user route that takes a user id in the path to render a specific user page (e.g. localhost:4200/user/1 will show user 1's information on the page). Here's the commit to show you how that is working.
We can't use Angular's dynamic routing to render this page in our static app, but there's a plugin for that! In the scully.config.js file add the plugin information to the /user/:userId route in the routes object.
exports.config = {
  projectRoot: "./src/app",
  routes: {
    "/user/:userId": {
      type: "json",
      userId: {
        url: "https://jsonplaceholder.typicode.com/users",
        property: "id"
      }
    }
  }
};
This is basically saying when you hit this route, /user/:userId, use this plugin of type JSON. To fill the userId look at this url (which is just a JSON list of 10 users the HeroDev team made for the demo). In the JSON list look for the property id and use it for userId. These are the ids Scully will use to render the HTML files when it crawls the app.
Now when we run
npm run scully-build && npm run scully serve
we can head to localhost:1668/user/2 and see a view with user 2's information. If we take a peek into the dist/static folder we'll see a folder for each user that was in the JSON list. It's easy to see how this could be a great strategy for an e-commerce site that wants to generate a page for each product in a list.
Typing is Hard
If I've learned anything from writing code it's that typing is hard. We've been hitting these routes via the address bar but Scully has an easy way to get all the available routes: ScullyRoutesService. We'll use it to turn each route into a clickable link inside the footer.
First, we'll open the main app.component.ts file and import it up top then assign the ScullyRoutesService to scully.
import { IdleMonitorService, ScullyRoutesService } from "@scullyio/ng-lib";
...
export class AppComponent {
  constructor(
    private idle: IdleMonitorService,
    public scully: ScullyRoutesService
  ) {}
Inside of the view file for the main page, app.component.html, we'll add an ngFor loop to go through all the routes and assign them to a routerLink. Inside the <a> tag we'll either display the route title if it has one or default to displaying the route.
<ul <li *ngFor="”let" route of scully.available$ | async”>
  <a [routerLink]="”route.route”">{% raw %}{{route.title || route.route}}{% endraw %}</a>
</ul>

Isn't that special. You can check out this commit to see the changes we made.
Blog Inception
Ok, ready to get meta? We're going to write a blog post IN this blog post 🙉. Such wild lives we lead! Back to it, Scully gives us the ability to create a blog by running an Angular generate schematic.
ng g @scullyio/blog
This command will generate the blog module, routing, and create a sample markdown file. Yes, a markdown file! Scully will render your markdown files into static HTML files at build time.

Run npm run scully-build now to see the blog post added to the src/app/dist/static folder. This is so exciting I think we should write a blog post about it and I have just the thing.
ng g @scullyio/init:post --name="You Can Make a Markdown Blog in Angular!"
As you may have gathered, you brilliant person, this is another generate command from Scully. It takes the name you pass in and creates a markdown file like the one created when generating a blog. Both of these files have a section for front matter that looks like this:

Once we have written about this momentous occasion we can just run the command npm run scully because Angular doesn't do anything with this markdown. This will actually only work for you when using Scully to make a static site. Angular doesn't currently understand Markdown, so if you tried to navigate to this site via Angular app routing you would get an error.
If we look at out page now we can see the blog post we created is added as a link and the markdown content is now in there as HTML. Oh, what a world we live in!

Time to Put These Files Out There 🛸
Finally, we can show the world what we've created. Netlify has a few super simple ways to get this content out there. In no particular order:
- Drag and drop the
app/src/dist/staticfolder using our UI on your team sites page - Head over to the your team sites page click the 'New Site from Git' button and use the build command we created that runs
ng build --prod && npm run scully, then set the project directory todist/static - Use the Netlify CLI tool, run
npm initfrom your project directory and set the same information as the step above (or put that information in a Netlify config file).
That's all there is to it!
What Just Happened?
Just in case your memory has gotten wiped after a close encounter of the third kind here's what you would need to do to pre-render and deploy your existing Angular site:
ng build --prod &&
ng add @scullyio/init &&
npm run scully &&
echo "[build]
  command = \"ng build --prod && npm run scully\"
  publish = \"dist/static\"" > "netlify.toml" &&
netlify deploy
We also talked about:
- using Scully to serve your static content locally (
npm run scully serve) - using plugins to pull in data (via
scully.config.js) - getting all the active routes in your app (with
ScullyRoutesService) - creating a blog with posts (
ng g @scullyio/init: blog&ng g @scullyio/init:post --name="Here I Come JAMstack ♥️ ANgular")
If you want to see this in team stream form, check out my coding session with my awesome teammate, Jason Lengstorf, on Learn with Jason.
We've accomplished a lot today. I hereby declare that we deserve a nap. How can we nap though with all the possibilities of how we can create some pretty dynamic apps from this new static content and the JAMstack ecosystem?! Please share your apps with us at @Netlify, we're stoked to see what you create. Happy coding!


