Guides & Tutorials
Let’s Learn Eleventy! Boost your Jamstack skills with 11ty
There’s been a lot of buzz about the static site generator Eleventy recently, and for good reason: it’s quick to start, doesn’t ship any extra code to browsers, and it’s extremely customizable.
Let’s take a quick tour of what Eleventy can do and why it’s exciting.
The code for all the examples in this post is available on GitHub.
Before we start: there’s a video version of this!
If you learn better by seeing something get built, Eleventy creator Zach Leatherman joined Learn With Jason to walk through creating a new site using Eleventy starting from an empty folder.
Eleventy's Low barrier to entry — you only need a single Markdown file
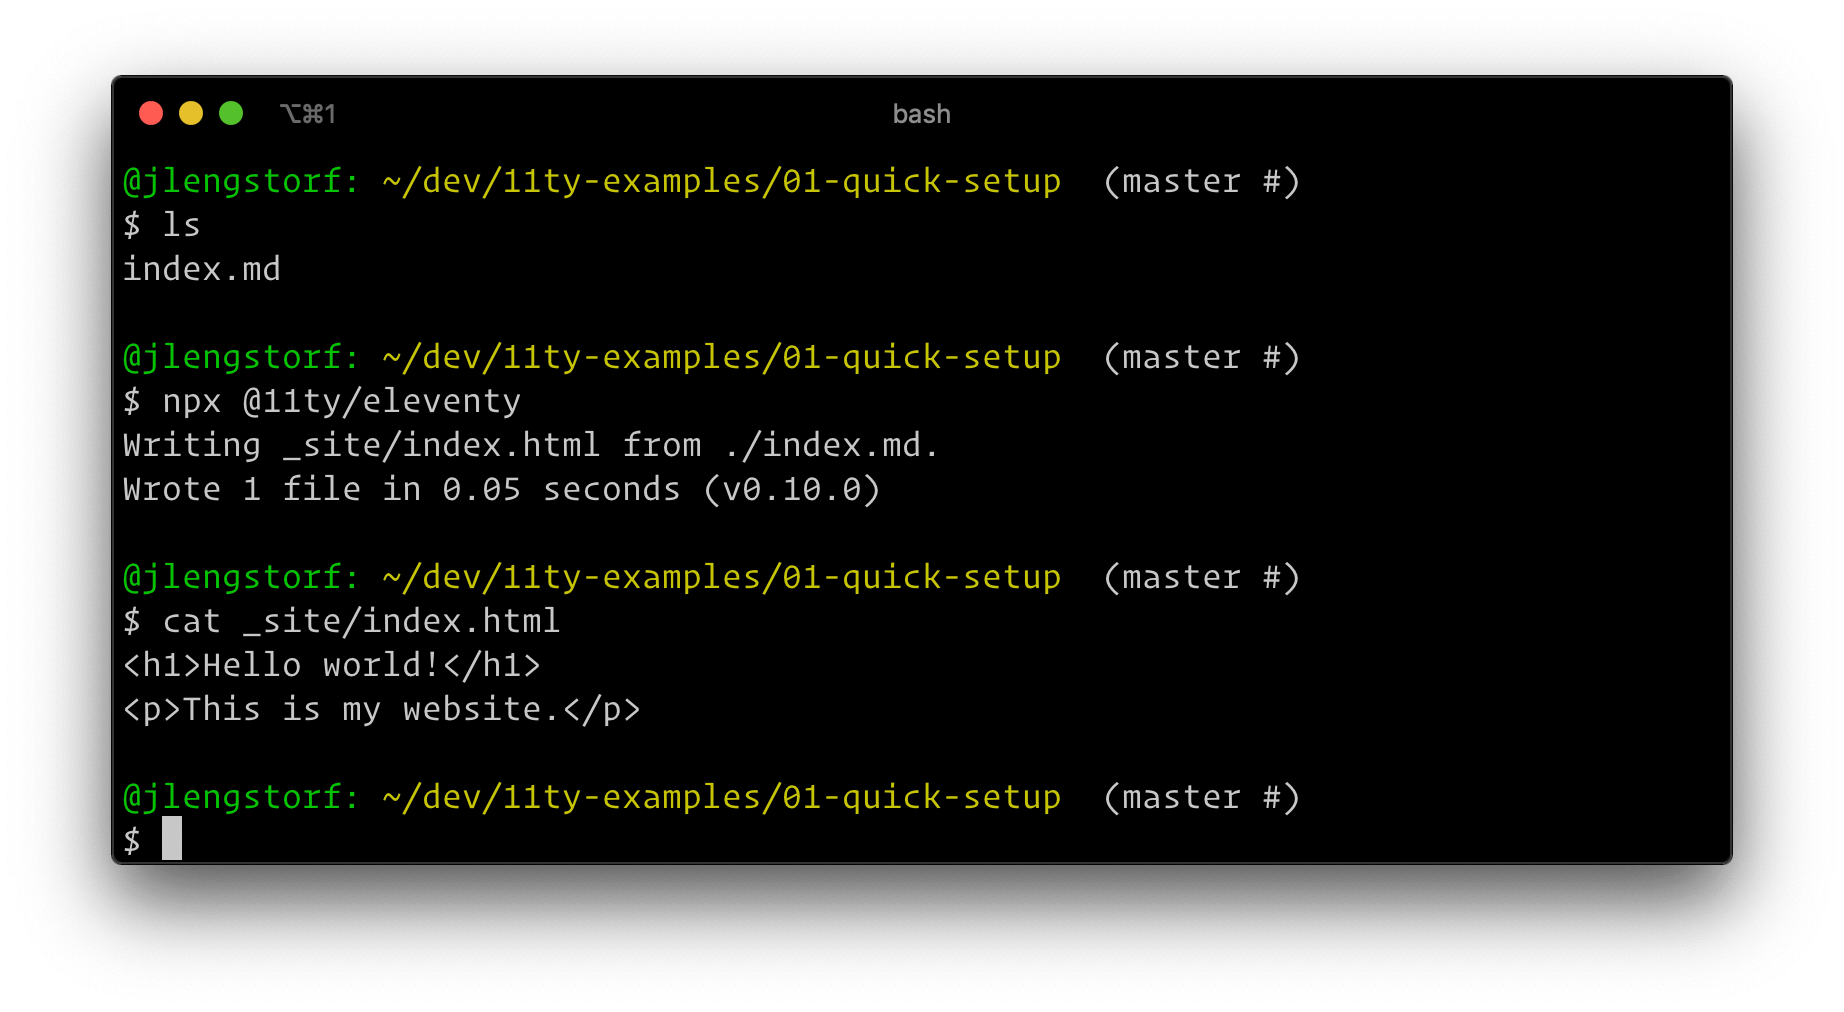
Create a new Markdown file called index.md with some content:
# Hello world!
This is my website.
Then build the site using 11ty’s CLI:
npx @11ty/eleventyNOTE: We’re using
npxhere, which allows us to execute the Eleventy CLI's build command without needing to install it as a dependency. For more information on how this works, see the npm blog announcingnpx.

A _site folder with the generated index.html gets built, and you’re done.
Wow! 🤯
Check out this example on GitHub.
No runtime — only ship the code you wrote to browsers
If your Markdown file contains:
---
layout: layout.liquid
---
# Hello world!
This is my website.
And you create layout.liquid with the following:
<html>
  <head>
    <title>My Eleventy Site</title>
  </head>
  <body>
    {{ content }}
  </body>
</html>
Eleventy outputs the following HTML:
<html>
  <head>
    <title>My Eleventy Site</title>
  </head>
  <body>
    <h1>Hello world!</h1>
    <p>This is my website.</p>
  </body>
</html>
No magic. No extras. Just your content.
Check out this example on GitHub.
Frontmatter is available to layouts
Want to control the title tag from your Markdown files? Add frontmatter!
---
layout: layout.liquid
title: Hello frontmatter!
---
This is my website.
In layout.liquid, we can reference the title anywhere using {{ title }}:
<html>
  <head>
    <title>{{ title }}</title>
  </head>
  <body>
    <h1>{{ title }}</h1>
    {{ content }}
  </body>
</html>
11ty outputs the title from frontmatter:
<html>
  <head>
    <title>Hello frontmatter!</title>
  </head>
  <body>
    <h1>Hello frontmatter!</h1>
    <p>This is my website.</p>
  </body>
</html>
Check out this example on GitHub.
Add global data with the _data directory
If you have data that should be available on every page, create a _data directory and add a JSON file — for example, _data/site.json:
{
  "title": "My Great 11ty Site"
}
We can now access our global data using the file name and the property. For example, in our layout.liquid:
<html>
  <head>
    <title>{{ title }} · {{ site.title }}</title>
  </head>
  <body>
    <h1>{{ title }}</h1>
    {{ content }}
  </body>
</html>
Now every page title will end with · My Great 11ty Site!
Check out this example on GitHub.
Overriding global data is straightforward
If we want to override global data in a given directory or post, all we have to do is redeclare it. For example, to override the global site title in one of our blog posts, we can add this frontmatter:
---
layout: layout.liquid
title: Hello frontmatter!
site:
  title: Testing!
---
This is my website.
This outputs the following HTML:
<html>
  <head>
    <title>Blog One · Testing!</title>
  </head>
  <body>
    <h1>Blog One</h1>
    <p>My first post!</p>

  </body>
</html>
Check out this example on GitHub.
Want to group posts in 11ty like a blog? Just add tags!
To group content in 11ty, add a tag — 11ty will make it available in other pages!
Create a folder called blog and include a blog tag in the frontmatter of each post:
---
layout: layout.liquid
title: Blog One
tags: blog
---
My first post!
Then loop through the blog "collection" in your home page:
---
layout: layout.liquid
title: Hello frontmatter!
---
Welcome to my site!

## Latest blog posts
Check out this example on GitHub.
Add shared data for all files in a given directory
To avoid retyping a bunch of frontmatter for each post, we can create a JSON file with the same name as a directory to add data to all posts in that directory. In our blog directory, create blog.json:
{
  "layout": "layout.liquid",
  "tags": "blog"
}
Now our post frontmatter can be simplified:
---
title: Blog One
---
My first post!
The layout and tags still apply!
Check out this example on GitHub.
Pagination is baked in
If you want to paginate posts, 11ty has it built into collections. Update index.md:
---
layout: layout.liquid
title: Hello frontmatter!
pagination:
  data: collections.blog
  size: 2
  alias: blogs
---
Welcome to my site!

## Latest blog posts
Now the home page has two posts and a "Next Page" link that leads to a new page with the more posts.
Check out this example on GitHub.
Creating pages from third party data is a snap
We can make third-party API calls as part of setting global data! Create _data/characters.js and add:
// don’t forget to `npm install axios`!
const axios = require('axios');

module.exports = async () => {
  const result = await axios.get('https://rickandmortyapi.com/api/character/');

  return result.data.results;
};
Next, create a new file called character.md and add the following:
---
pagination:
data: characters
alias: character
size: 1
layout: layout.liquid
permalink: '/characters/{{character.name|slug}}/'
title: Rick & Morty Characters
---
## {{character.name}}
Setting the pagination.size to 1 means we create a page for each result!
Check out this example on GitHub.
11ty can do more
This isn't everything 11ty is capable of. In addition to the features we covered here, 11ty also has data filters, plugins, shortcodes, and advanced configuration options to customize it to your needs.
You can see everything 11ty is capable of in the 11ty docs!


