Guides & Tutorials
Learn How to Accept Money on Jamstack Sites in 38 Minutes
Is it possible to sell products on the Jamstack? Absolutely!
Jason and Thor pair programmed on an episode of Learn With Jason where we learned how to add Stripe Checkout to a Jamstack site using Netlify Functions.
This post is a cleaned up version of the code we wrote live on the show.
tl;dr
You can sell products on Jamstack sites using Stripe Checkout to process payments and Netlify Functions to securely create Checkout sessions.
Set up a new site for local development with Netlify
Our first step is to create a new site that will display our products. The Stripe and serverless setup we’re going to build will work with any Jamstack-friendly development approach, including your favorite static site generator. For this example, we’ll be using plain HTML, CSS, and JavaScript with no build tools or frameworks.
Create a new directory and build out the basic structure
Start by creating a directory and initializing it as a Git repository:
# create a new directory and move into it
mkdir stripe-checkout-netlify-serverless
cd stripe-checkout-netlify-serverless/

# initialize Git and a package.json
git init
npm init -y

# create a `.gitignore` with `node_modules` and `.netlify` in it
echo "node_modules" >> .gitignore
echo ".netlify" >> .gitignore

# create a directory where the public assets are stored
mkdir public
Create a home page and add styles
Now that we’ve got the foundations of the project in place, we can build our home page as plain HTML and add some styles to make it look nice.
Create public/index.html and place the following code inside:
<!DOCTYPE html>
<html lang="en">
  <head>
    <meta charset="UTF-8" />
    <meta name="viewport" content="width=device-width, initial-scale=1.0" />
    <title>Stripe Checkout + Netlify Functions!</title>
  </head>
  <body>
    <header>
      <a href="/" rel="home">Serverless Workflow for Stripe Checkout</a>
    </header>

    <main>
      <h1>Buy Our Products!</h1>
    </main>
  </body>
</html>
To give our store some style, let’s create public/main.css and add some general styles to the site.
body {
  box-sizing: border-box;
  font-family: -apple-system, BlinkMacSystemFont, 'Segoe UI', Roboto, Helvetica,
    Arial, sans-serif, 'Apple Color Emoji', 'Segoe UI Emoji', 'Segoe UI Symbol';
  margin: 0;
}

header {
  background: teal;
  padding: 1rem 5vw;
}

header a {
  color: white;
  font-weight: 800;
  text-decoration: none;
}

main {
  margin: 4rem auto 6rem;
  max-width: 650px;
  width: 90vw;
}
Include the CSS file in public/index.html:
  <head>
    <meta charset="UTF-8" />
    <meta name="viewport" content="width=device-width, initial-scale=1.0" />
    <title>Stripe Checkout + Netlify Functions!</title>
+   <link rel="stylesheet" href="css/main.css" />
  </head>
Set up the Netlify CLI for local development
Working locally makes development much faster, but how do we do that with serverless functions?
Netlify CLI provides a solution with netlify dev, which emulates the production environment and allows us to run Netlify Functions locally.
To get started, we need to install the netlify-cli globally, which adds a global netlify (and the shorter ntl) command, then we log into our Netlify account:
# install the
npm install -g netlify-cli

# log into your Netlify account
ntl login
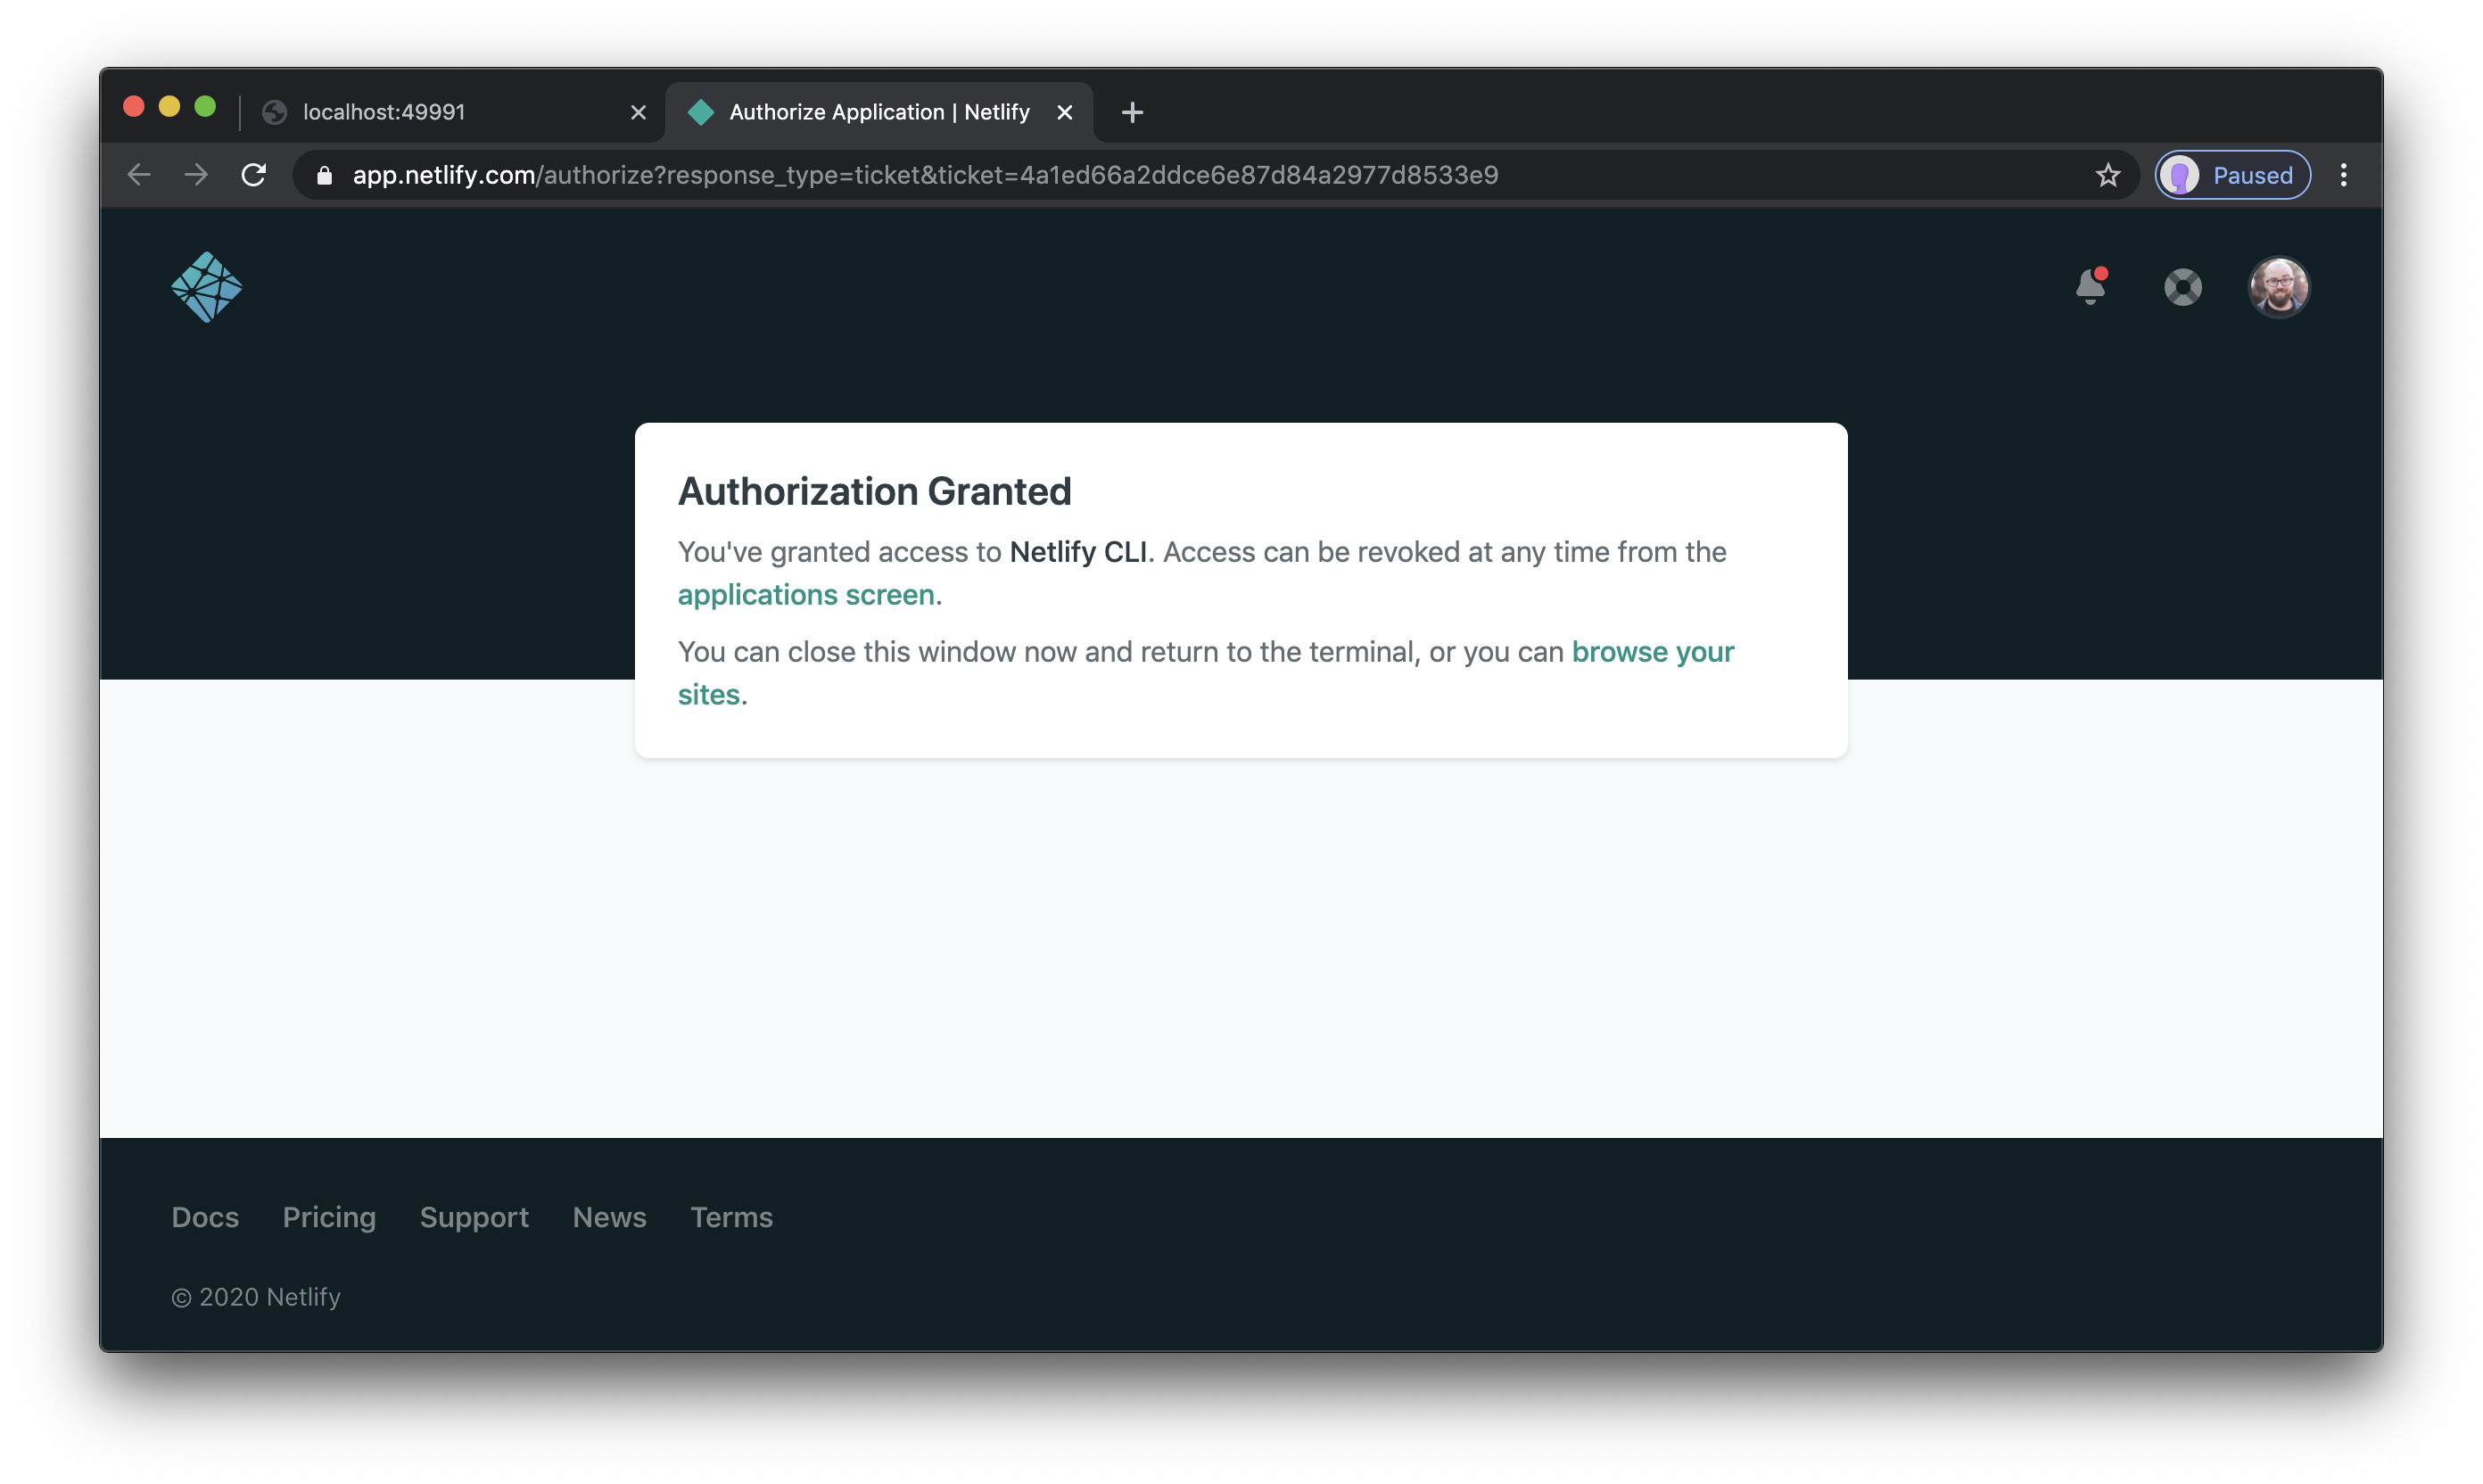
This takes us to the Netlify site and asks us to authorize the CLI. After we grant the authorization, we’ll see this screen and we’re connected for local development!
Next, we need to tell the CLI where our files are, so let’s create a netlify.toml to specify which files will be published to production (in our case, the public folder is our web root).
Inside netlify.toml, add the following:
[build]
    publish = "public"
After we’ve saved this file, we can start the local server using ntl dev!
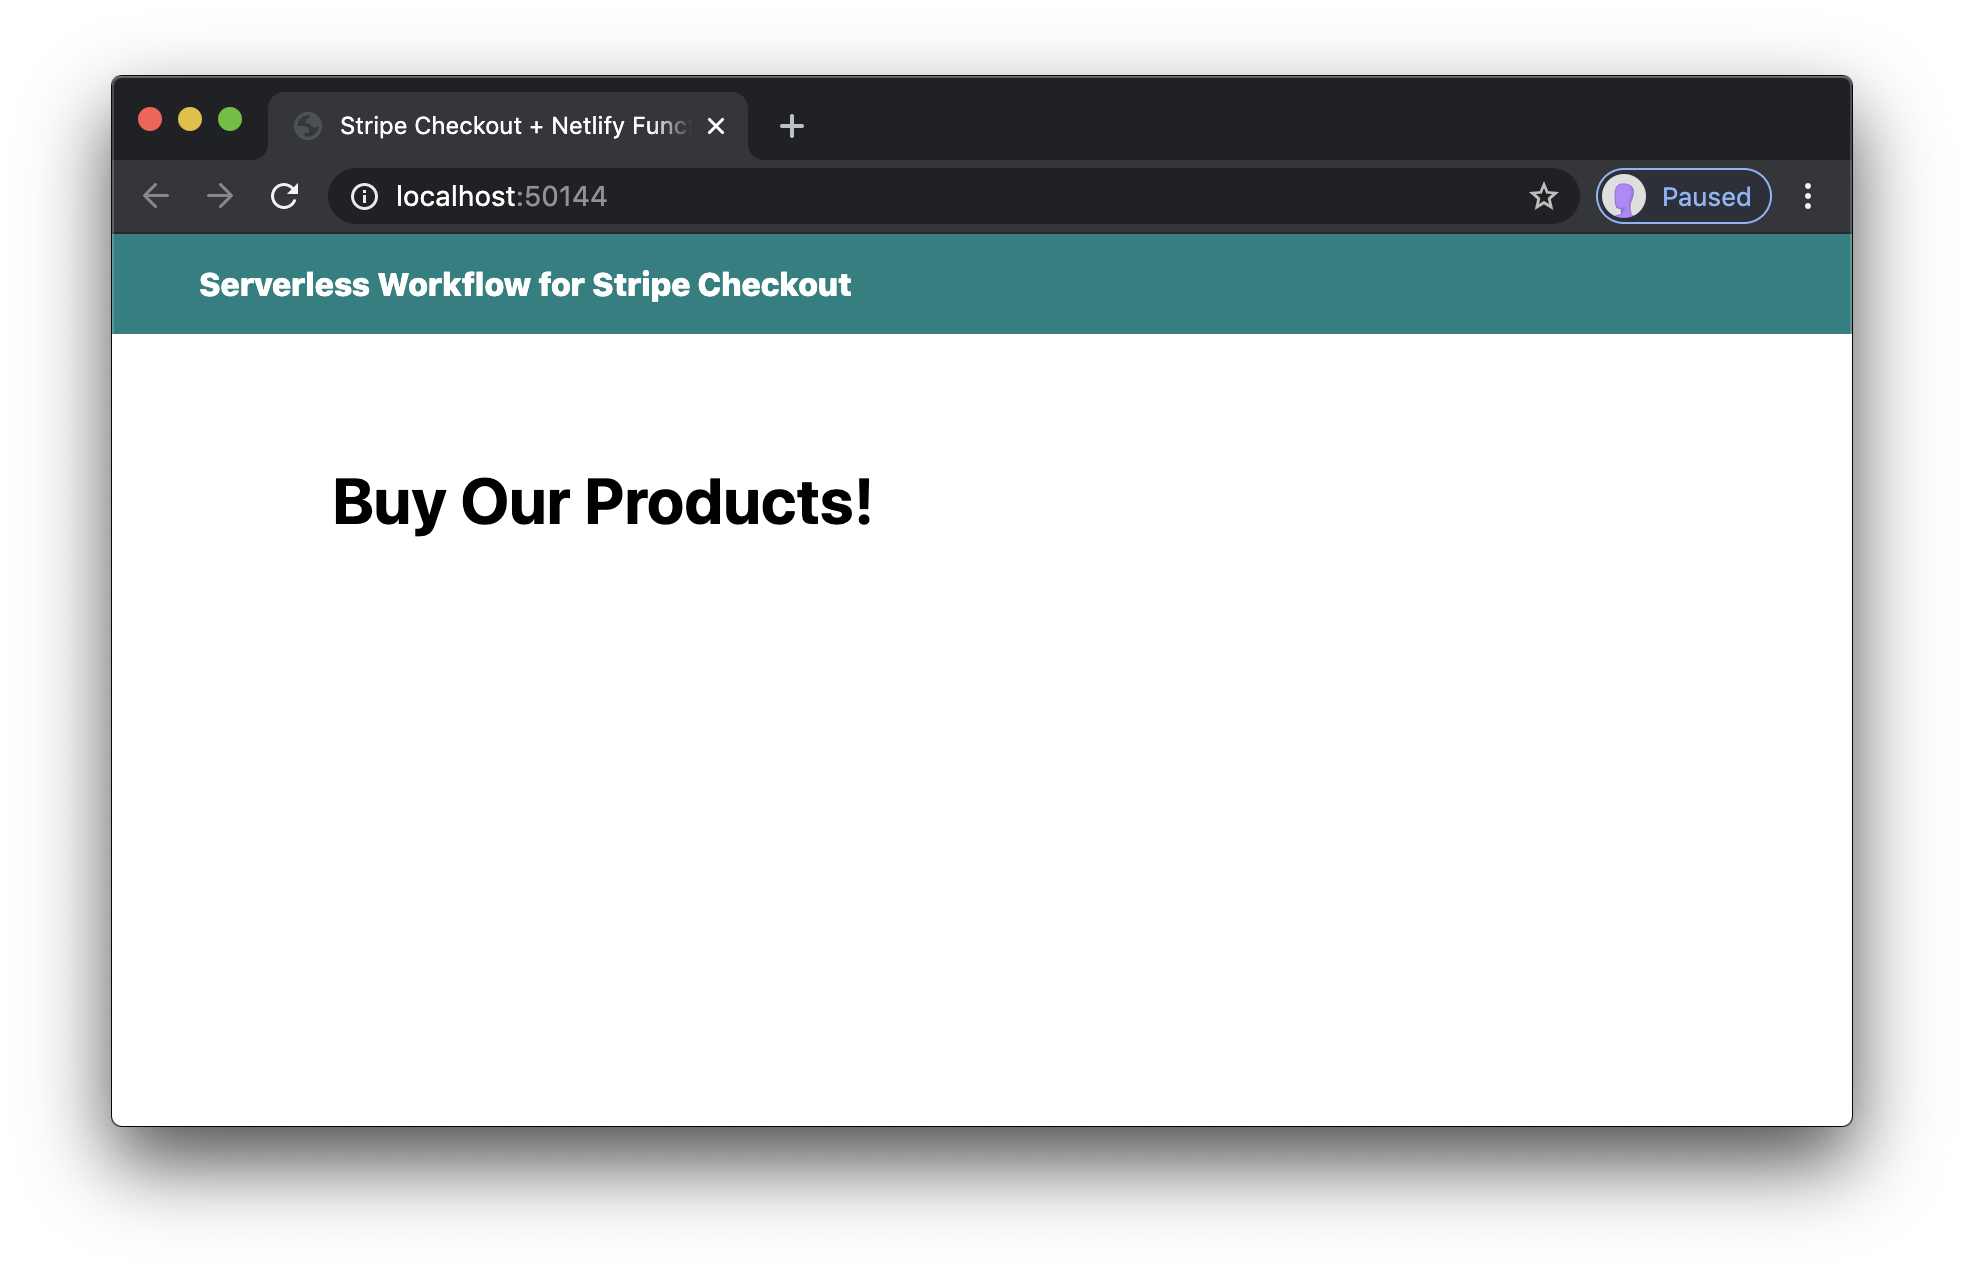
ntl devThe site will automatically open in the browser and we’ll see the basic site setup with our styles applied.
Write a serverless function that returns product data
Next, let’s get products on the screen! We’re going to use a serverless function to load our JSON data.
NOTE: If we were using a static site generator like 11ty, Scully, or any of the many options out there, it might make more sense to pre-render the products instead of loading them at run-time. To avoid build steps for the frontend code in this demo, we opted for a plain JavaScript async approach.
Add product data as a JSON file
Our product data can be loaded from anywhere, such as a database or third-party API. For this example we’re going to use a JSON file, which works great for small stores and cuts down on overhead.
To do this, we need to create a directory called functions, then another directory called data inside that.
Create functions/data/products.json and add the following data:
[
  {
    "sku": "DEMO001",
    "name": "This Pretty Plant",
    "description": "Look at this pretty plant. Photo by Galina N on Unsplash.",
    "image": "https://images.unsplash.com/photo-1485955900006-10f4d324d411?auto=format&fit=crop&w=600&h=600&q=80",
    "amount": 1000,
    "currency": "USD"
  },
  {
    "sku": "DEMO002",
    "name": "Adventure Mug",
    "description": "We’re going on an adventure! Photo by Annie Spratt on Unsplash.",
    "image": "https://images.unsplash.com/photo-1454329001438-1752daa90420?auto=format&fit=crop&w=600&h=600&q=80",
    "amount": 1500,
    "currency": "USD"
  }
]
NOTE: Why is the data in the
functionsfolder? Netlify deploys functions to a separate environment as part of the build, so we aren’t able to reference files outside thefunctionsdirectory in production.
Create a serverless function to load the data and return it
Now that we have data available, let’s create functions/get-products.js to load the data and return it for use in our frontend.
This function loads in the product JSON directly from the data file, then exports a handler function that returns both a status code of 200 (the HTTP “OK” status code) and our product data as a JSON-encoded string.
const products = require('./data/products.json');

exports.handler = async () => {
  return {
    statusCode: 200,
    body: JSON.stringify(products),
  };
};
NOTE: By using the
asynckeyword as part of our function declaration, we cause our handler to return a Promise. This allows us to return our response object directly instead of requiring us to use a callback function.
Tell Netlify where functions are stored
For Netlify to deploy our serverless functions, we need to tell it where they’re located. To do this, we need to modify netlify.toml with a functions setting and add our functions directory as the value:
  [build]
    publish = "public"
+   functions = "functions"
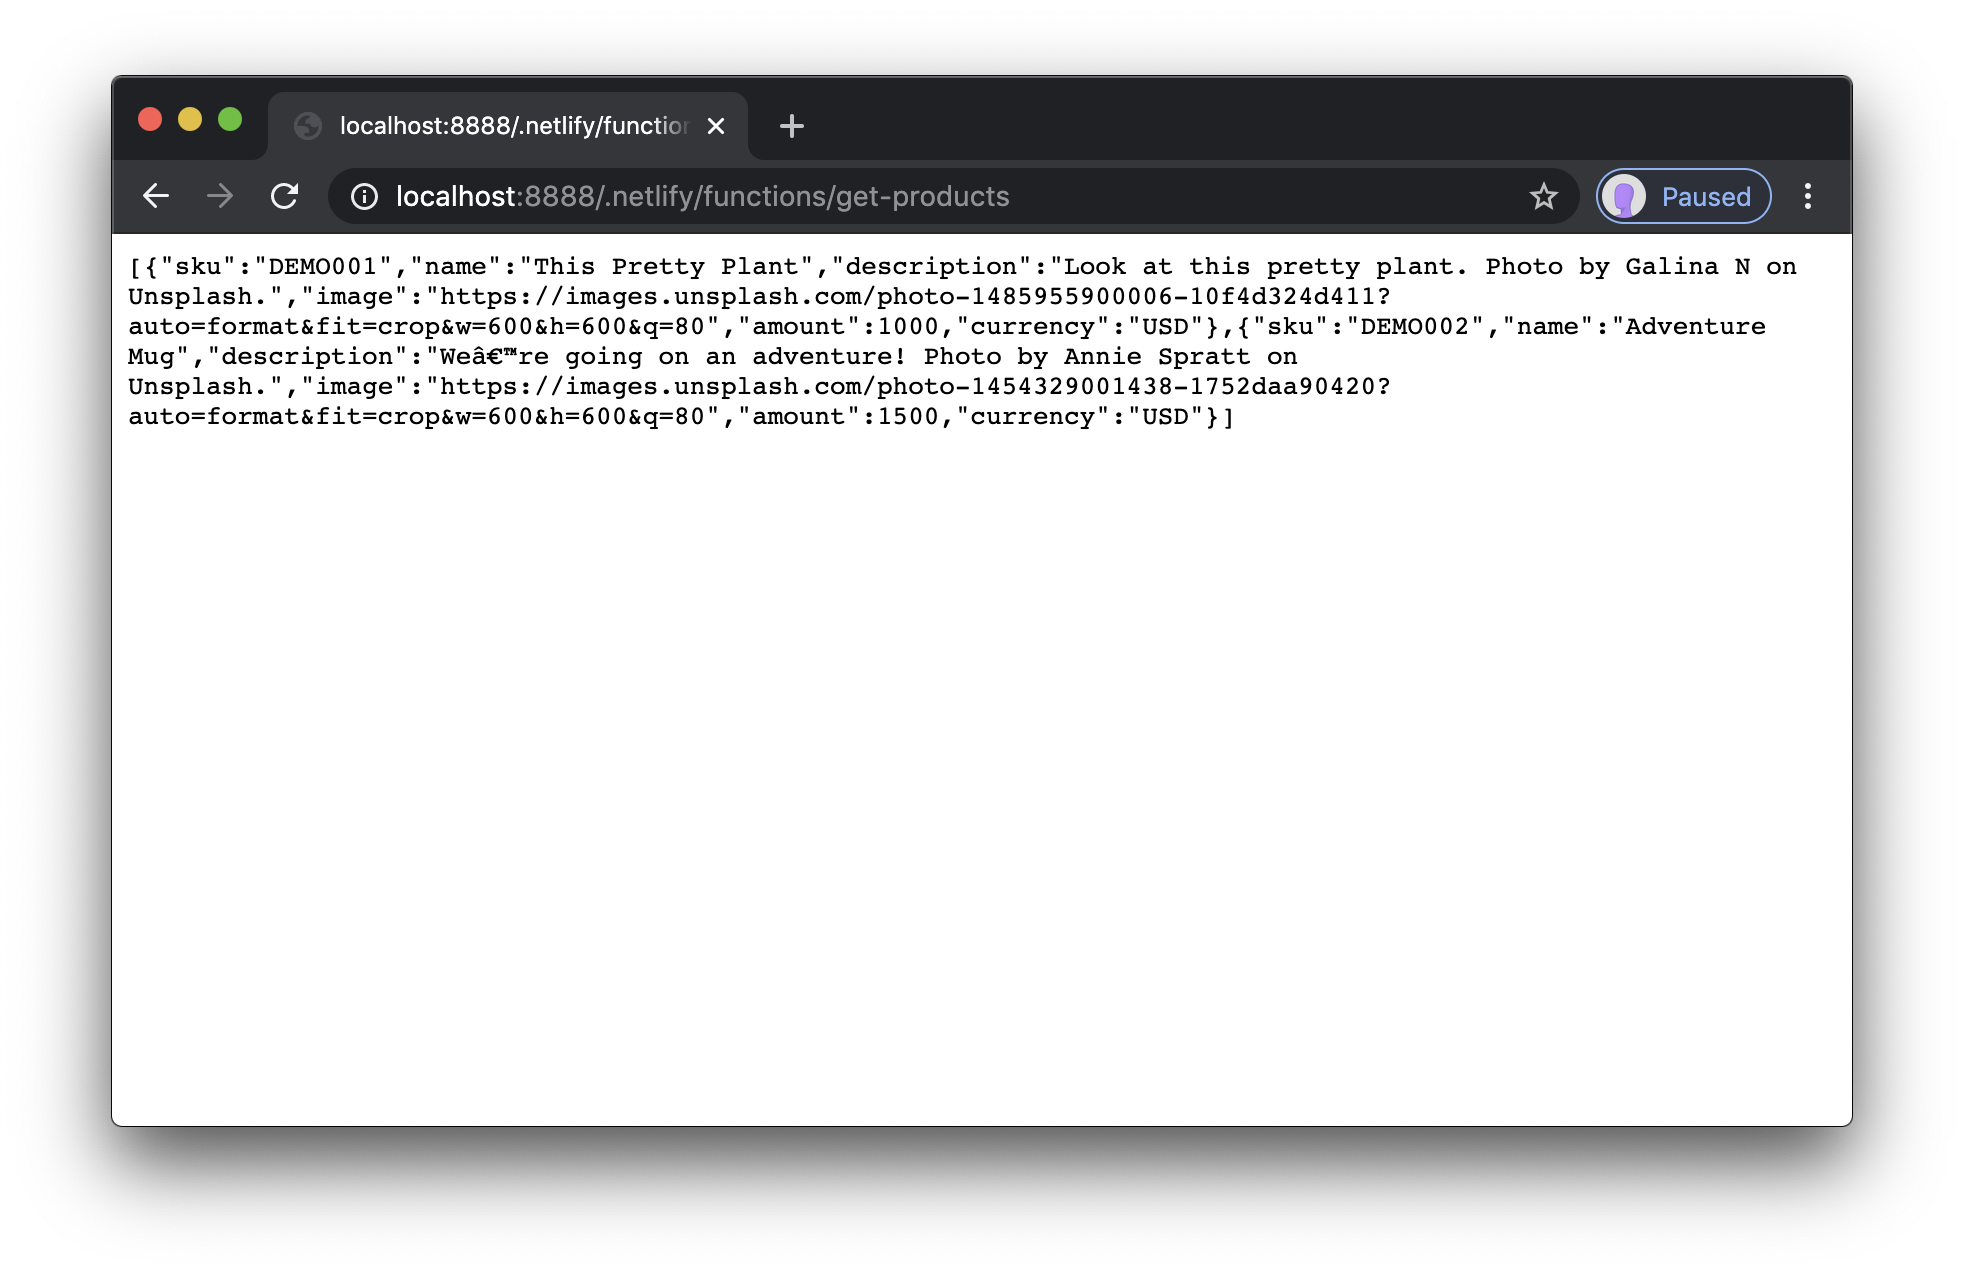
Once we’ve saved our updated config, we can start the server with ntl dev and visit http://localhost:8888/.netlify/functions/get-products to see the output of our function!
Use the fetch API to load data into an HTML page
To load the product data into the frontend of our site, we need to add some client-side JavaScript.
Write a function to load JSON data asynchronously
Create a new directory inside public called js. Next, create a file called /public/js/load-products.js and add the following inside:
export async function loadProducts() {
  const data = await fetch('/.netlify/functions/get-products')
    .then((res) => res.json())
    .catch((err) => console.error(err));

  const container = document.querySelector('.products');

  // TODO: add markup to display the products
  const pre = document.createElement('pre');
  pre.innerText = JSON.stringify(data, null, 2);

  container.appendChild(pre);
}
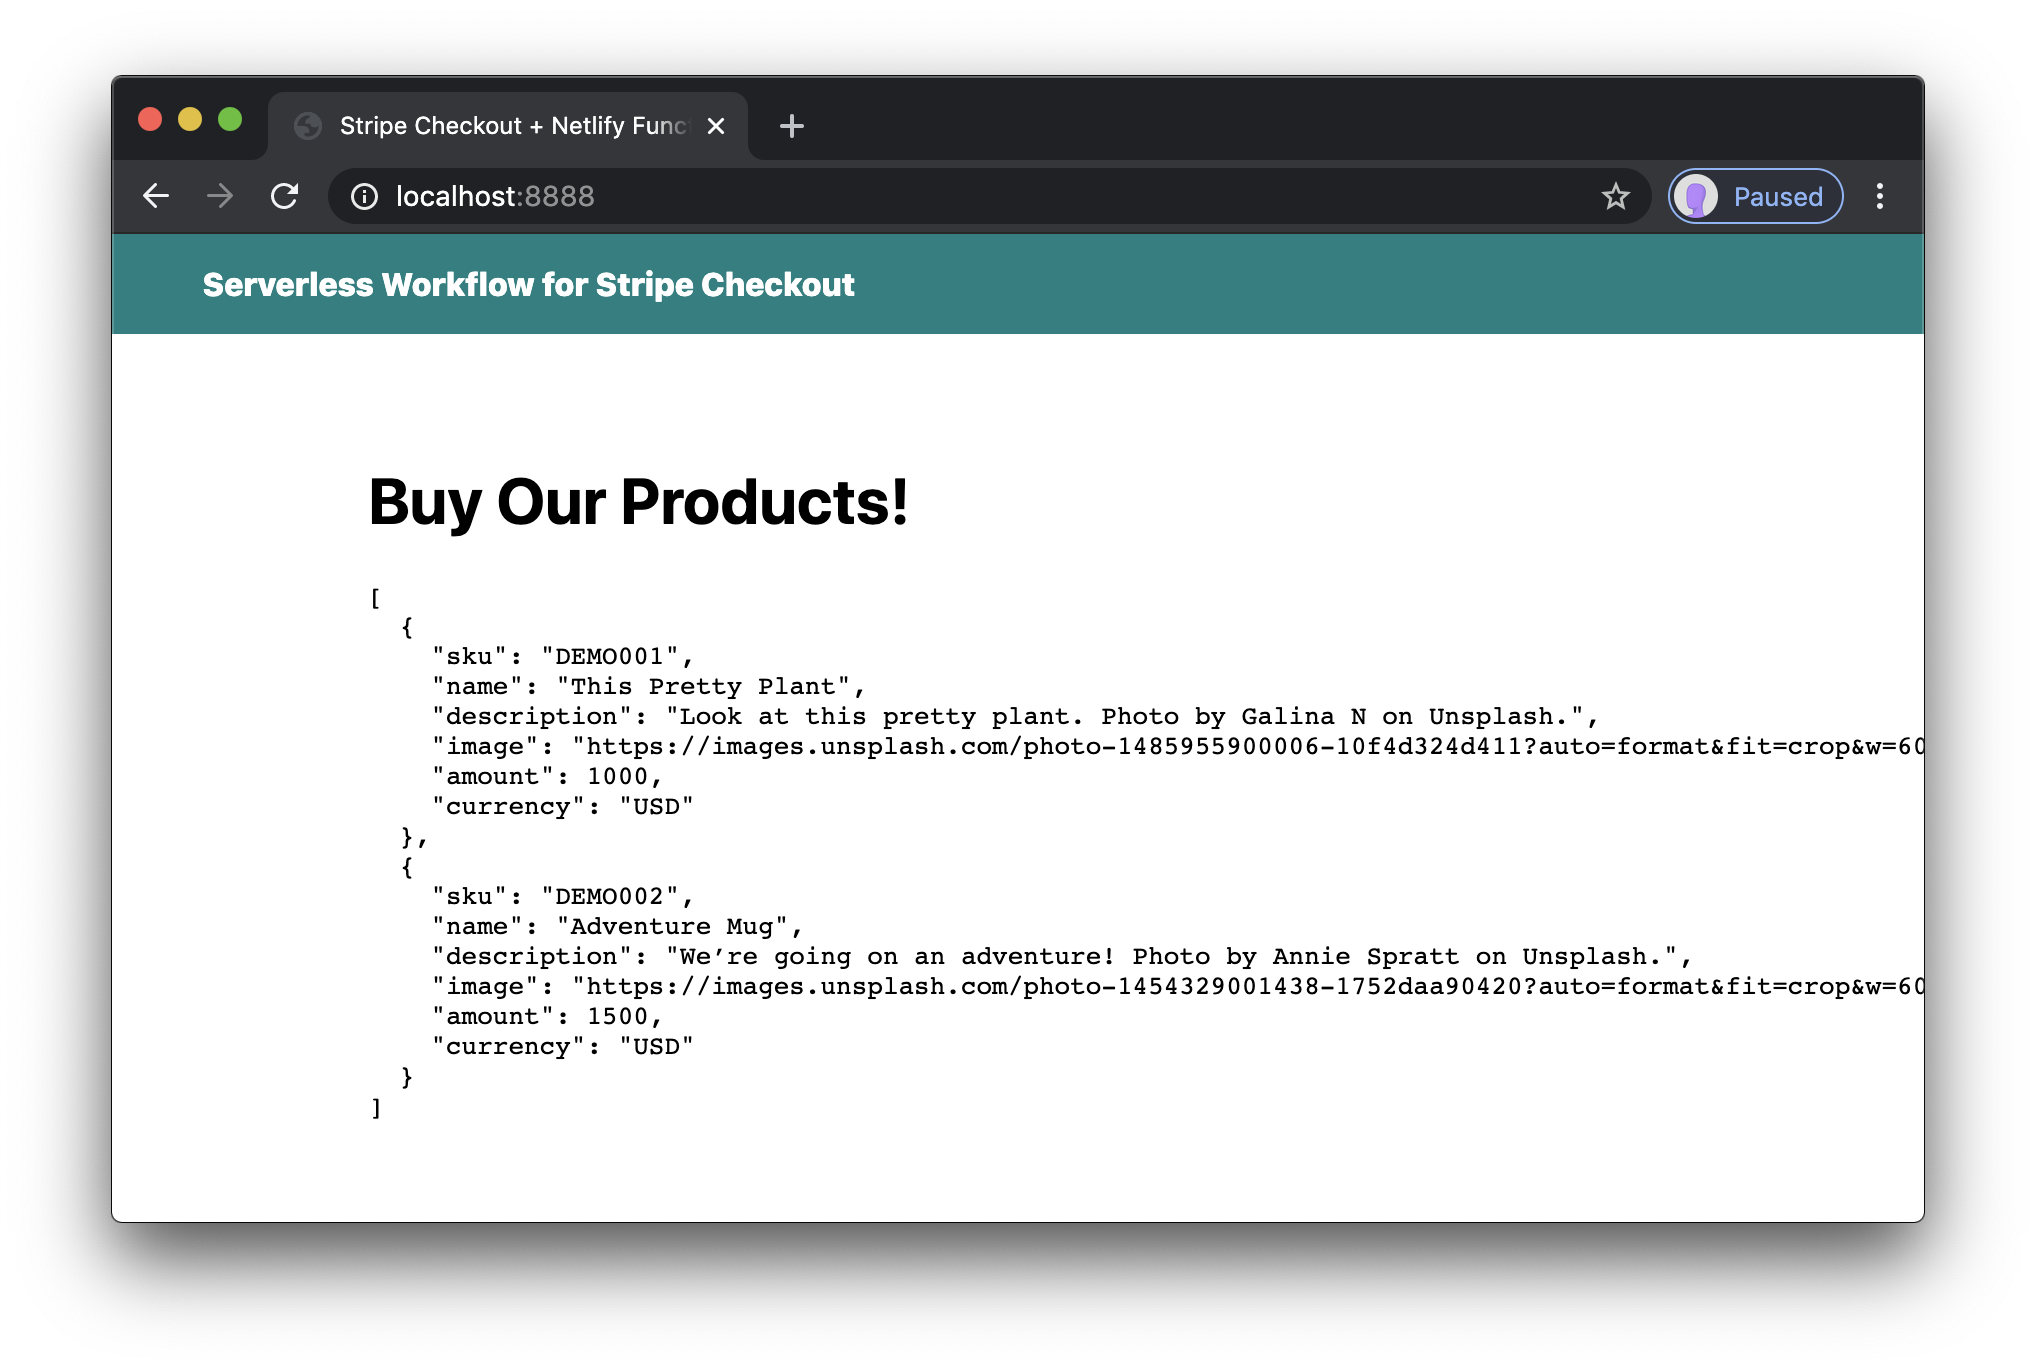
This function uses the built-in Fetch API to load the response from our serveless function, then creates a new pre tag to display the raw JSON data and appends it to a container with the class products in our HTML. (This container doesn’t exist yet — we’ll create it shortly.)
To use this, we need to do two things:
- Create a container div with the class
products - Import the
loadProductsfunction into our store page and call it
Make the following changes in public/index.html:
      <main>
        <h1>Buy Our Products!</h1>
+       <div class="products"></div>
      </main>

+     <script type="module">
+       import { loadProducts } from './js/load-products.js';
+
+       loadProducts();
+     </script>

    </body>
  </html>
Reload the browser to see the data displayed.
Use HTML templates to display asynchronously loaded JSON data
To create the markup for our products, we’re going to use the HTML <template> tag. We can define product markup in a component-like fashion, which gives us the benefit of keeping HTML in HTML while still letting us set the content using JavaScript. (#UseThePlatform)
Create an HTML template to structure products
Each product needs to show its details along with a purchase form that will submit the product’s SKU (a unique identifier common for product inventory management) and the quantity to be purchased when a “Buy Now” button is clicked.
Add a <template> tag to public/index.html with the following:
  <main>
    <h1>Buy Our Products!</h1>
    <div class="products"></div>
  </main>

+ <template id="product">
+   <div class="product">
+     <img src="" alt="" />
+     <h2>name</h2>
+     <p class="description">description</p>
+     <p class="price">price</p>
+     <form action="" method="post">
+       <label for="quantity">Quantity</label>
+       <input
+         type="number"
+         id="quantity"
+         name="quantity"
+         value="1"
+         min="1"
+         max="10"
+       />
+       <input type="hidden" name="sku" value="" />
+       <button type="submit">Buy Now</button>
+     </form>
+   </div>
+ </template>

  <script type="module">
    import { loadProducts } from './js/load-products.js';

    loadProducts();
  </script>
Write a function to inject product data into the HTML template
NOw that we have a template available, we can write a function that will take a given item’s data and inject it into a new DOM node created from the template.
Add the following to public/js/load-products.js:
+ function createProductFromTemplate(item) {
+   const template = document.querySelector('#product');
+   const product = template.content.cloneNode(true);
+
+   product.querySelector('h2').innerText = item.name;
+   product.querySelector('.description').innerText = item.description;
+   product.querySelector('[name=sku]').value = item.sku;
+   product.querySelector('.price').innerText = new Intl.NumberFormat('en-US', {
+     style: 'currency',
+     currency: item.currency,
+   }).format((item.amount / 100).toFixed(2));
+
+   const img = product.querySelector('img');
+   img.src = item.image;
+   img.alt = item.name;
+
+   return product;
+ }
+
  export async function loadProducts() {
Next, modify the loadProducts() function to remove the JSON dump and instead loop through the product data, calling createProductFromTemplate() on each item:
  export async function loadProducts() {
    const data = await fetch('/.netlify/functions/get-products')
      .then((res) => res.json())
      .catch((err) => console.error(err));

    const container = document.querySelector('.products');

-   // TODO: add markup to display the products
-   const pre = document.createElement('pre');
-   pre.innerText = JSON.stringify(data, null, 2);
-
-   container.appendChild(pre);
+   data.forEach((item) => {
+     const product = createProductFromTemplate(item);
+
+     container.appendChild(product);
+   });
  }
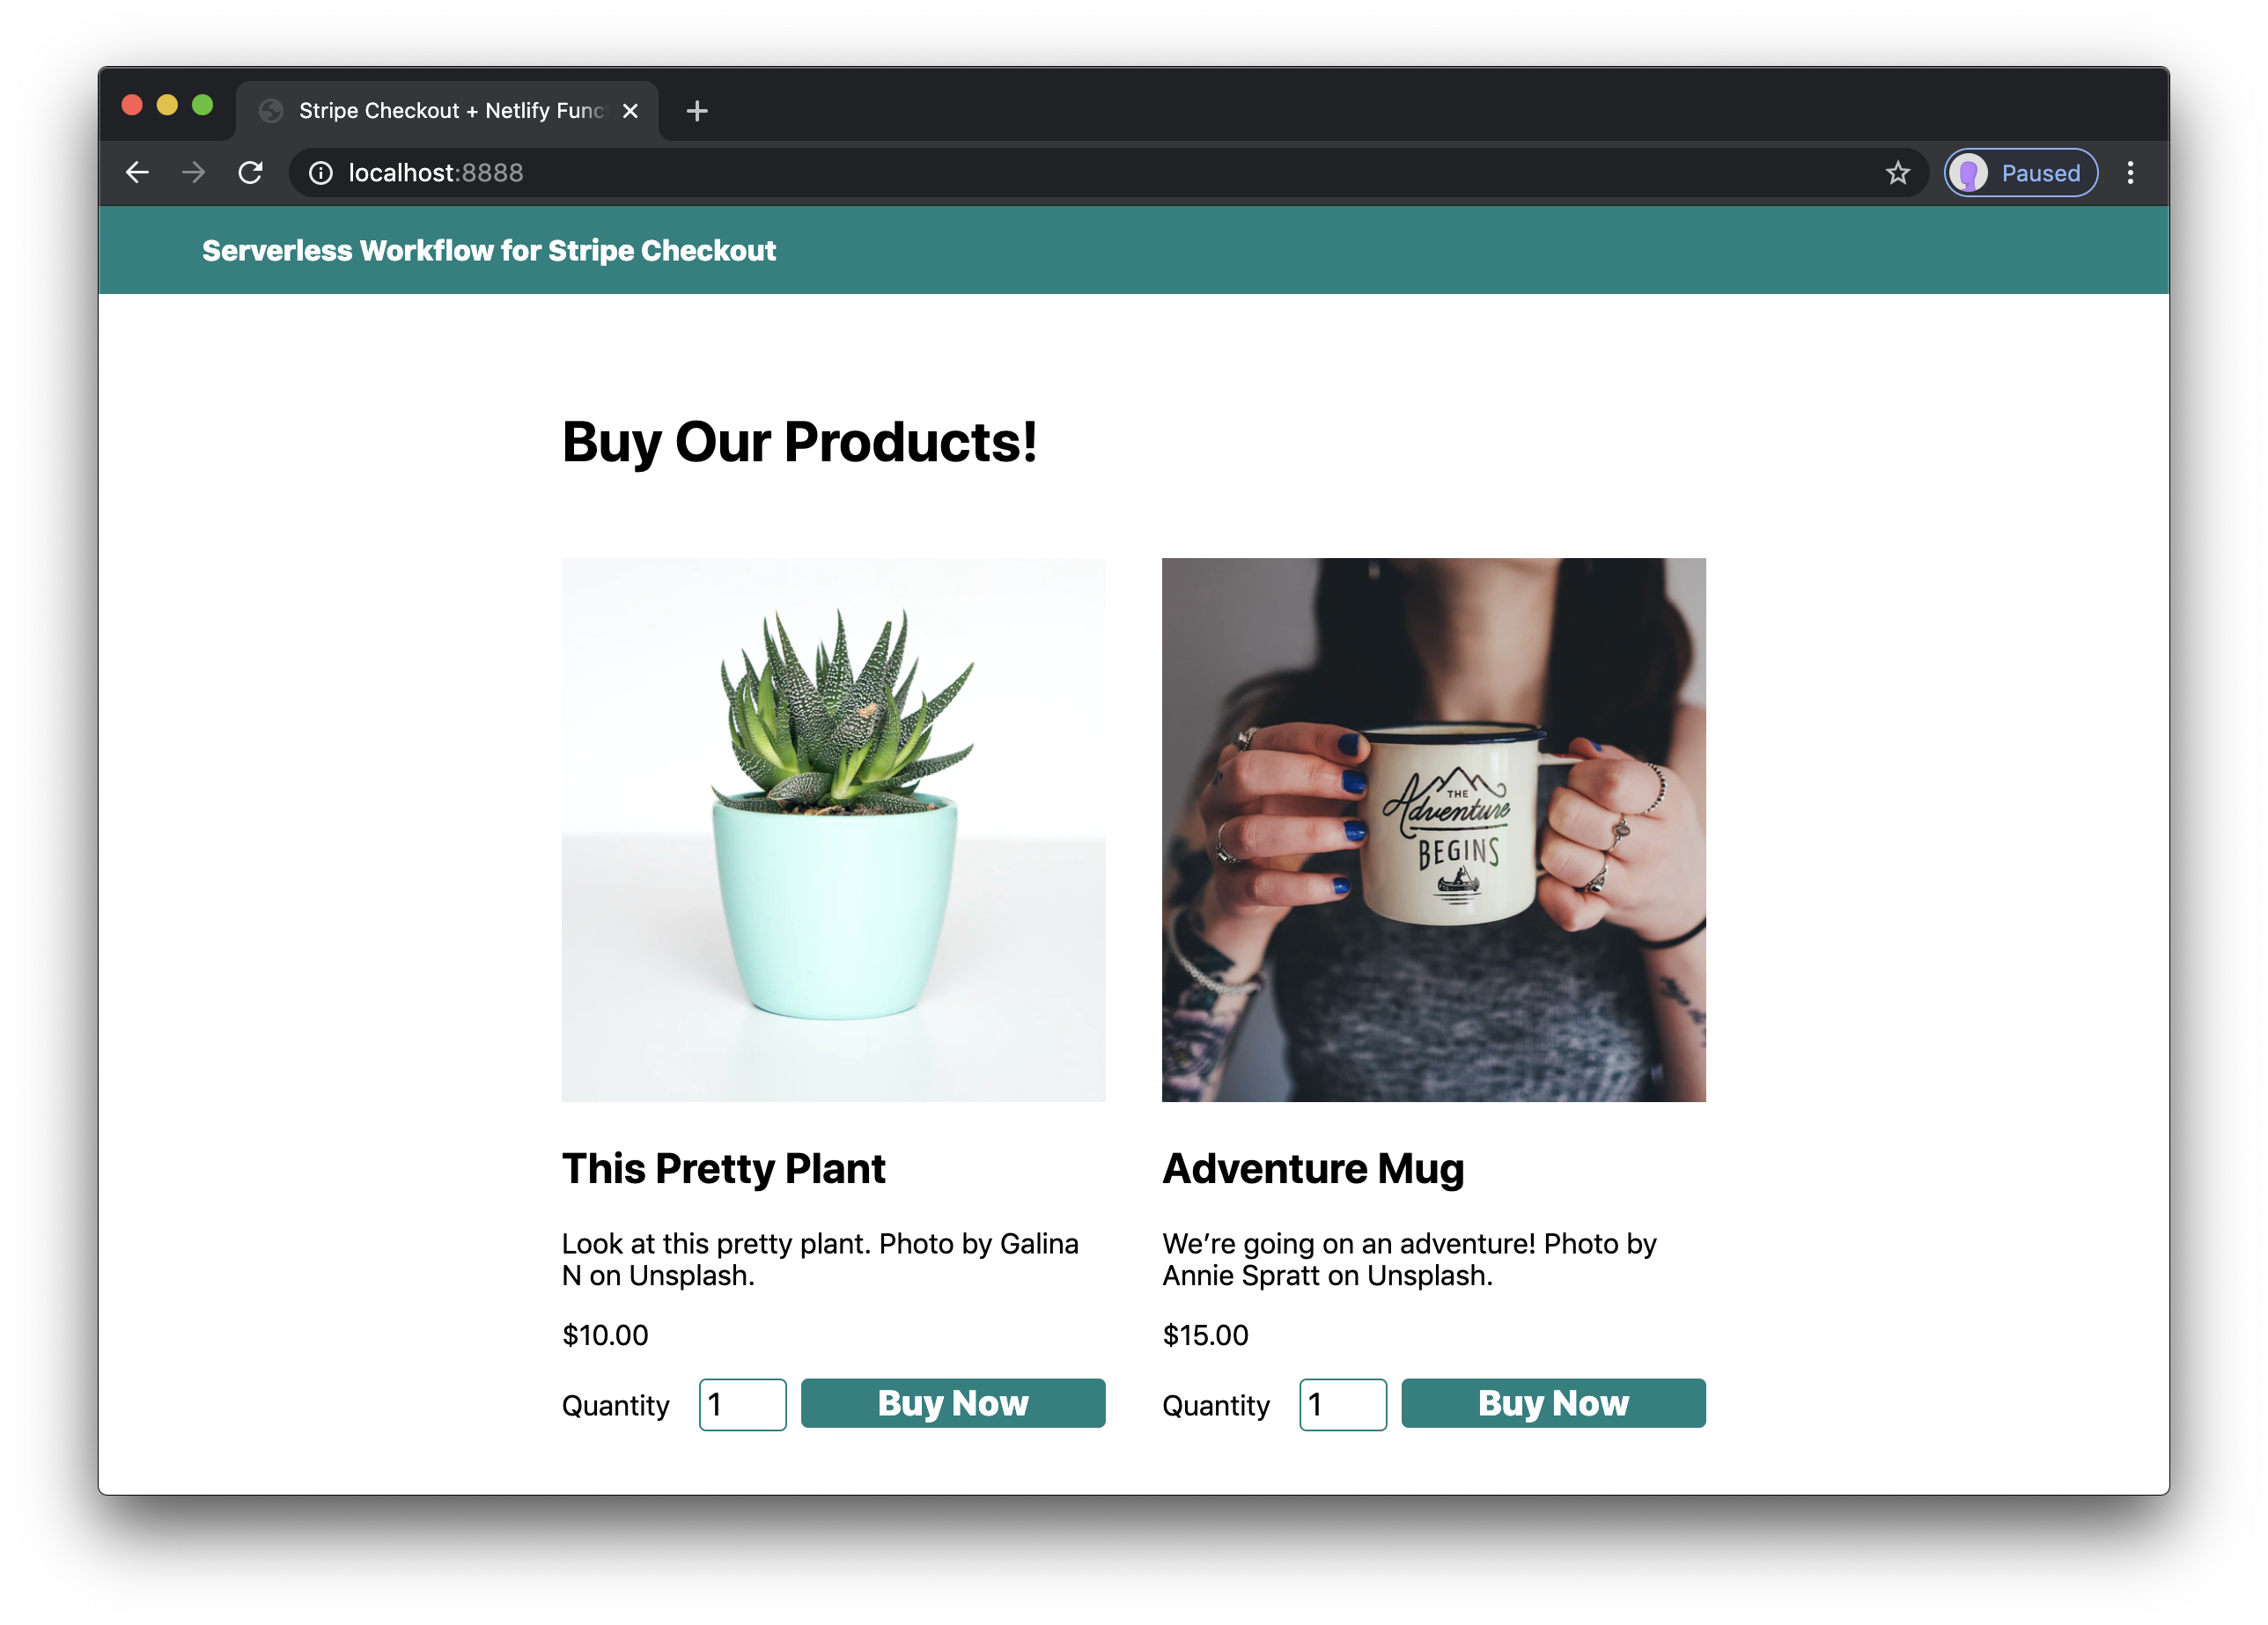
After saving, reload the browser to see the product markup.

Add styles for products
To make our products look a little more presentable, let’s add styles for the products to public/css/main.css:
  main {
    margin: 4rem auto 6rem;
    max-width: 650px;
    width: 90vw;
  }
+
+ .products {
+   display: grid;
+   gap: 2rem;
+   grid-template-columns: repeat(2, 1fr);
+   margin-top: 3rem;
+ }
+
+ .product img {
+   max-width: 100%;
+ }
+
+ .product form {
+   align-items: baseline;
+   display: grid;
+   gap: 0.5rem;
+   grid-template-columns: 70px 50px 1fr;
+ }
+
+ .product input {
+   border: 1px solid teal;
+   border-radius: 0.25rem;
+   font-size: 1.125rem;
+   line-height: 1.25rem;
+   padding: 0.25rem;
+ }
+
+ .product button {
+   background: teal;
+   border: none;
+   border-radius: 0.25rem;
+   color: white;
+   font-size: 1.25rem;
+   font-weight: 800;
+   line-height: 1.25rem;
+   padding: 0.25rem;
+ }
Reload the browser to see the styled products.
Connect to Netlify and set up automatic deployments using the Netlify CLI
At this point, let’s get our site set up on Netlify to make sure everything is working the way we expect it.
Create a GitHub repository and get our changes pushed to it
First, create a new GitHub repository.
Next, we need to set the repo as a remote in your command line, ignore files that we don’t want to track, then add all the files and commit them:
# HEADS UP! don’t forget to change this to use your own username and repo!
git remote add origin git@github.com:username/repo.git

# ignore the `node_modules` folder
echo "node_modules" >> .gitignore

# add all the files that aren’t ignored
git add -A

# commit the changes with a descriptive comment
git commit -m 'wip: loading products, no checkout yet'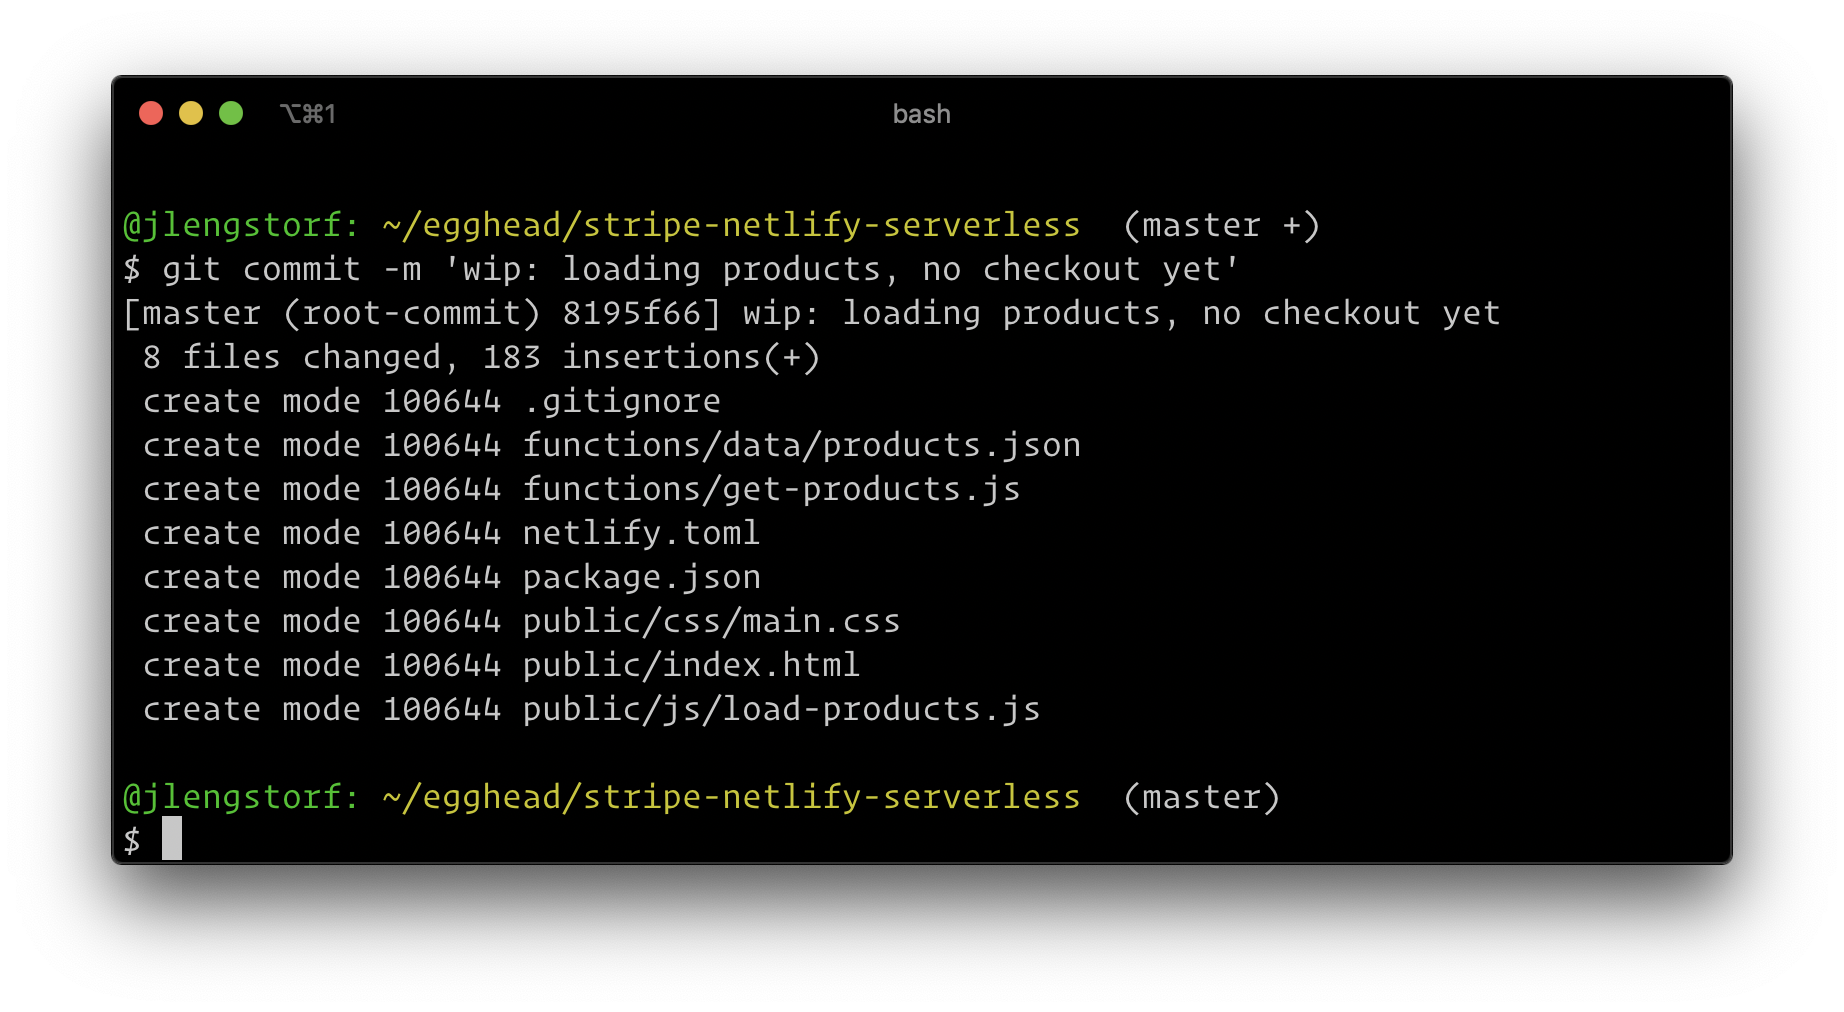
After we have all the files committed, we need to push them up to GitHub:
git push origin masterCreate a new Netlify site using the command line
Now that our project is on GitHub, we can set up Netlify to automatically build the and publish the site whenever changes are pushed to GitHub.
Since we already have the Netlify CLI installed, we can do this quickly from the command line:
# initialize this site as a Netlify site
ntl init
Follow the prompts to create a new site in your Netlify account that will auto-deploy when changes are pushed to the GitHub repo.

After the site is created, we can open the new site’s dashboard from the command line as well:
# open the Netlify admin dashboard for this project
ntl open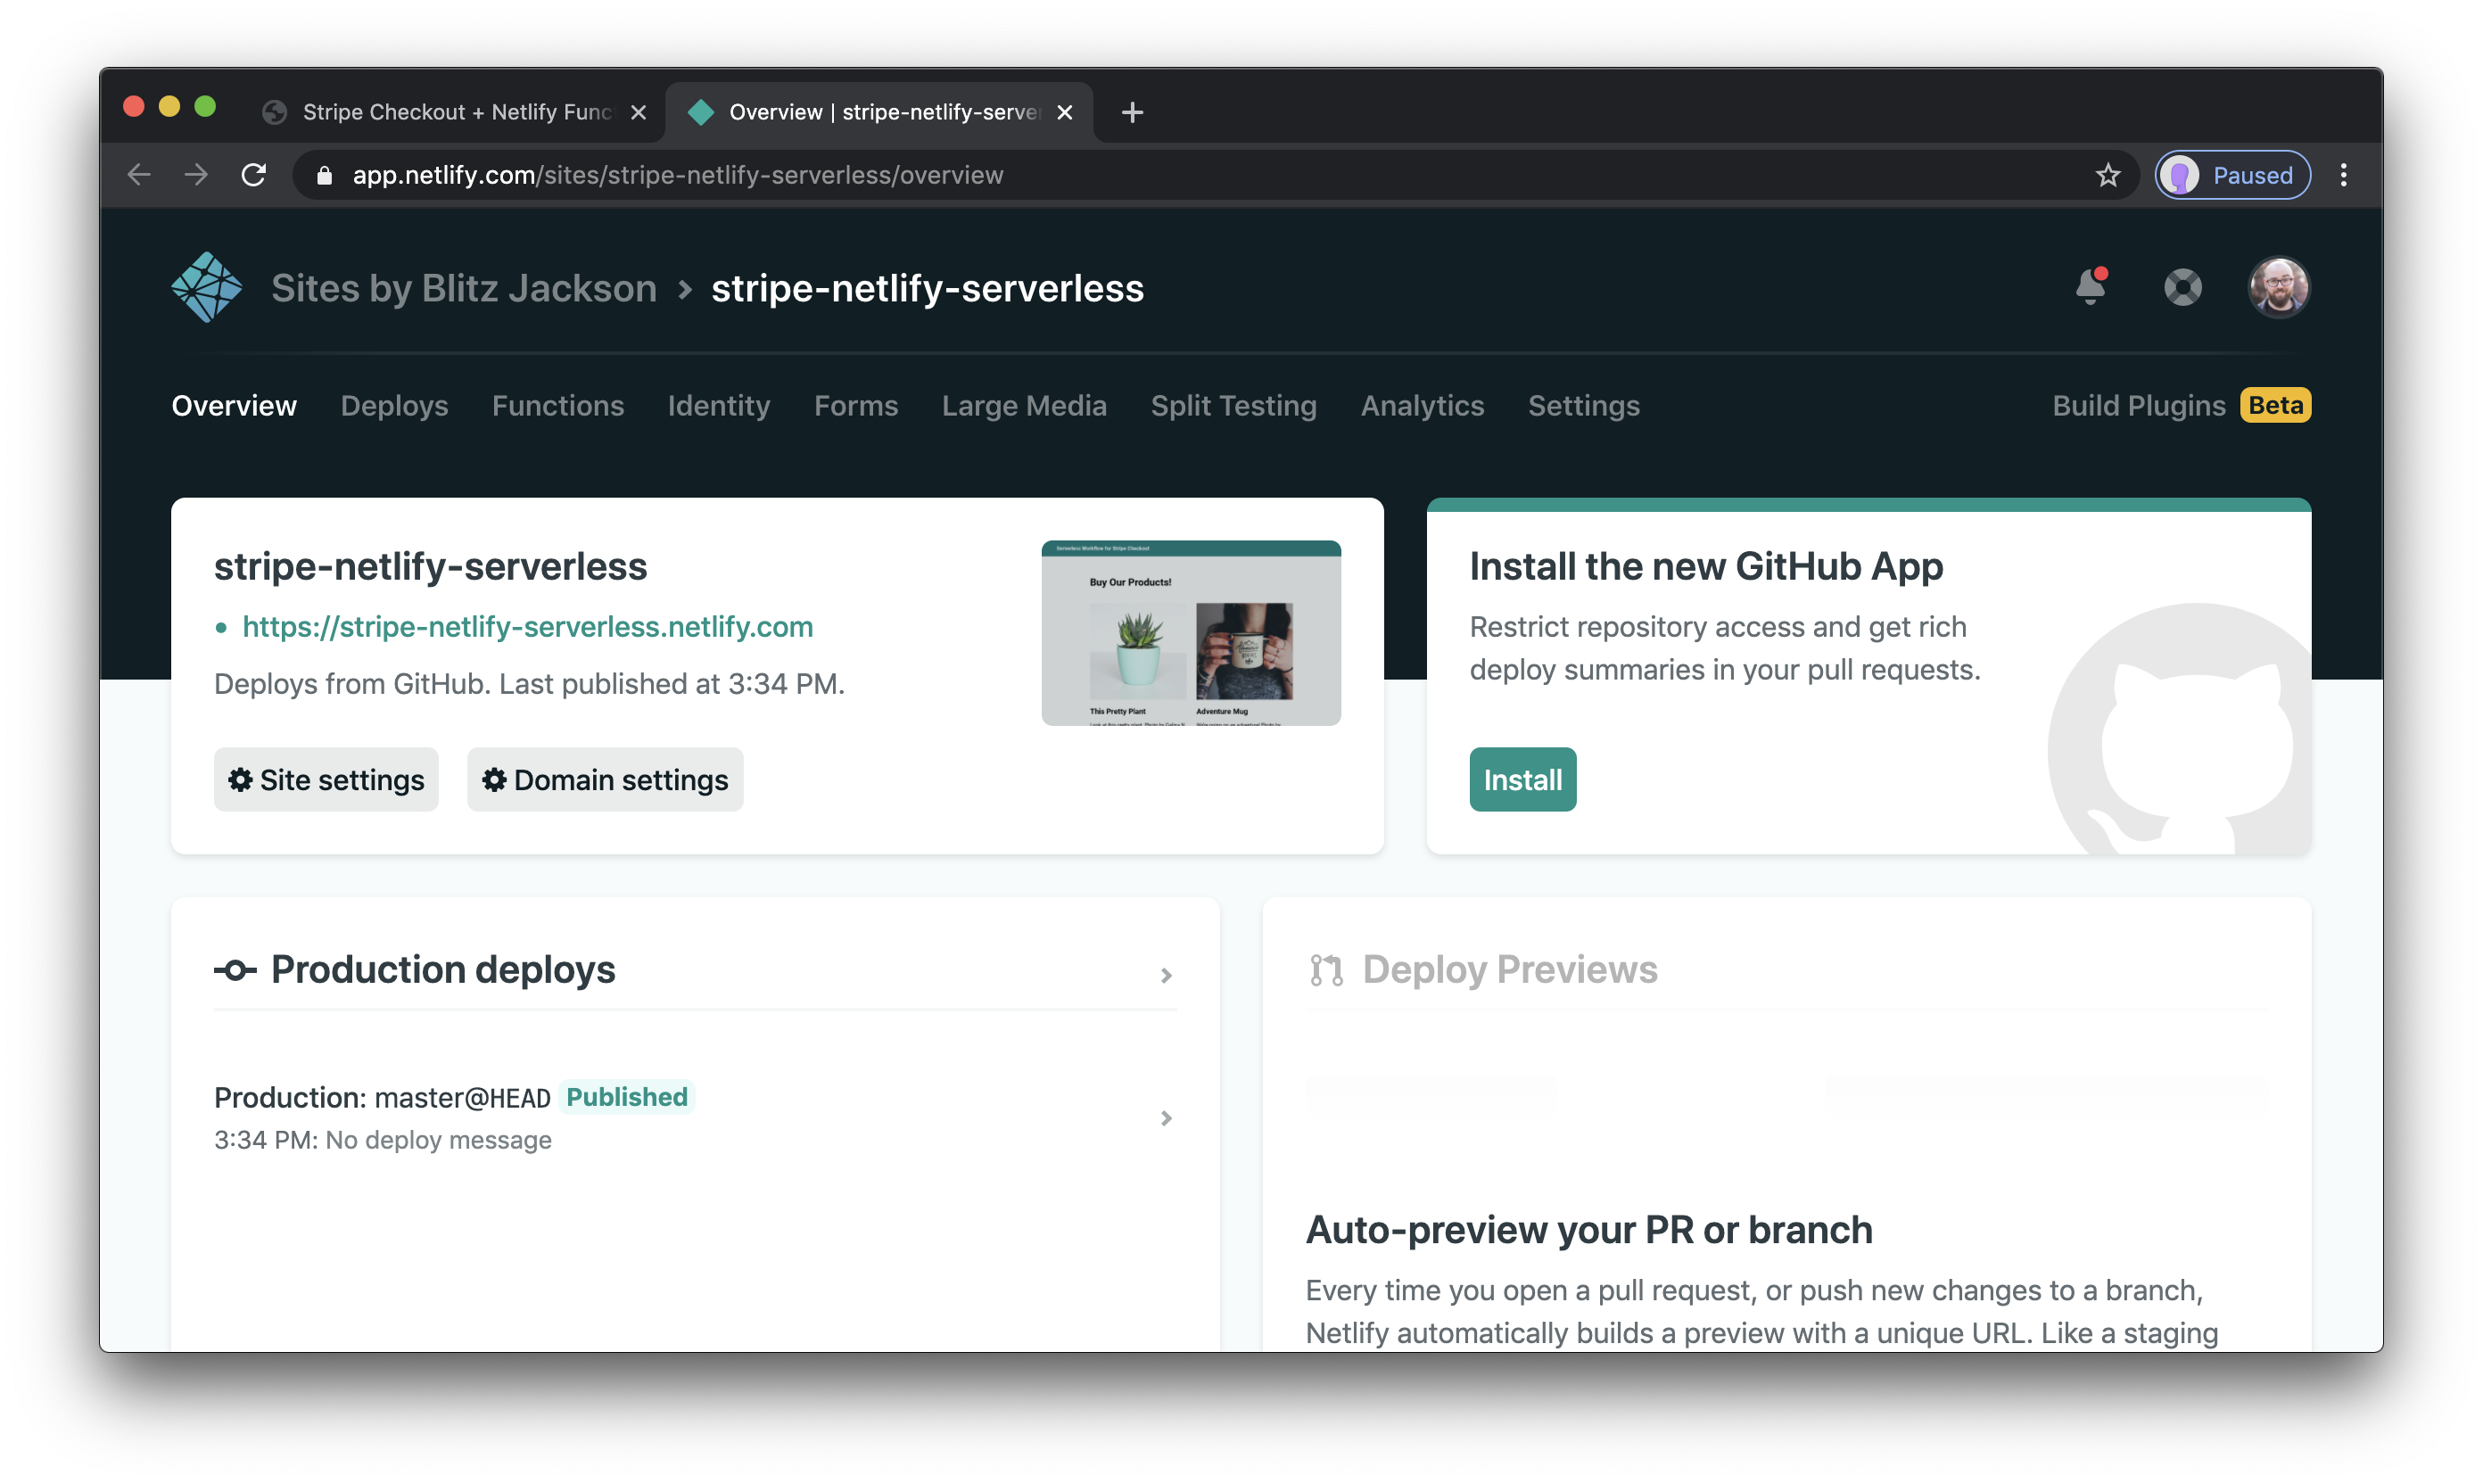
To visit the deployed site, we can use ntl open:site or click the URL displayed on the admin dashboard:
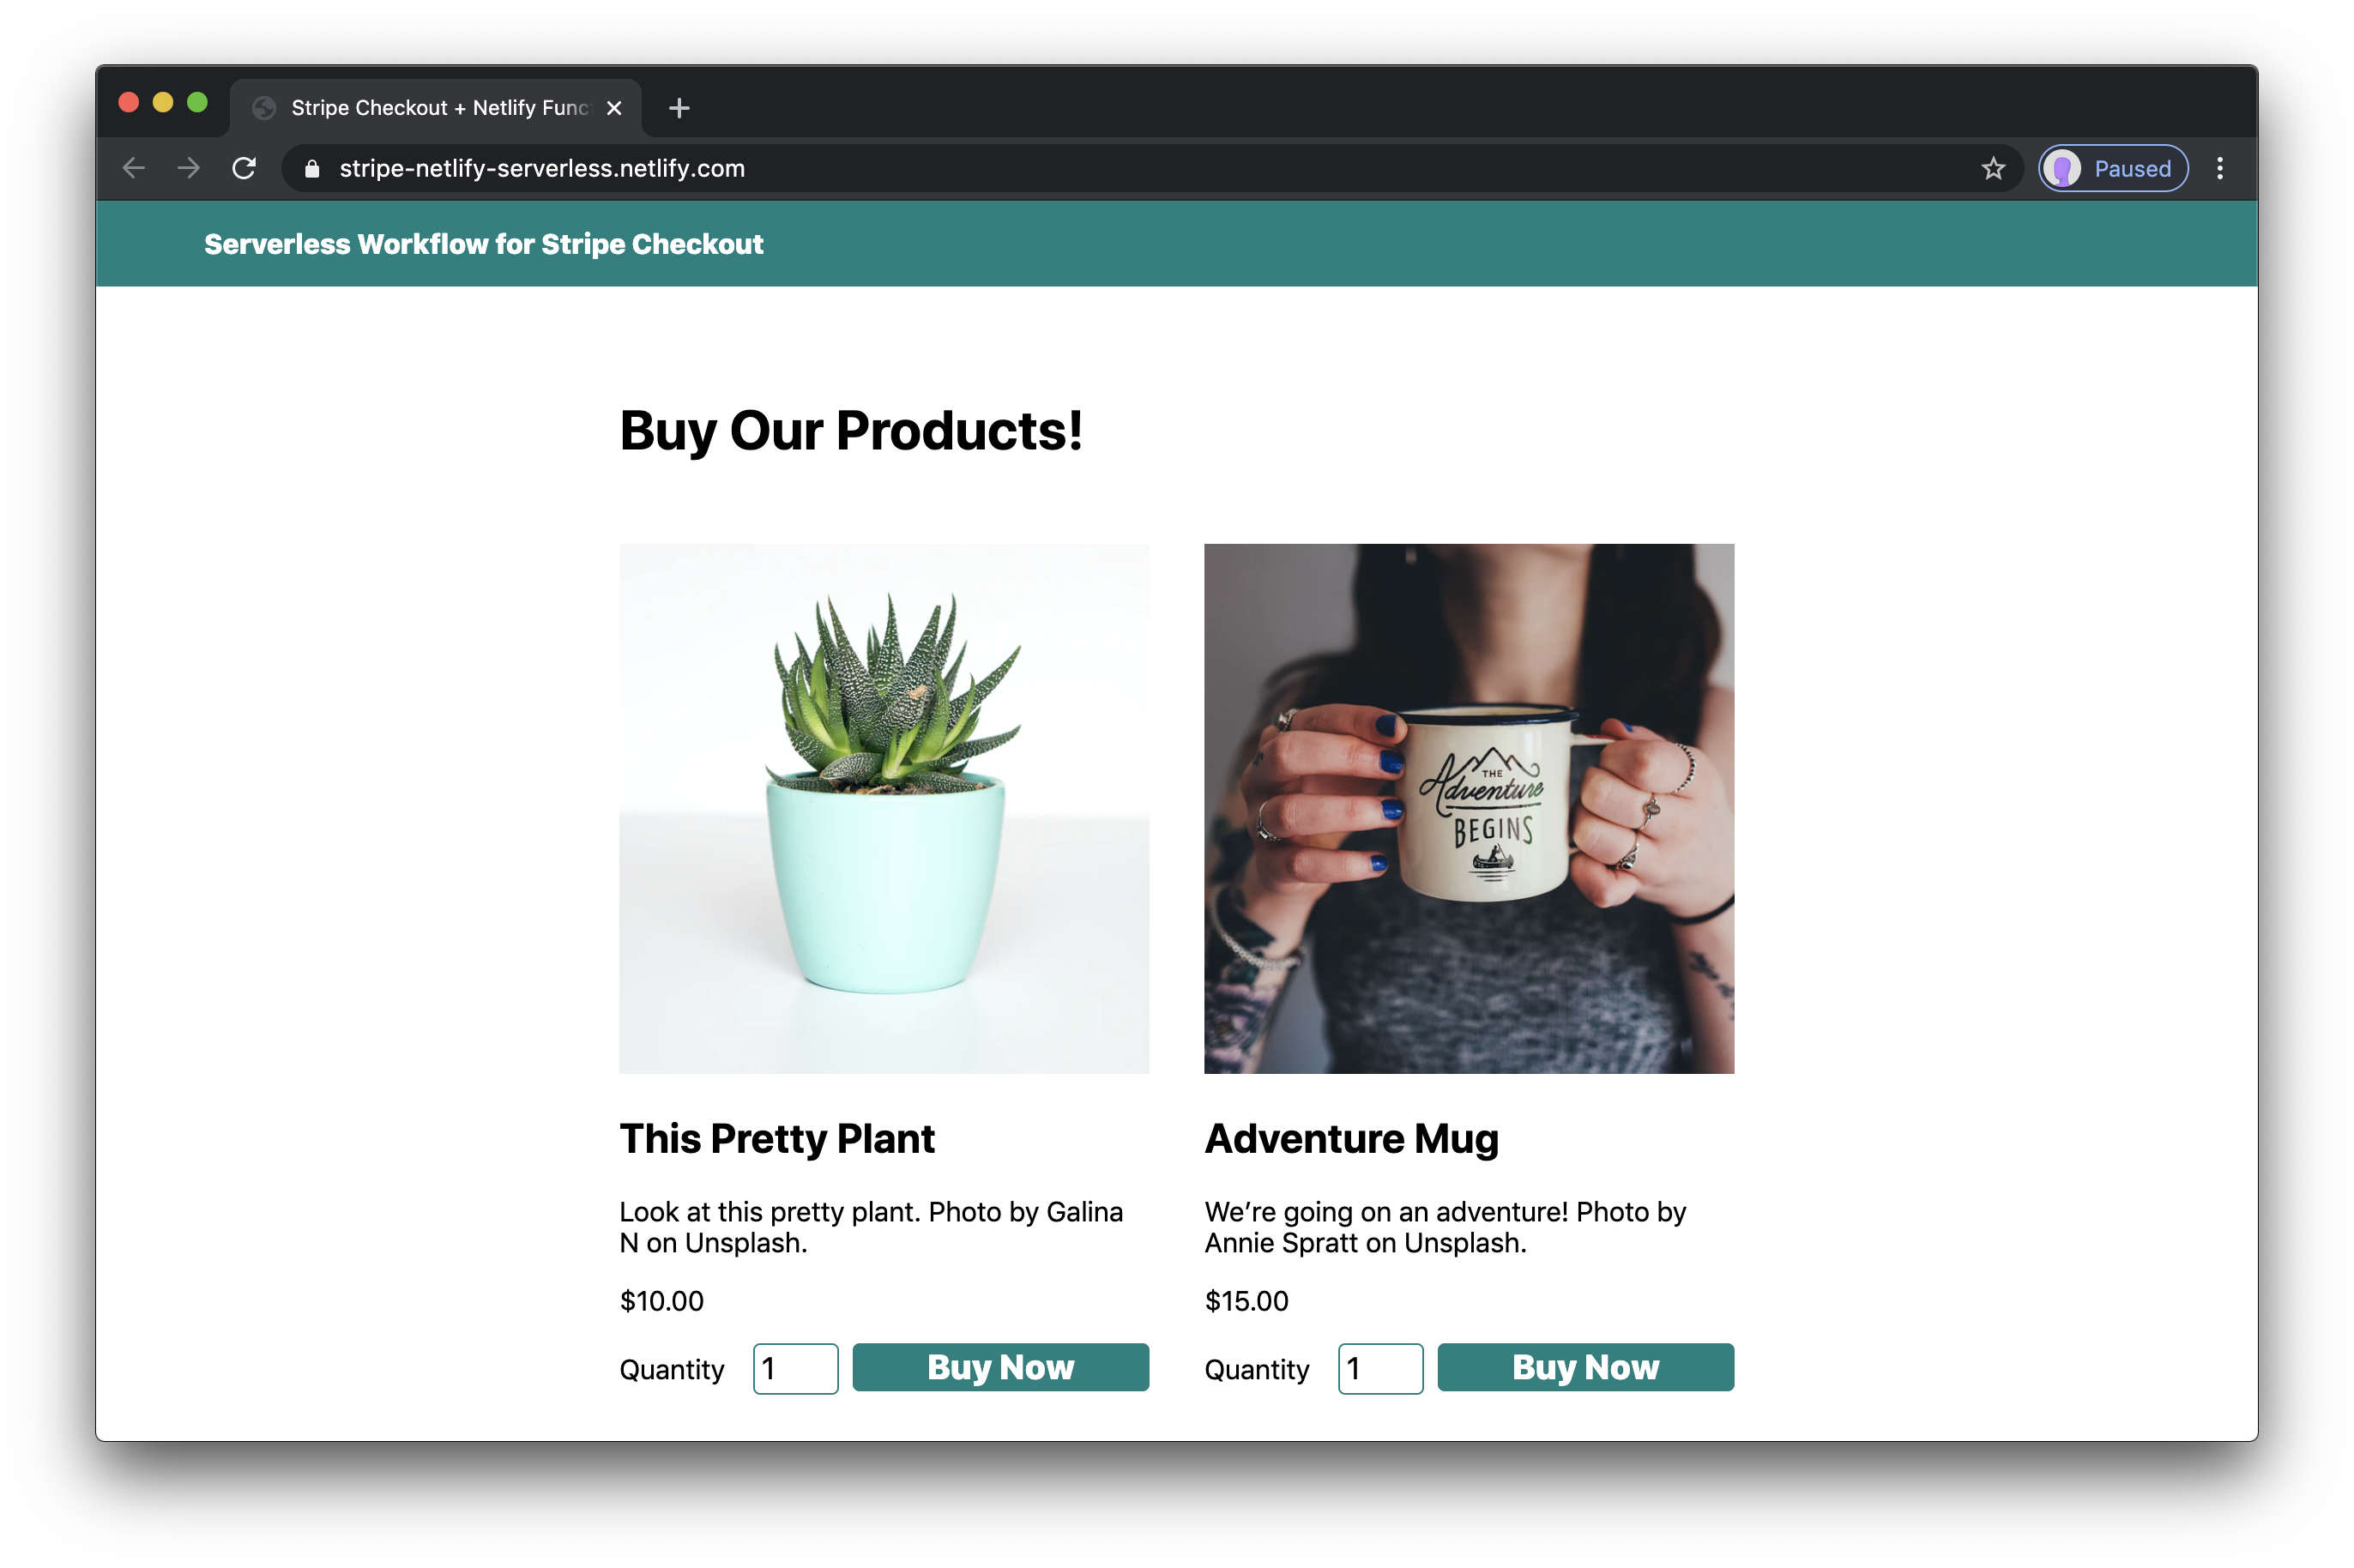
At this point, any time we make changes, we can commit them to our master branch and push the to GitHub — Netlify will automatically deploy the site every time we do!
Use Netlify environment variables for local development
Working with third-party APIs often requires secret tokens, API keys, and other sensitive data that we can’t commit to our code repositories. We can store these secret values as environment variables in Netlify, which makes them available to our builds without exposing them in source code. And since we’re using Netlify Dev, we can also use the environment variables locally, which is super convenient.
Get your test credentials from Stripe
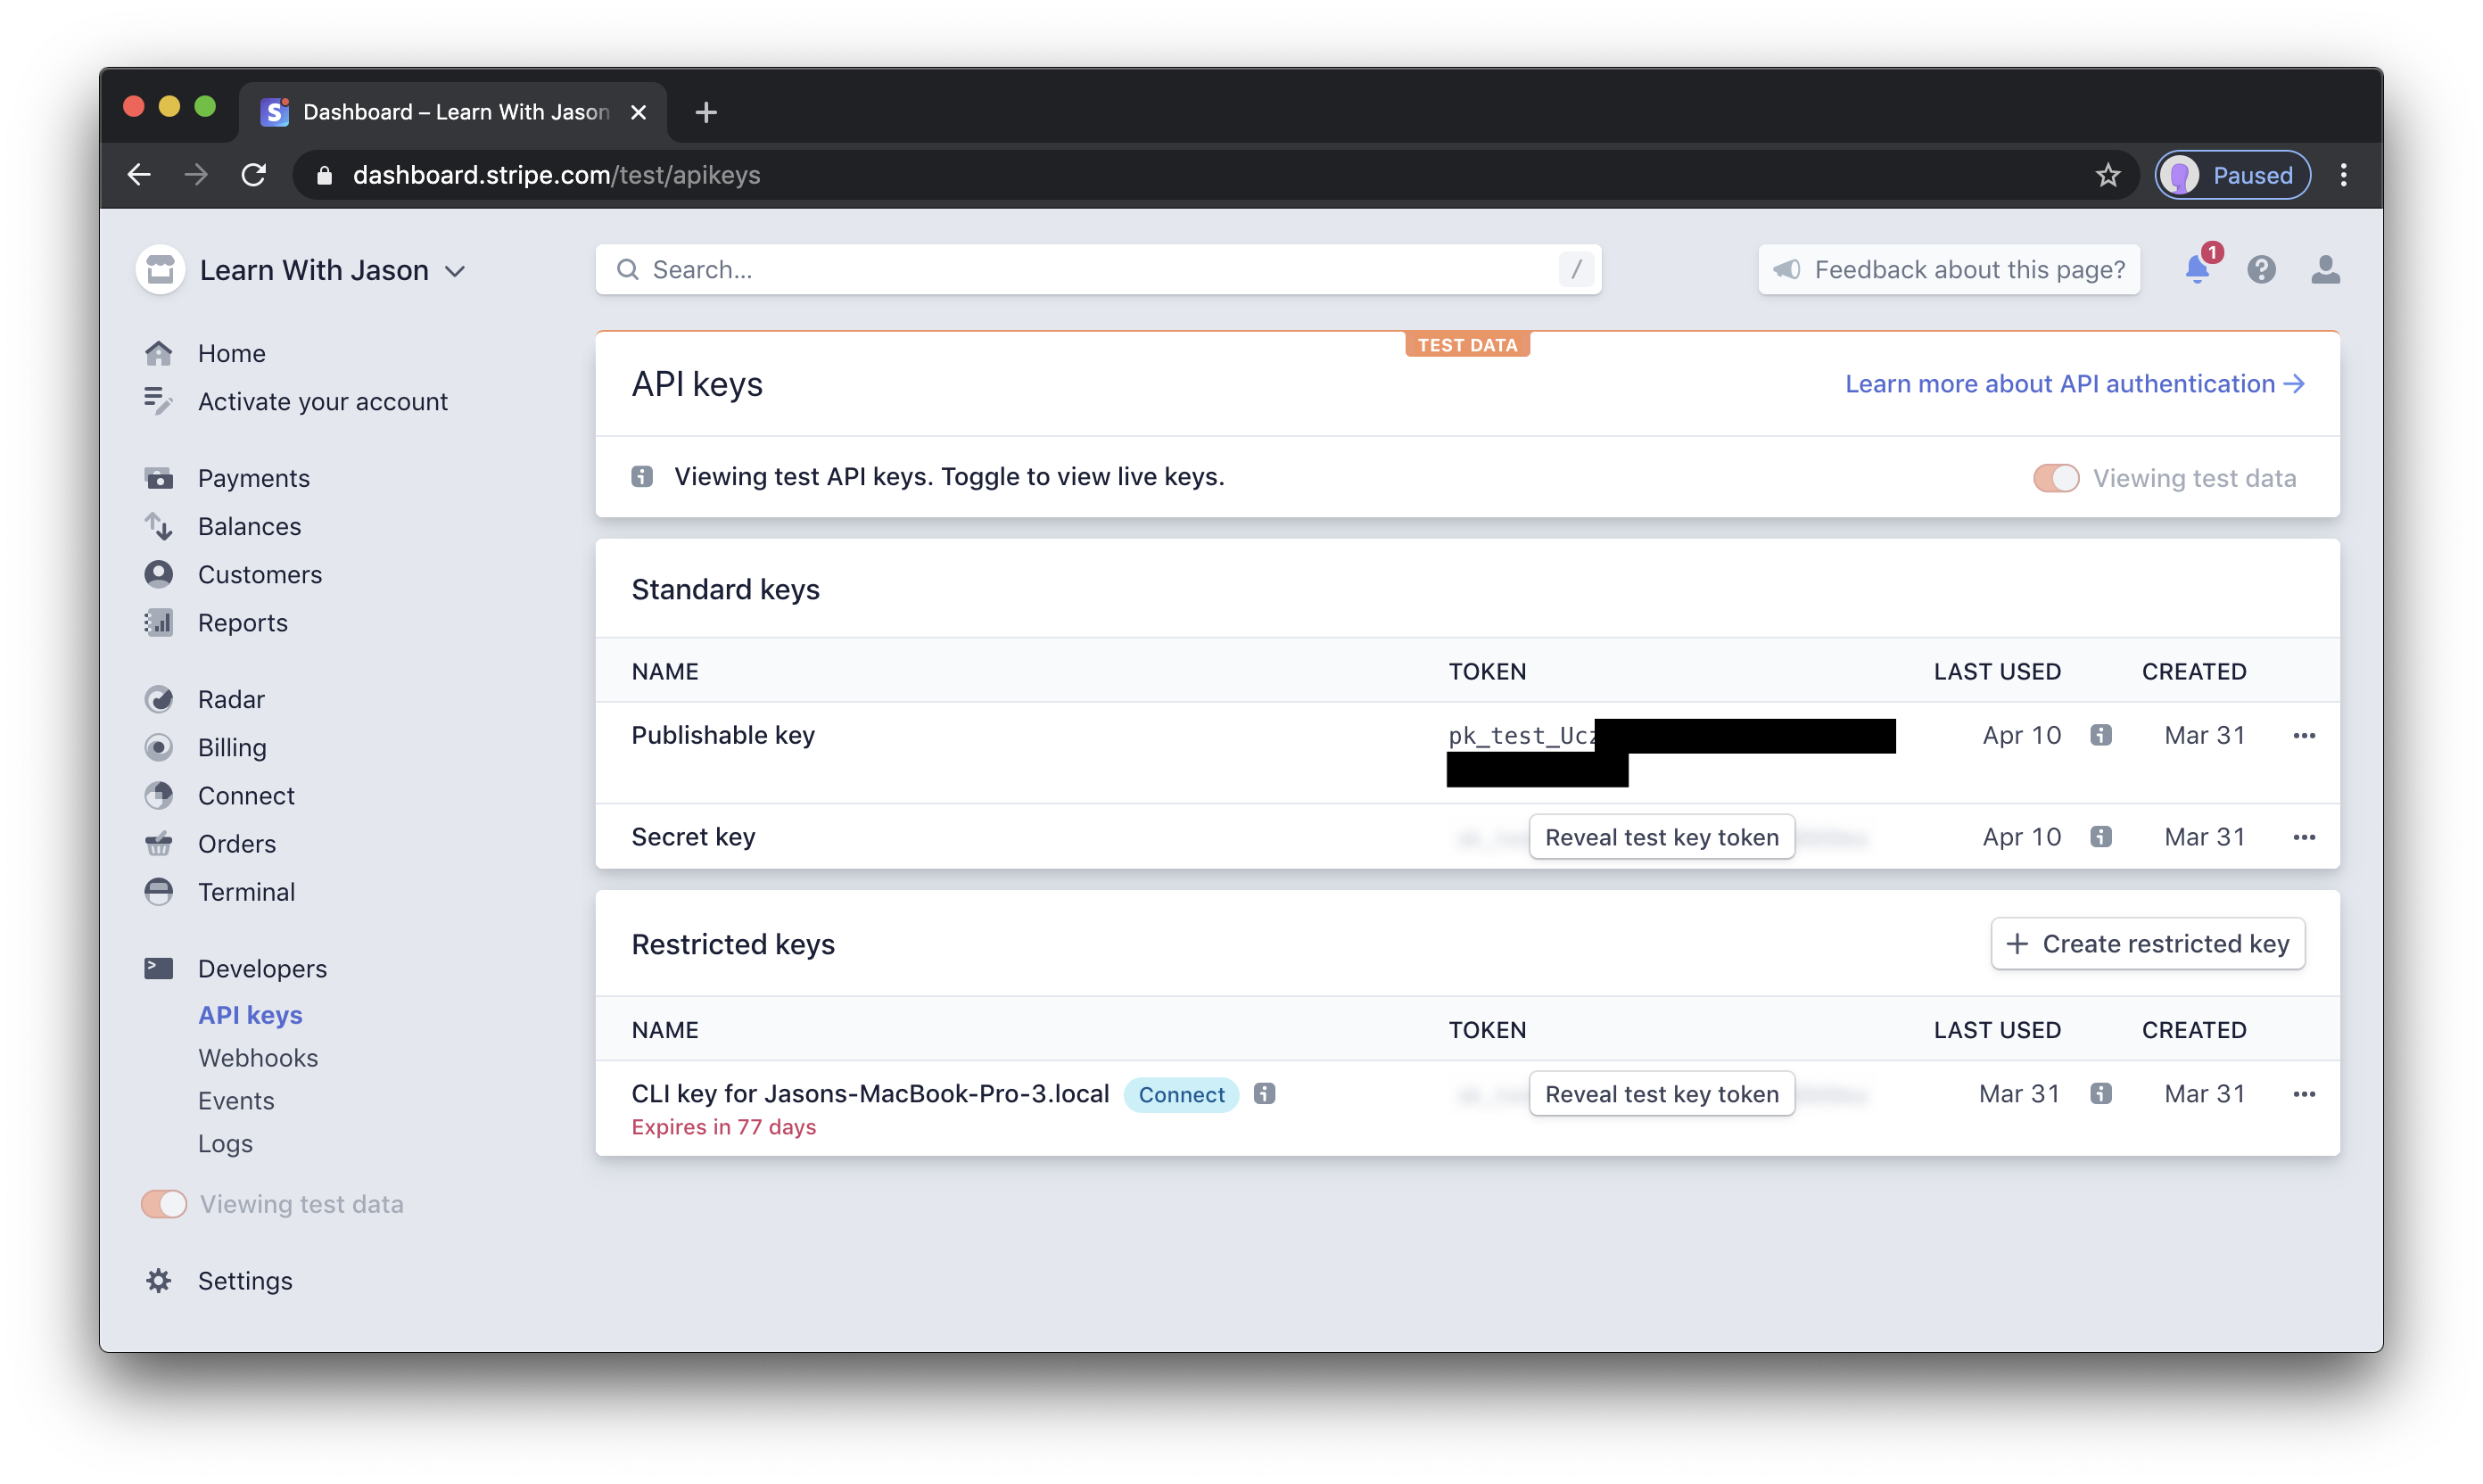
Selling products on our site will require both the publishable key and the secret key for our Stripe account. We’ll stay in test mode so we can run through the transactions without spending real money.
To get these values, we need to:
- Log into Stripe at https://dashboard.stripe.com/login
- Make sure the “Viewing test data” switch is toggled on
- Click “Developers” in the left-hand menu
- Click “API keys”
- Copy both the publishable key and secret key from the “Standard keys” panel
Store your Stripe credentials as environment variables in Netlify
Now that we have our Stripe keys, we need to make them available to our app.
To do this, open the Netlify dashboard at https://app.netlify.com and click on your site to open its overview.
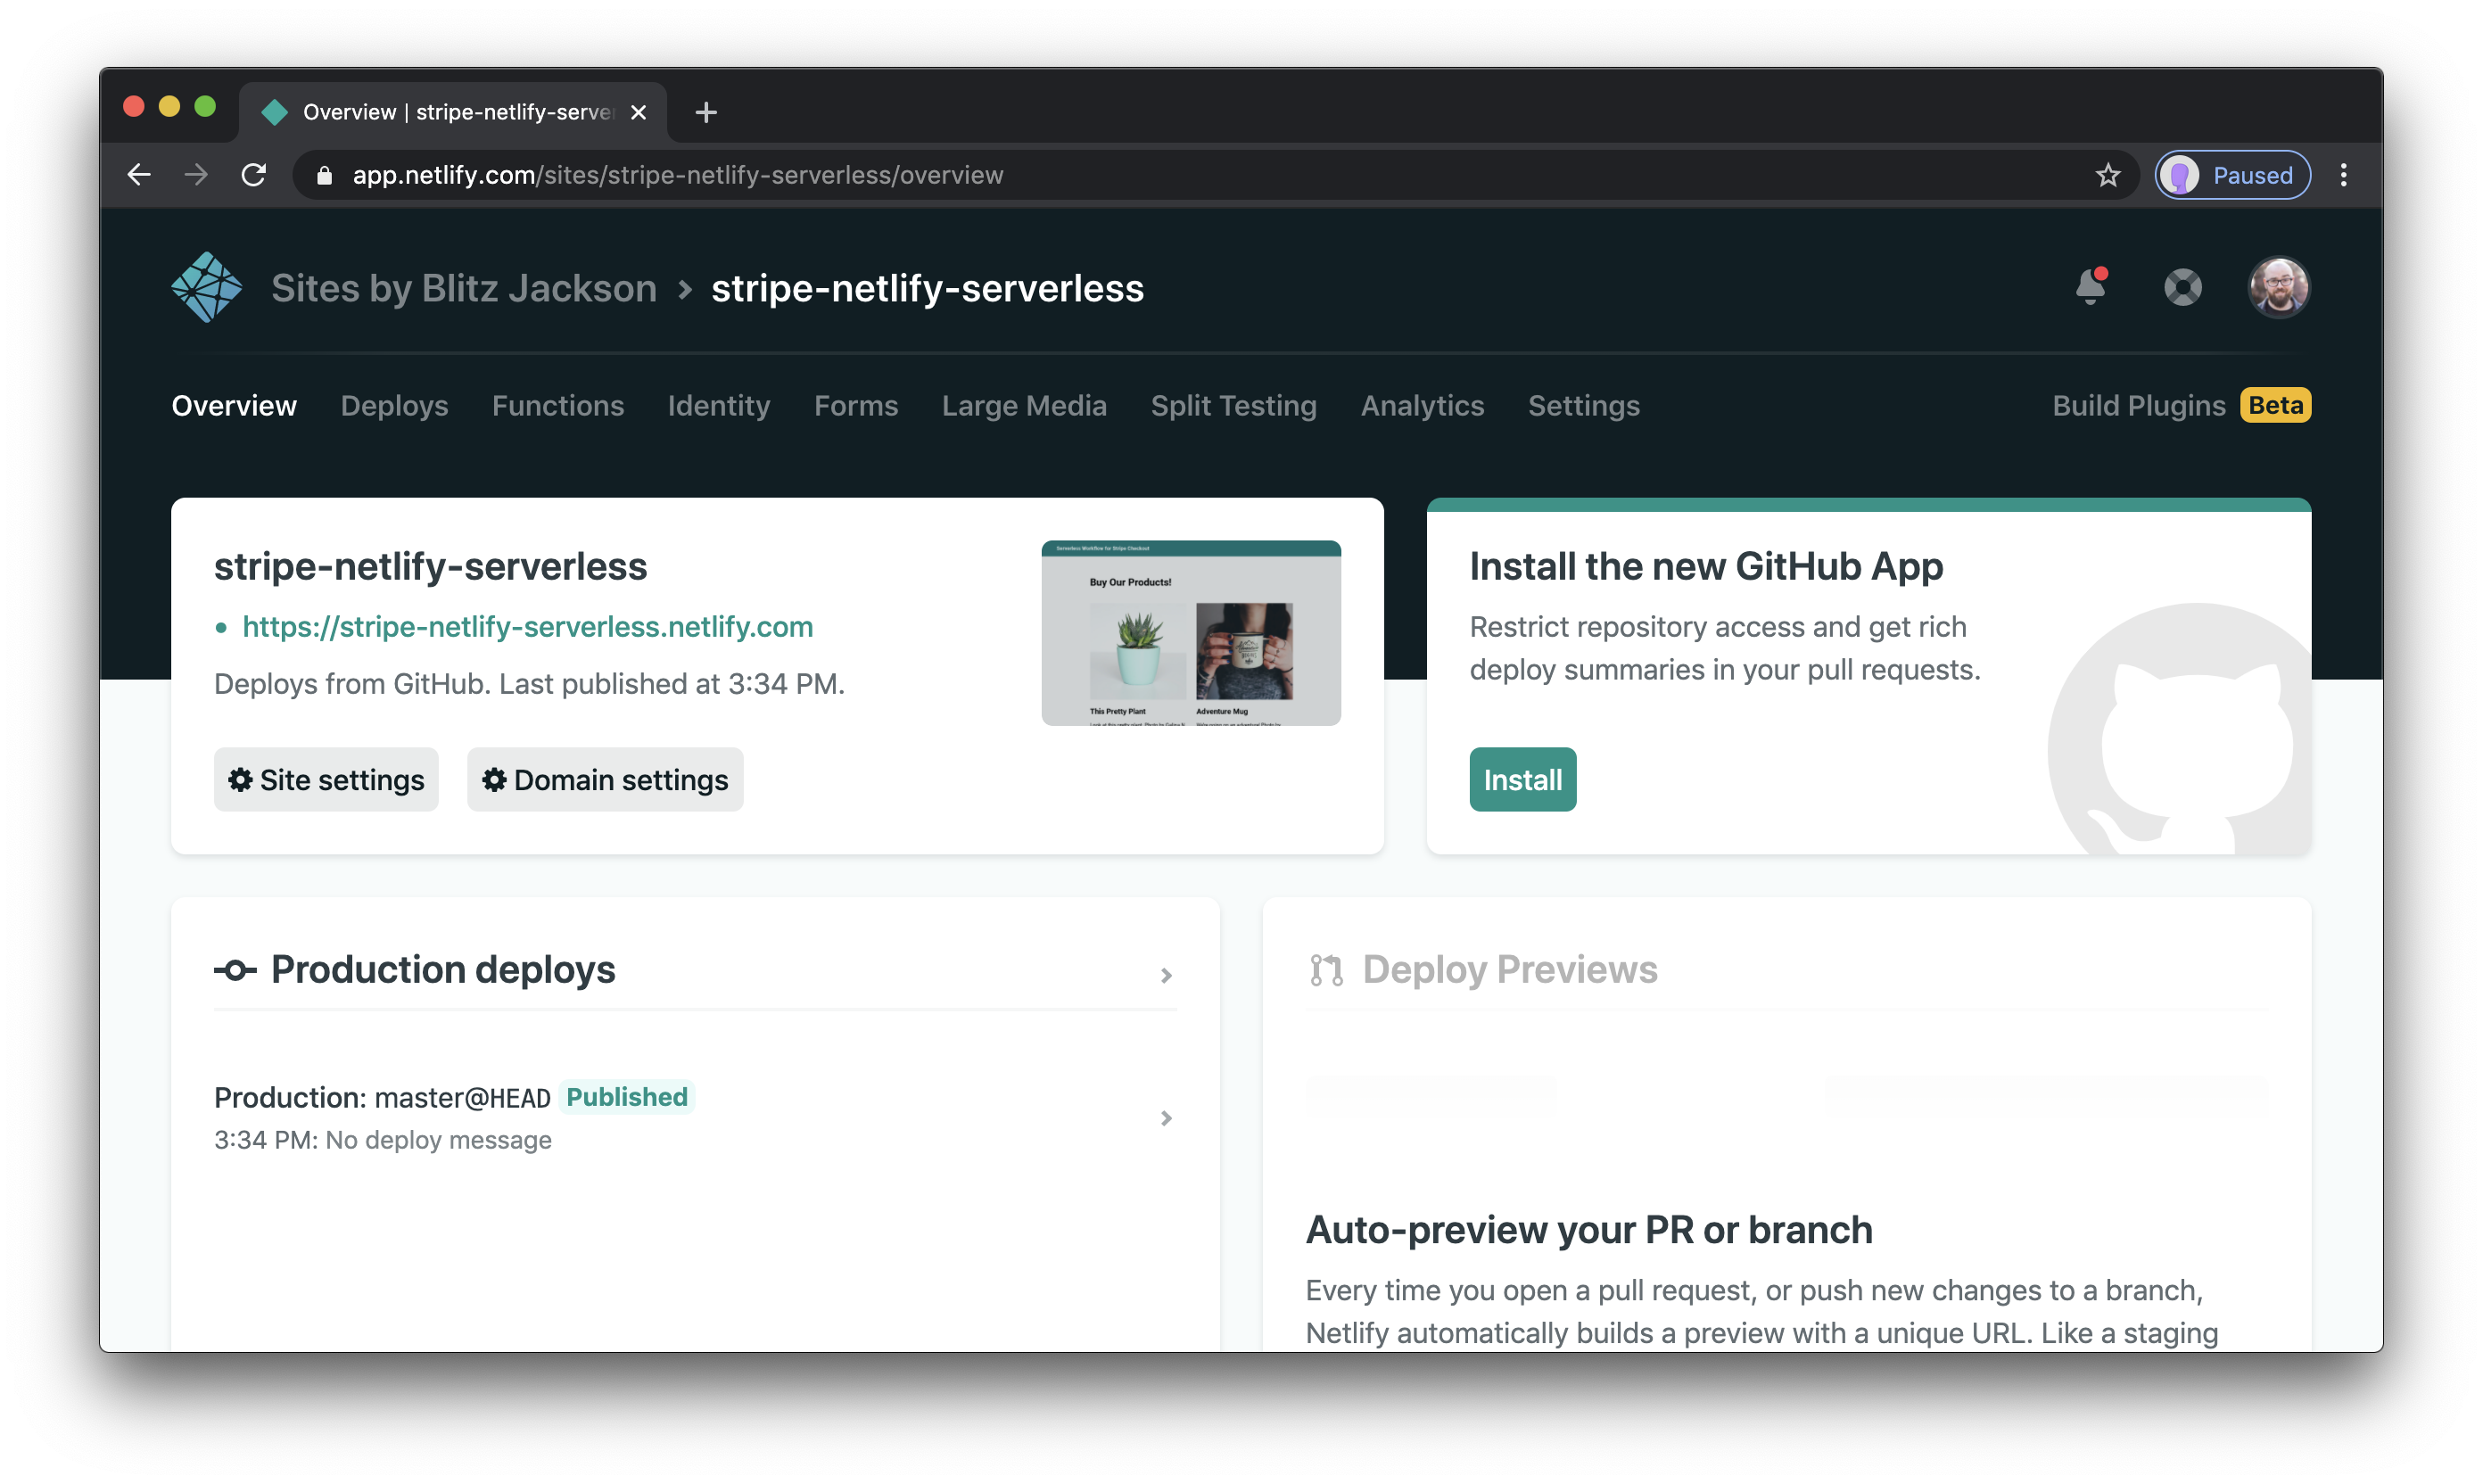
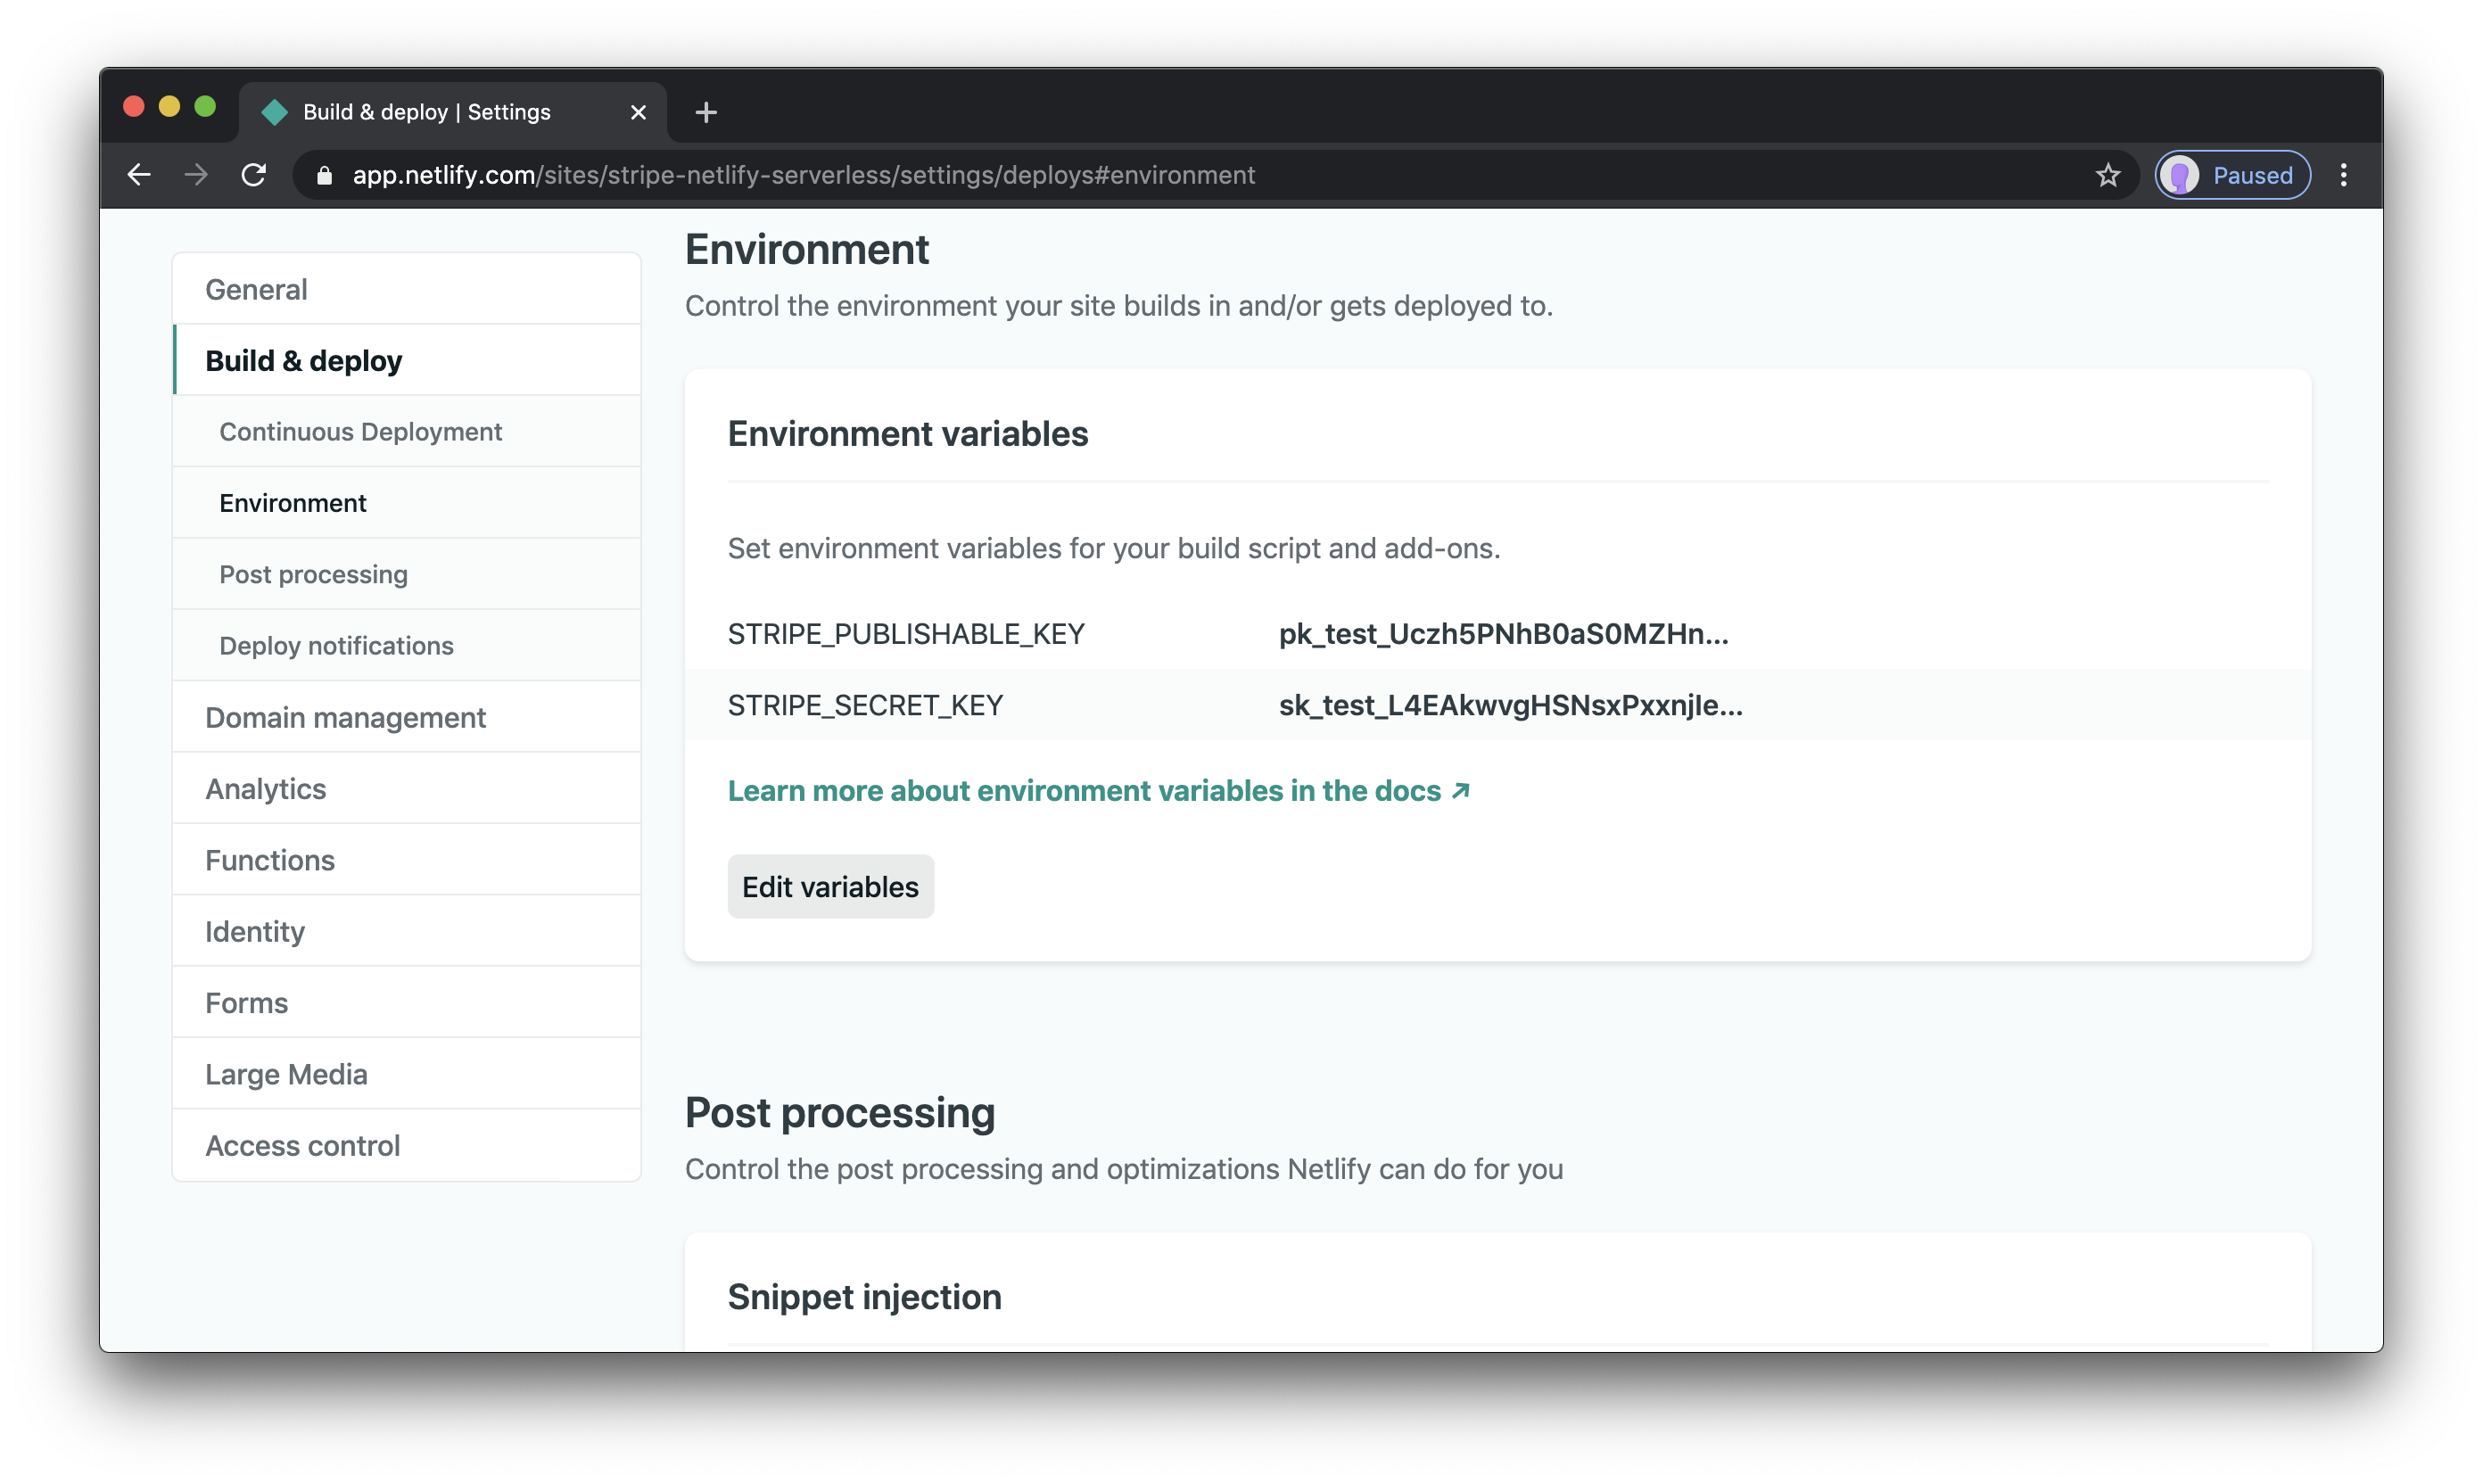
On the site’s admin dashboard, do the following:
- Click “Deploys” in the top nav
- Click “Deploy settings”
- Click “Envoronment” in the left-hand nav
- Click “Edit variables” and add
STRIPE_PUBLISHABLE_KEYandSTRIPE_SECRET_KEYwith the corresponding values from Stripe, then save
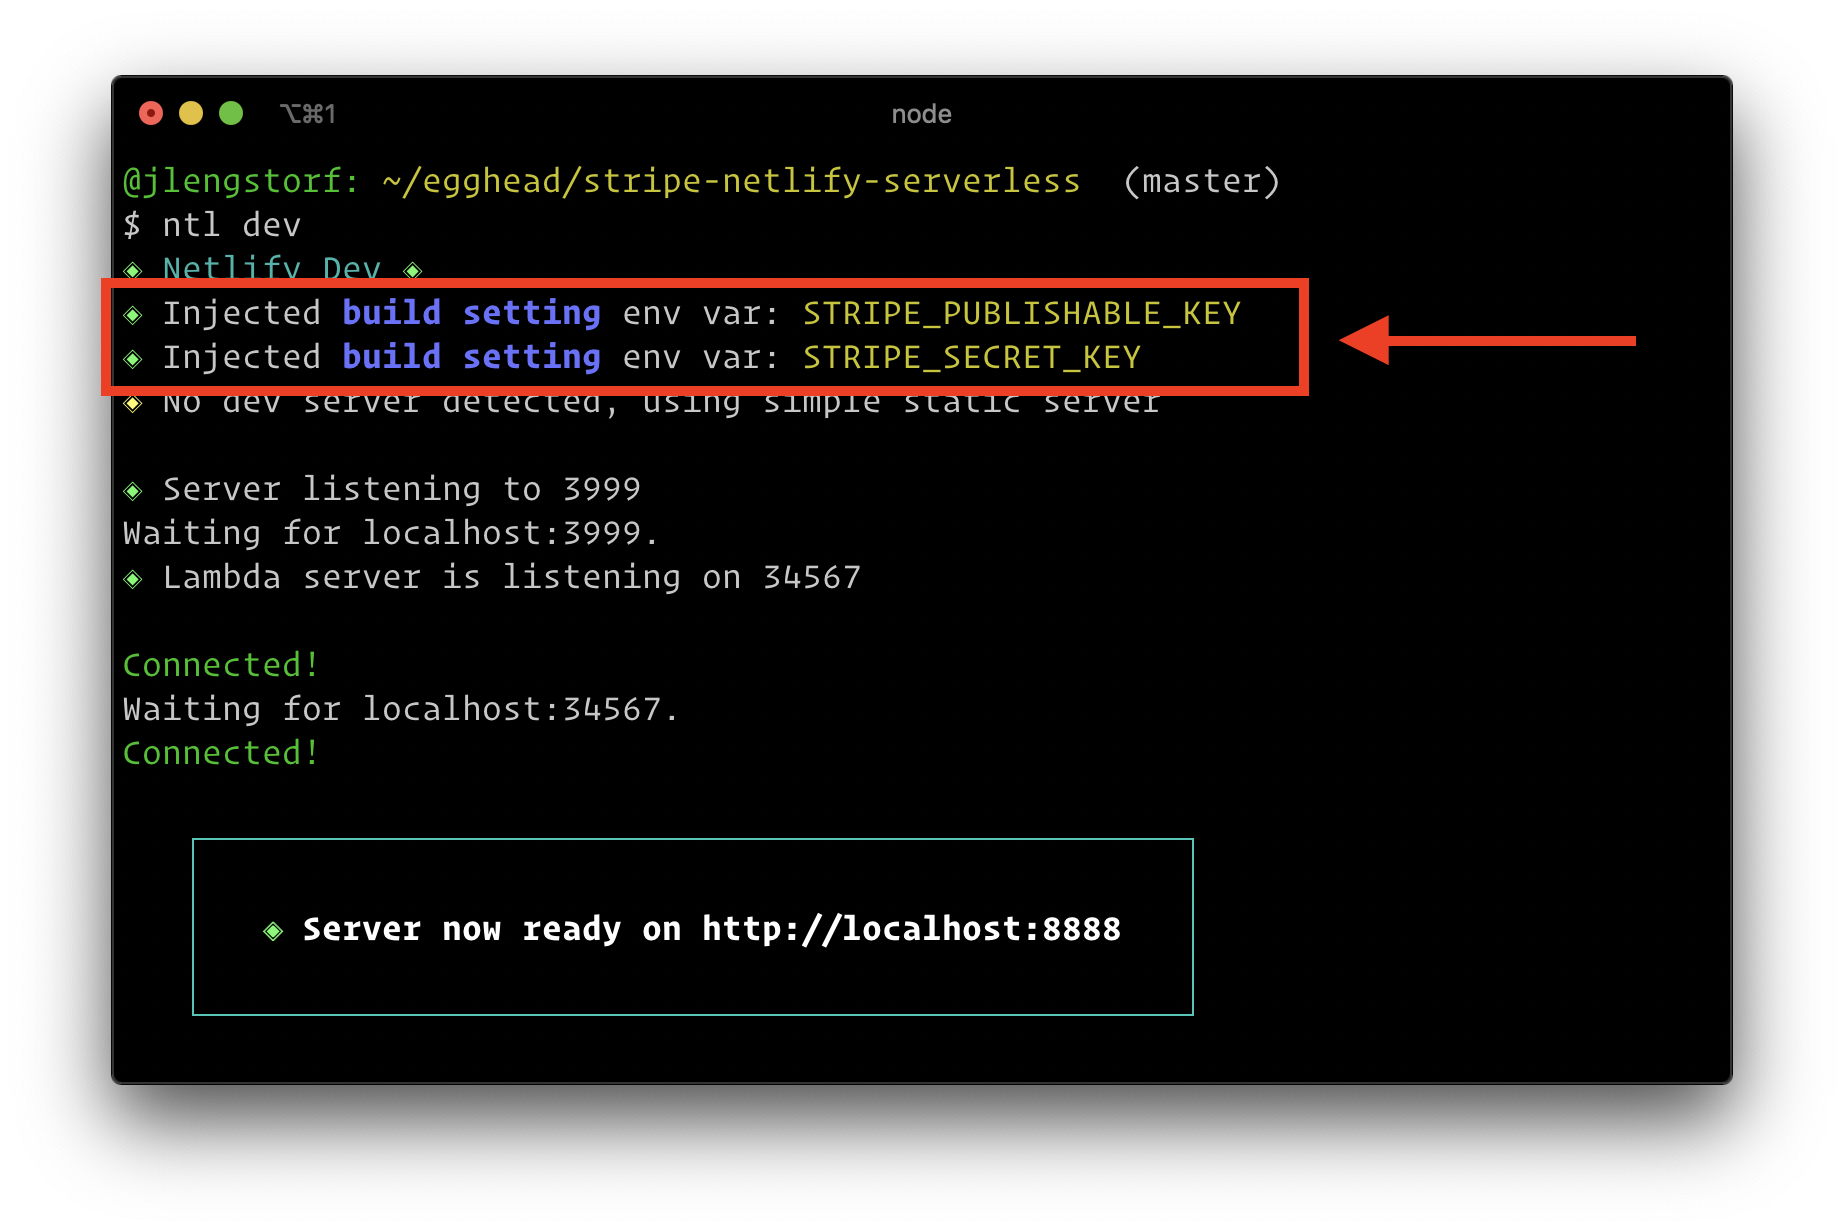
After saving, go to the command line and run ntl dev to see the environment variables injected locally. They’ll be printed in the CLI output near the top.
Handle product purchasing flow with Stripe Checkout
At this point, we have product data, a site to display the products, and Stripe credentials that will allow us to process payments — now we need to actually build the checkout flow!
Add Stripe.js to the store page
We’ll need to use Stripe.js to redirect customers to a secure checkout, so our first step is to include it from Stripe’s CDN in public/index.html:
      </template>

+     <script src="https://js.stripe.com/v3/"></script>
      <script type="module">
        import { loadProducts } from './js/load-products.js';

        loadProducts();
      </script>
    </body>
  </html>
NOTE: we’re using the CDN version because our public site doesn’t have a build step. There is also an npm-installable package available.
Send form purchases to a serverless function
Our client-side JavaScript needs to capture form submissions so we can send the form data off for processing with Stripe, so let’s start by writing that code.
Create a new file called public/js/stripe-purchase.js and add the following inside:
export async function handleFormSubmission(event) {
  event.preventDefault();
  const form = new FormData(event.target);

  const data = {
    sku: form.get('sku'),
    quantity: Number(form.get('quantity')),
  };

  const response = await fetch('/.netlify/functions/create-checkout', {
    method: 'POST',
    headers: {
      'Content-Type': 'application/json',
    },
    body: JSON.stringify(data),
  }).then((res) => res.json());

  const stripe = Stripe(response.publishableKey);
  const { error } = await stripe.redirectToCheckout({
    sessionId: response.sessionId,
  });

  if (error) {
    console.error(error);
  }
}
NOTE: this sends form submissions to a serverless function that we haven’t created yet!
NOTE: the
Stripeglobal comes from Stripe.js.
Now that we have a handler for form submissions, we need to update public/js/load-products.js to add an event listener to each product form:
+ import { handleFormSubmission } from './stripe-purchase.js';

  function createProductFromTemplate(item) {
    const template = document.querySelector('#product');
    const product = template.content.cloneNode(true);

    product.querySelector('h2').innerText = item.name;
    product.querySelector('.description').innerText = item.description;
    product.querySelector('[name=sku]').value = item.sku;
    product.querySelector('.price').innerText = new Intl.NumberFormat('en-US', {
      style: 'currency',
      currency: item.currency,
    }).format((item.amount / 100).toFixed(2));

    const img = product.querySelector('img');
    img.src = item.image;
    img.alt = item.name;

+   const form = product.querySelector('form');
+   form.addEventListener('submit', handleFormSubmission);

    return product;
  }
Add a serverless function to create a Stripe Checkout session
Our form handler sends data to a serverless function called create-checkout, so let’s create that now.
This function is a little more complex than get-products.js, so we need to add a few things before we can start building it.
Since our function will use the stripe npm package, we need to create functions/package.json and install stripe:
# move into the functions directory
cd functions/

# create package.json
yarn init -y

# install Stripe
npm i stripe

# move back to the project root
cd ..
Next, we need to make sure that Netlify will install our function dependencies, so let’s update netlify.toml to install the function dependencies during the build:
  [build]
+   command = "cd functions && npm i && cd .."
    publish = "public"
    functions = "functions"
With the setup done, we can create functions/create-checkout.js and add the following:
const stripe = require('stripe')(process.env.STRIPE_SECRET_KEY);
const inventory = require('./data/products.json');

exports.handler = async (event) => {
  const { sku, quantity } = JSON.parse(event.body);
  const product = inventory.find((p) => p.sku === sku);
  const validatedQuantity = quantity > 0 && quantity < 11 ? quantity : 1;

  const session = await stripe.checkout.sessions.create({
    payment_method_types: ['card'],
    billing_address_collection: 'auto',
    shipping_address_collection: {
      allowed_countries: ['US', 'CA'],
    },
    success_url: `${process.env.URL}/success.html`,
    cancel_url: process.env.URL,
    line_items: [
      {
        name: product.name,
        description: product.description,
        images: [product.image],
        amount: product.amount,
        currency: product.currency,
        quantity: validatedQuantity,
      },
    ],
  });

  return {
    statusCode: 200,
    body: JSON.stringify({
      sessionId: session.id,
      publishableKey: process.env.STRIPE_PUBLISHABLE_KEY,
    }),
  };
};
This code pulls the SKU and quantity out of the event’s body, loads the product data, and validates that the quantity falls within bounds.
Next, it uses the stripe package to create a new Checkout session and passes in the selected product’s data as an entry in the line_items array.
Check out the docs for more information on the usage and options available with Stripe Checkout.
NOTE:
process.env.URLis set by Netlify and allows us to redirect to an absolute URL without having to explicitly change this code to match our domain name, which helps with reusability.NOTE: we return the Stripe publishable key here so that we don’t need to save it in our frontend code. It’s not something we need to keep secret, but we also want to avoid hard-coded values whenever possible.
Create a success page to display after purchase
In our Stripe Checkout session creation call, we set a success_url of ${process.env.URL}/success.html — this means we need to create success.html to make that work.
Create a new file called public/success.html and add the following:
<!DOCTYPE html>
<html lang="en">
  <head>
    <meta charset="UTF-8" />
    <meta name="viewport" content="width=device-width, initial-scale=1.0" />
    <title>Purchase Successful · Stripe Checkout + Netlify Functions!</title>
    <link rel="stylesheet" href="css/main.css" />
  </head>
  <body>
    <header>
      <a href="/" rel="home">Serverless Workflow for Stripe Checkout</a>
    </header>

    <main>
      <h1>Purchase successful!</h1>
      <p>Your test transaction went through! Technology is neat!</p>
    </main>
  </body>
</html>
Test the checkout workflow
That’s it! We’ve done it!
If we start the site using ntl dev now, we can purchase a product in test mode!

Push the site to production
To take our site live, all we have to do is commit and push the changes:
# add and commit all the changes
git commit -am 'feat: we have a working store!'

# push the changes to GitHub
git push origin master
Netlify will automatically deploy the updated site and functions! After changing out the Stripe keys for live credentials, this site is completely ready to process real transactions in a secure, fully PCI compliant way!
We covered a lot of ground in this tutorial, but we were able to go from an empty folder to a fully functioning e-commerce site in production in a relatively short amount of time.
What will you sell on the Jamstack?
Now that you’ve got the tools to build Jamstack sites with e-commerce, what will you sell? Let us know on Twitter!
For more content like this, check out the Learn With Jason schedule.

