Guides & Tutorials
Add a Netlify-powered contact form to your Next.js site
Hey all you cool cats and kittens, have you ever wanted to build a form into your website, but didn’t want to deal with setting up a way to pull in a backend, or an ugly 3rd party embedded one? Well, you’re in luck, thanks to Netlify Forms.
For this tutorial, let's assume I have a Next.js application that is already styled up, and I want to add a Contact page.
Note: If you want to build along with me but don’t have a project to work with, try this Next + Netlify starter project that will give you a starting point!
Creating a form
Now, the first thing I’m going to do is add a contact.js file to my pages/ directory. This will automatically add a route in Next.js that people can navigate to.
export default function Contact() {
    return (<div>Contact me!</div>)
}
Now, let’s make ourselves a form component that we can put on this page. Head over to wherever your components live (mine is in my components/ directory), and make a ContactForm.js file and stick something like this in there:
export default function ContactForm() {
  return (
    <form name="contact" method="POST">
      <input type="hidden" name="form-name" value="contact" />
      <p>
<input type="text" name="firstname" id="firstname" />
        <label htmlFor="yourname">
          Your Name:
        </label> <br />
        <input type="text" name="name" id="yourname" />
      </p>
      <p>
        <label htmlFor="youremail">
          Your Email:
        </label> <br />
        <input type="email" name="email" id="youremail" />
      </p>
      <p>
        <label htmlFor="yourmessage">
          Message:
        </label> <br />
        <textarea name="message" id="yourmessage"></textarea>
      </p>
      <p>
        <button type="submit">Send</button>
      </p>
    </form>
  )
}
This is a pretty straightforward form, no real frills. You might notice we use htmlFor instead of for for the labels, and that's because for is a reserved word in JavaScript!
Anyway, you can style it however you want, and import it into your Contact page component over in pages/:
  export default function Contact() {
    return (
      <div>
+       <ContactForm />
      </div>
    )
  }
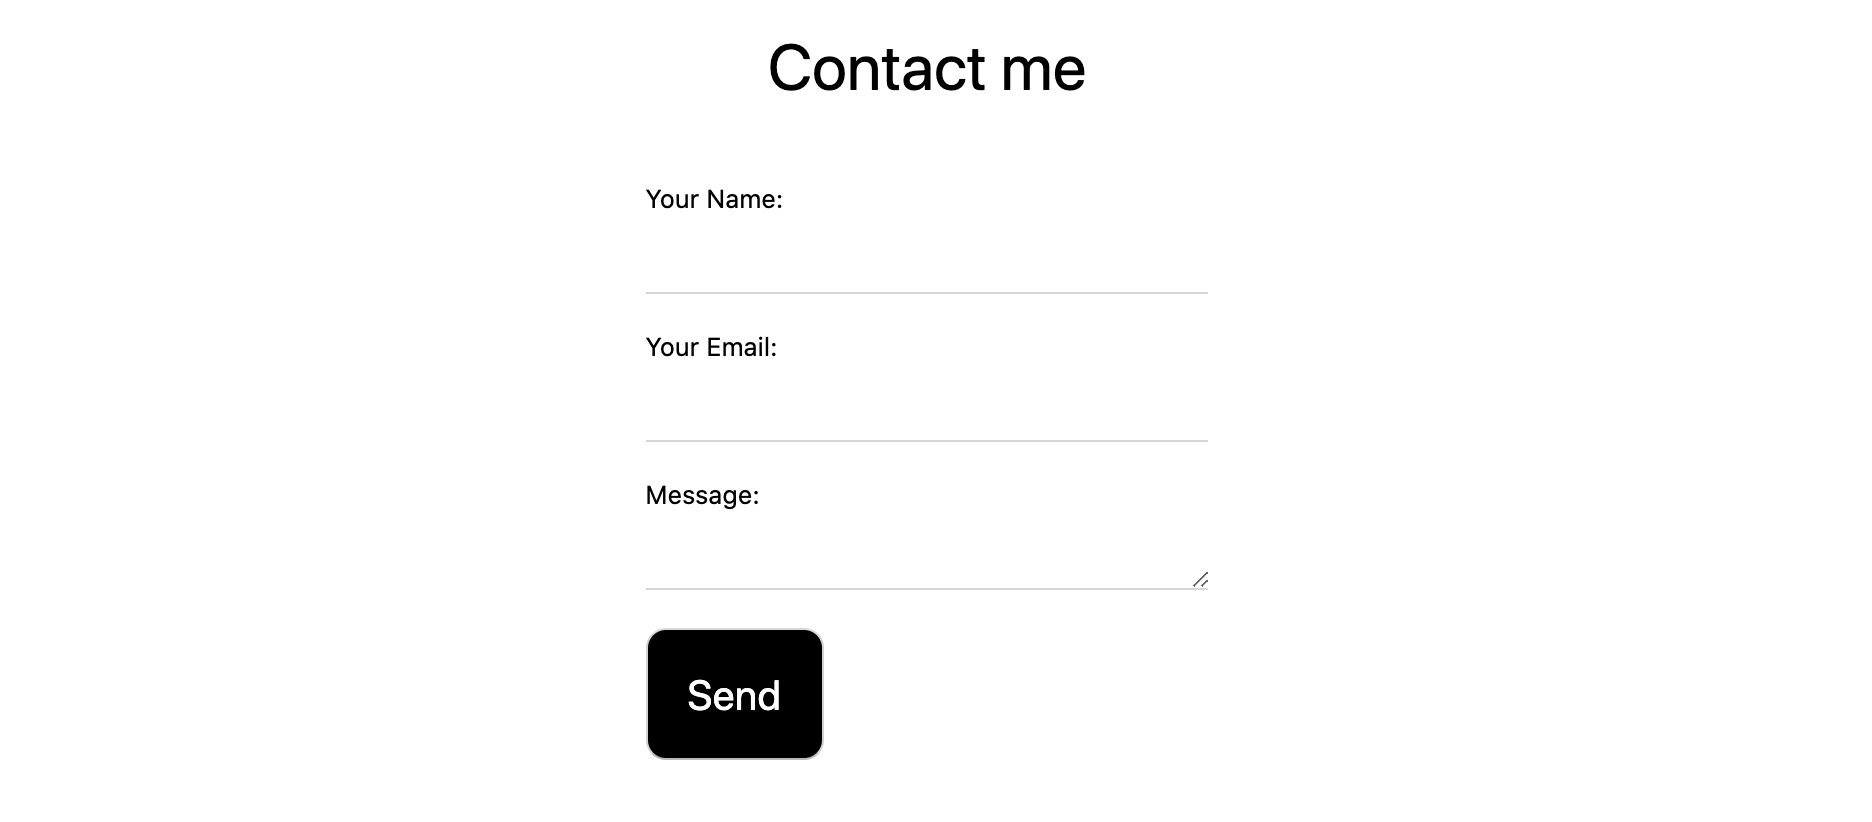
Alright, now run your application (typically with yarn run dev unless you changed it in your own project), and navigate to localhost:3000/contact! Depending on how you styled it, you should see a little something like this:

Now, if you were to deploy this to Netlify right now, it won’t do anything. It’s a plain form with nothing hooked up to it to make the form data go anywhere. Let’s fix that, shall we?
Adding Netlify to our form
Go back to your ContactForm.js and add data-netlify="true" to your <form> tag:
  export default function ContactForm() {
    return (
+     <form name="contact" method="POST" data-netlify="true">
        <input type="hidden" name="form-name" value="contact" />
        <p>
          <label>
    ...
Pretty dang simple, huh? We just have one more step that’s more Next.js-specific. Because of how Next.js handles routes, it will return a 404 page when you submit a Netlify-powered form (because the default page that Netlify generates upon successful submission is not listed in our existing routes). You have a few options here, like sending people back to the homepage (and adding some kind of query parameter in the URL to trigger a “success” message of some kind), set up a function that doesn’t let users redirect at all, or you could make a dedicated page for a successful form submission. Let’s do this last option!
Make a new file in your pages/ directory, called success.js. In there, fill it with something like this:
export default function Success() {
  return <div>Form successfully submitted!</div>
}
Now, back in ContactForm.js, add an action attribute to your form that directs users to /success:
  export default function ContactForm() {
    return (
+     <form name="contact" action="/success" method="POST" data-netlify="true">
        <input type="hidden" name="form-name" value="contact" />
        <p>
          <label>
    ...
Now, go ahead and deploy your site to Netlify, and watch your form in action (pun intended)!
Gathering submissions
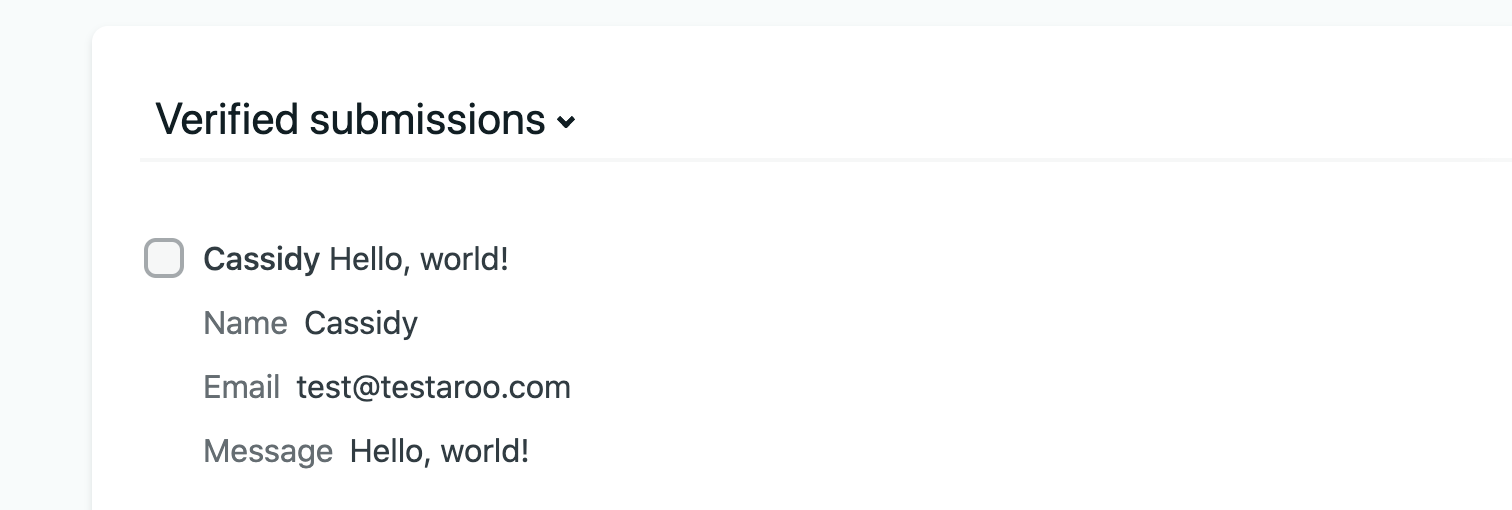
From your site’s dashboard, you can click on “Forms” and go to your form named “contact” (the name comes from the hidden input that we put in our ContactForm component), and you can check out the Verified Submissions there!

There’s even more options you can add to this form, like extra spam prevention and adding a serverless function on the submission-created event to capture the data!
It's done!
Now go forth, and try this out! If you’d like to see the example we made in action, check out this repo or click below to deploy your own version of it live:


