Guides & Tutorials
Create a Custom Back-End for Jamstack Apps with Strapi
A common misconception about the Jamstack is that Jamstack apps can’t have custom backends.
“But Jason,” the internet cries out in unison, “isn’t the whole point of a Jamstack app that there is no back-end?”
Not at all! The whole point of the Jamstack is that there’s no backend required (because we prerender as much content as possible and put the resulting static assets on a CDN). We often need custom backends to prerender from, and may also find ways to progressively enhance our apps by reading or writing data to a custom backend asynchronously based on user data or interactions.
Heads up! If the previous paragraph just confused the heck out of you, check out this overview of the Jamstack architecture.
In this two-part tutorial series, you’ll build a complete custom backend to house our custom data, then create a Jamstack app to both read and write to that backend.
In part 1 (this article), you’ll use Strapi to build a custom API to store data.
In part 2, you’ll build a Jamstack app that uses the custom backend to:
- asynchronously load data from the backend
- update the backend when users click a button
By the end of this series, you’ll create a fully functional frontend and backend for a Jamstack app deployed to production!
tl;dr
In this part of the tutorial, you will:
- deploy a new Strapi instance to DigitalOcean from their marketplace
- set up Strapi with data collection types for corgis and reactions (pets and boops)
- configure Strapi access to allow public reading of both types and public writing of reactions
It may sound surprising, but there is no code required to build this backend. If you want to skip ahead, you can see the Jamstack app demo or review the frontend source code on GitHub.
Set Up a New Strapi backend on DigitalOcean
Our first step is to create the backend using Strapi. Because Strapi is a Node app, it requires a server in order to be used with build systems and handle asynchronous requests. In this tutorial, we’ll be using DigitalOcean to host Strapi.
Heads up! If you’re new to DigitalOcean, you can sign up to get $100 in DigitalOcean credit here.
Create a new Strapi Droplet using the DigitalOcean Marketplace.
Once you’ve logged into your DigitalOcean account, create a new Strapi Droplet from the Marketplace. You can find this by clicking "Marketplace" under the "Discover" section of the sidebar, then searching for Strapi.
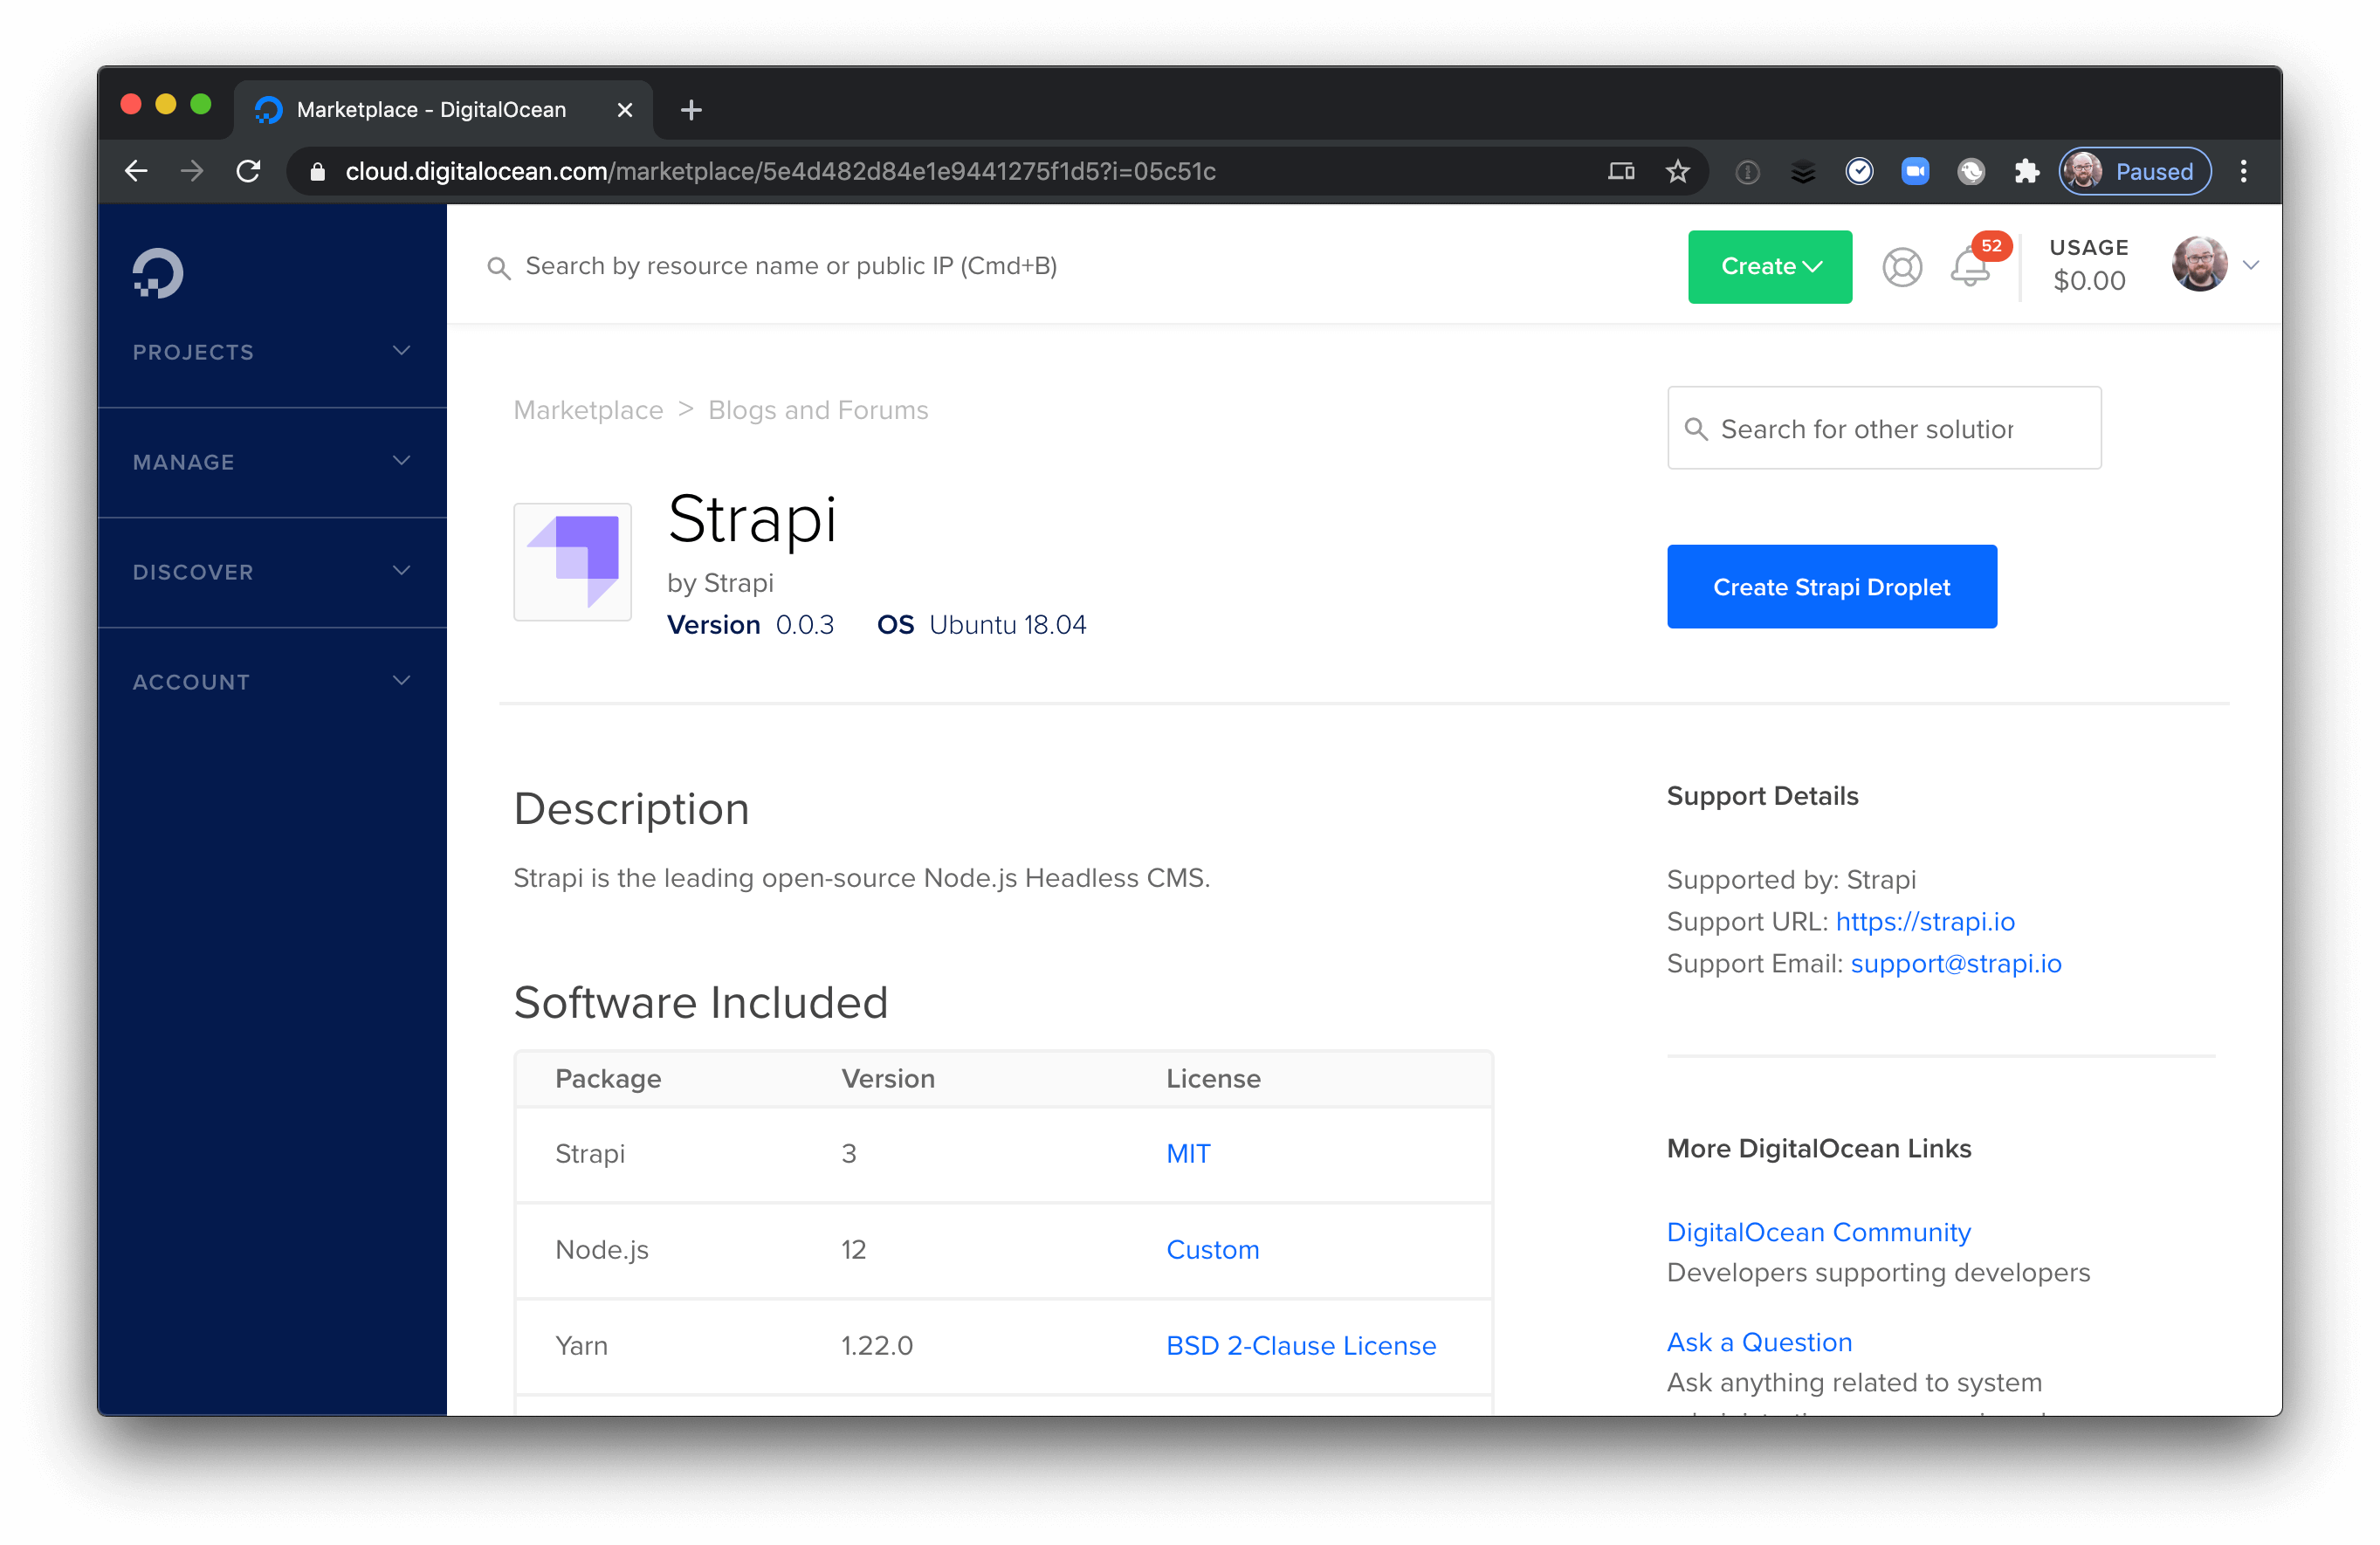
Click the “Create Strapi Droplet” button at the top right and you’ll be taken to the Droplet creation flow.
Configure your Droplet settings.
This tutorial is built using basic 2 GB / 1 CPU size, which should be more than enough to get most apps up and running.
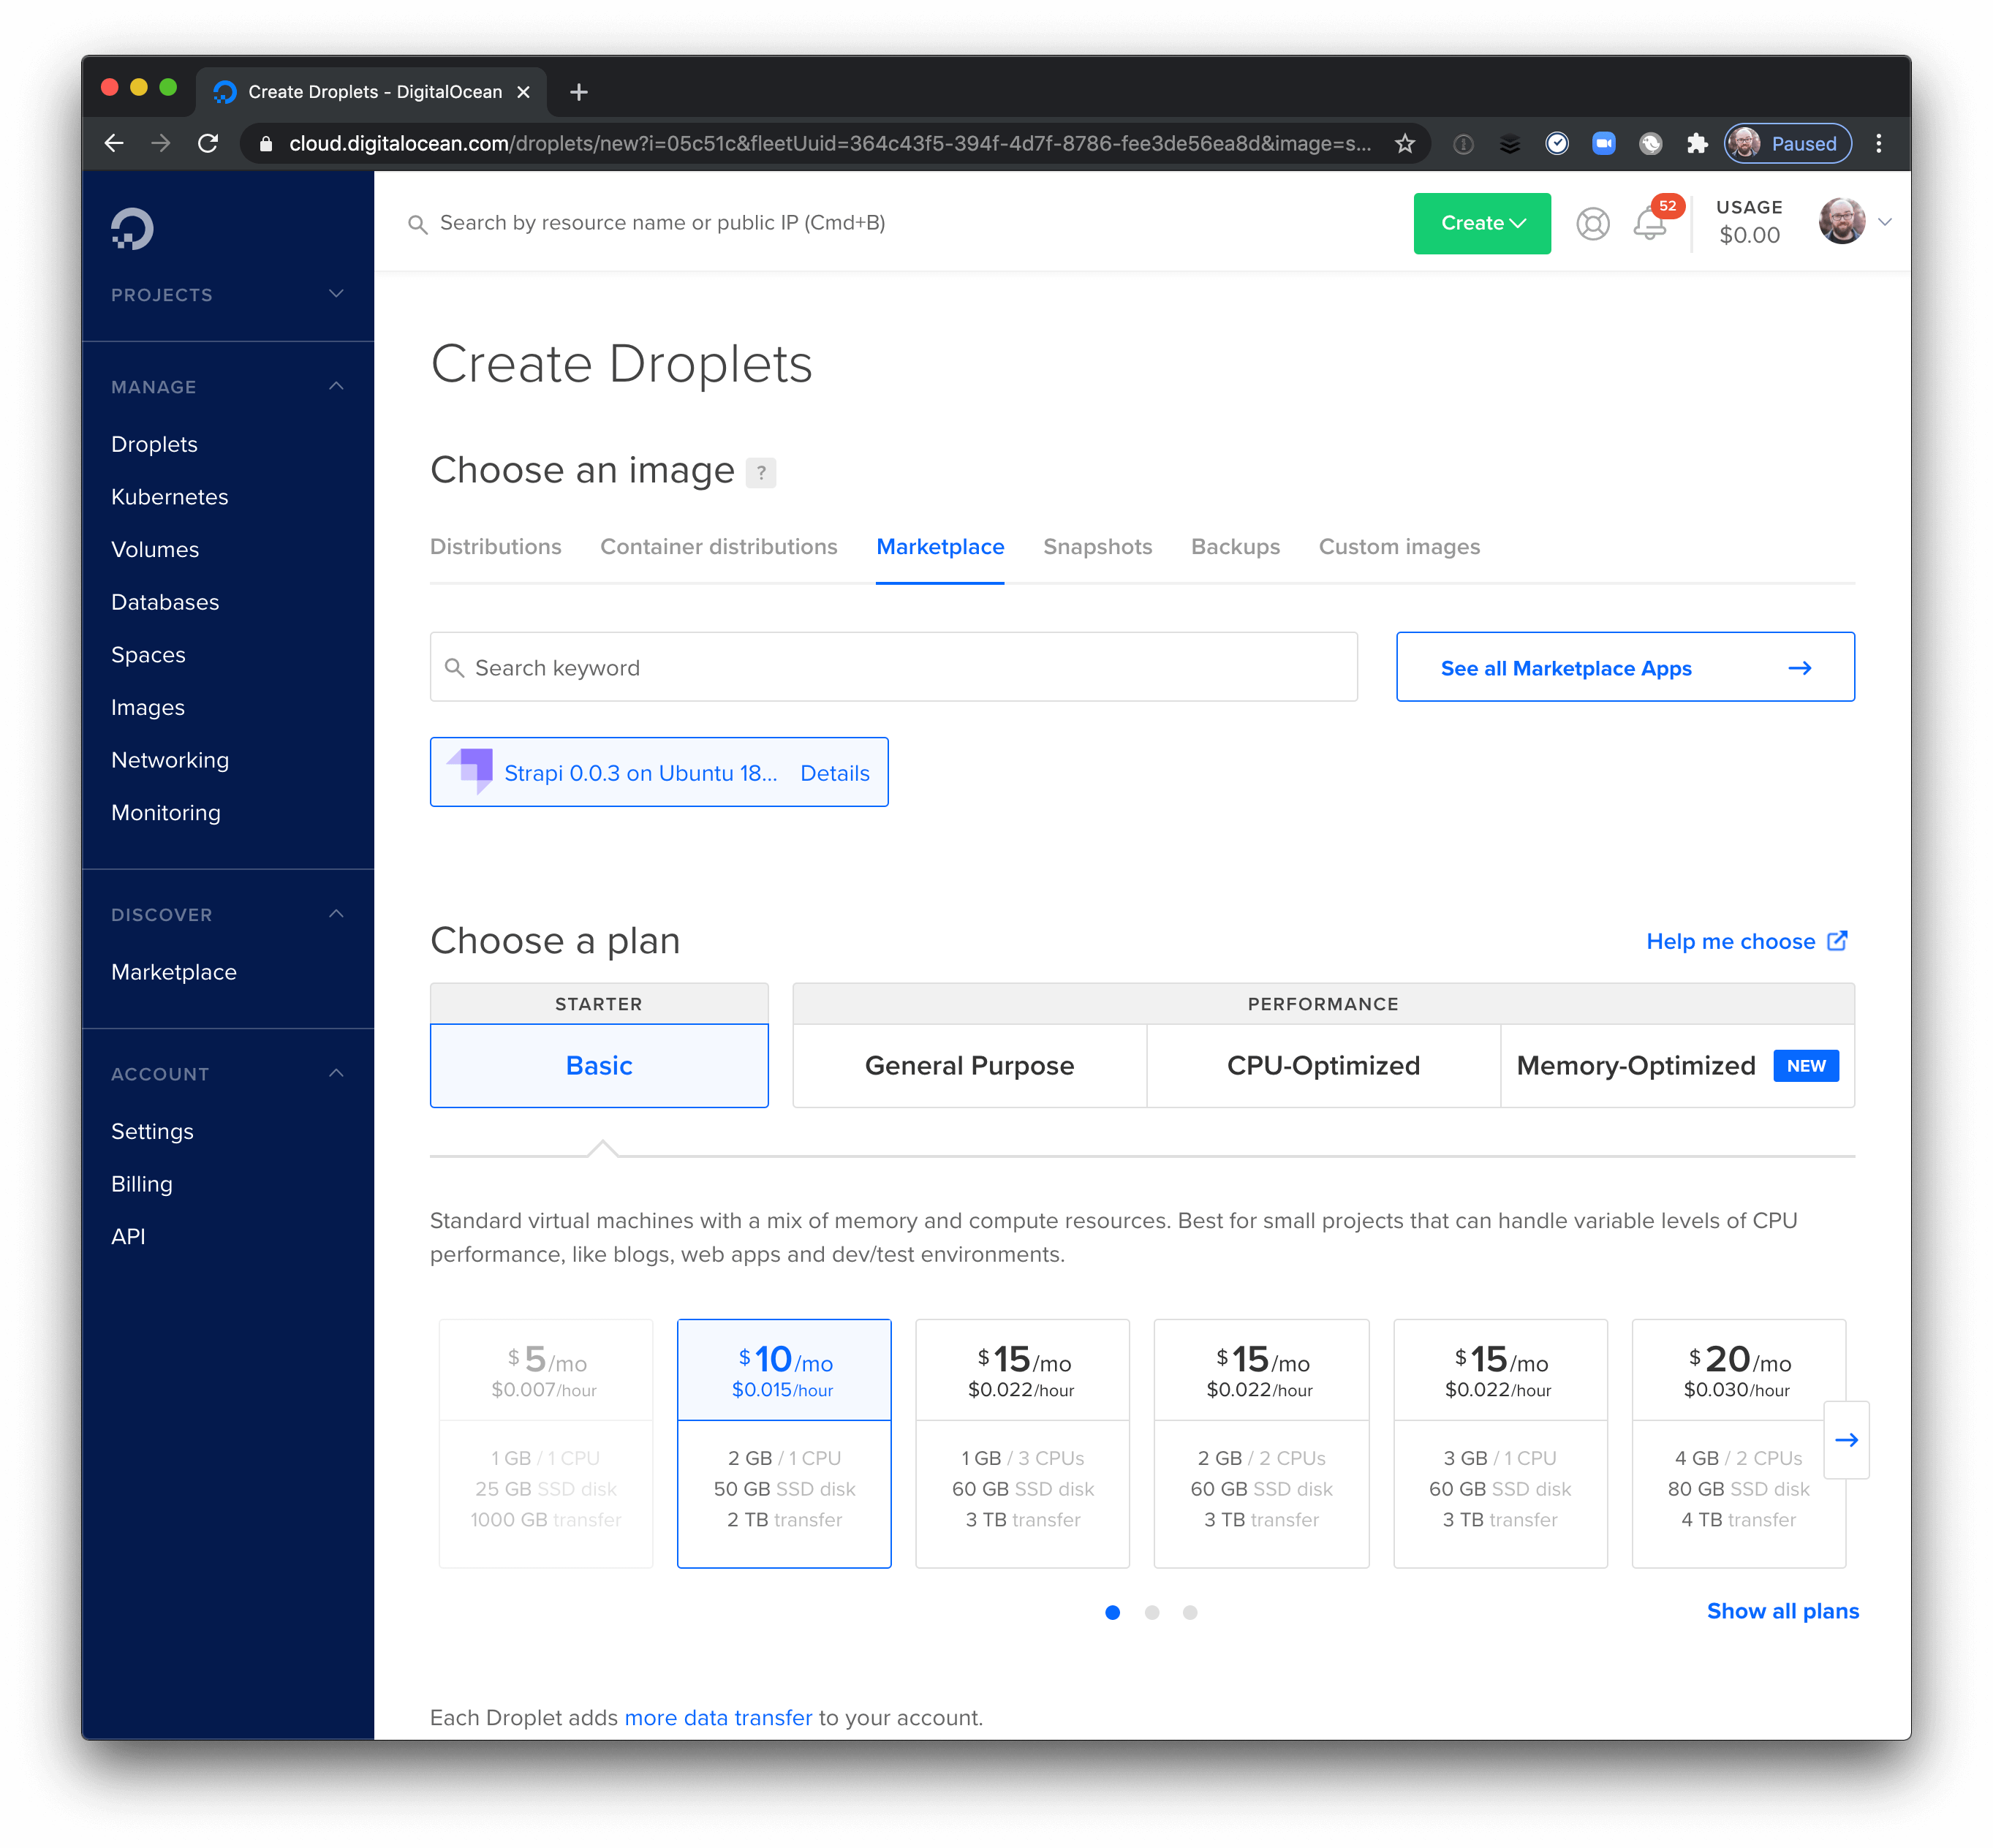
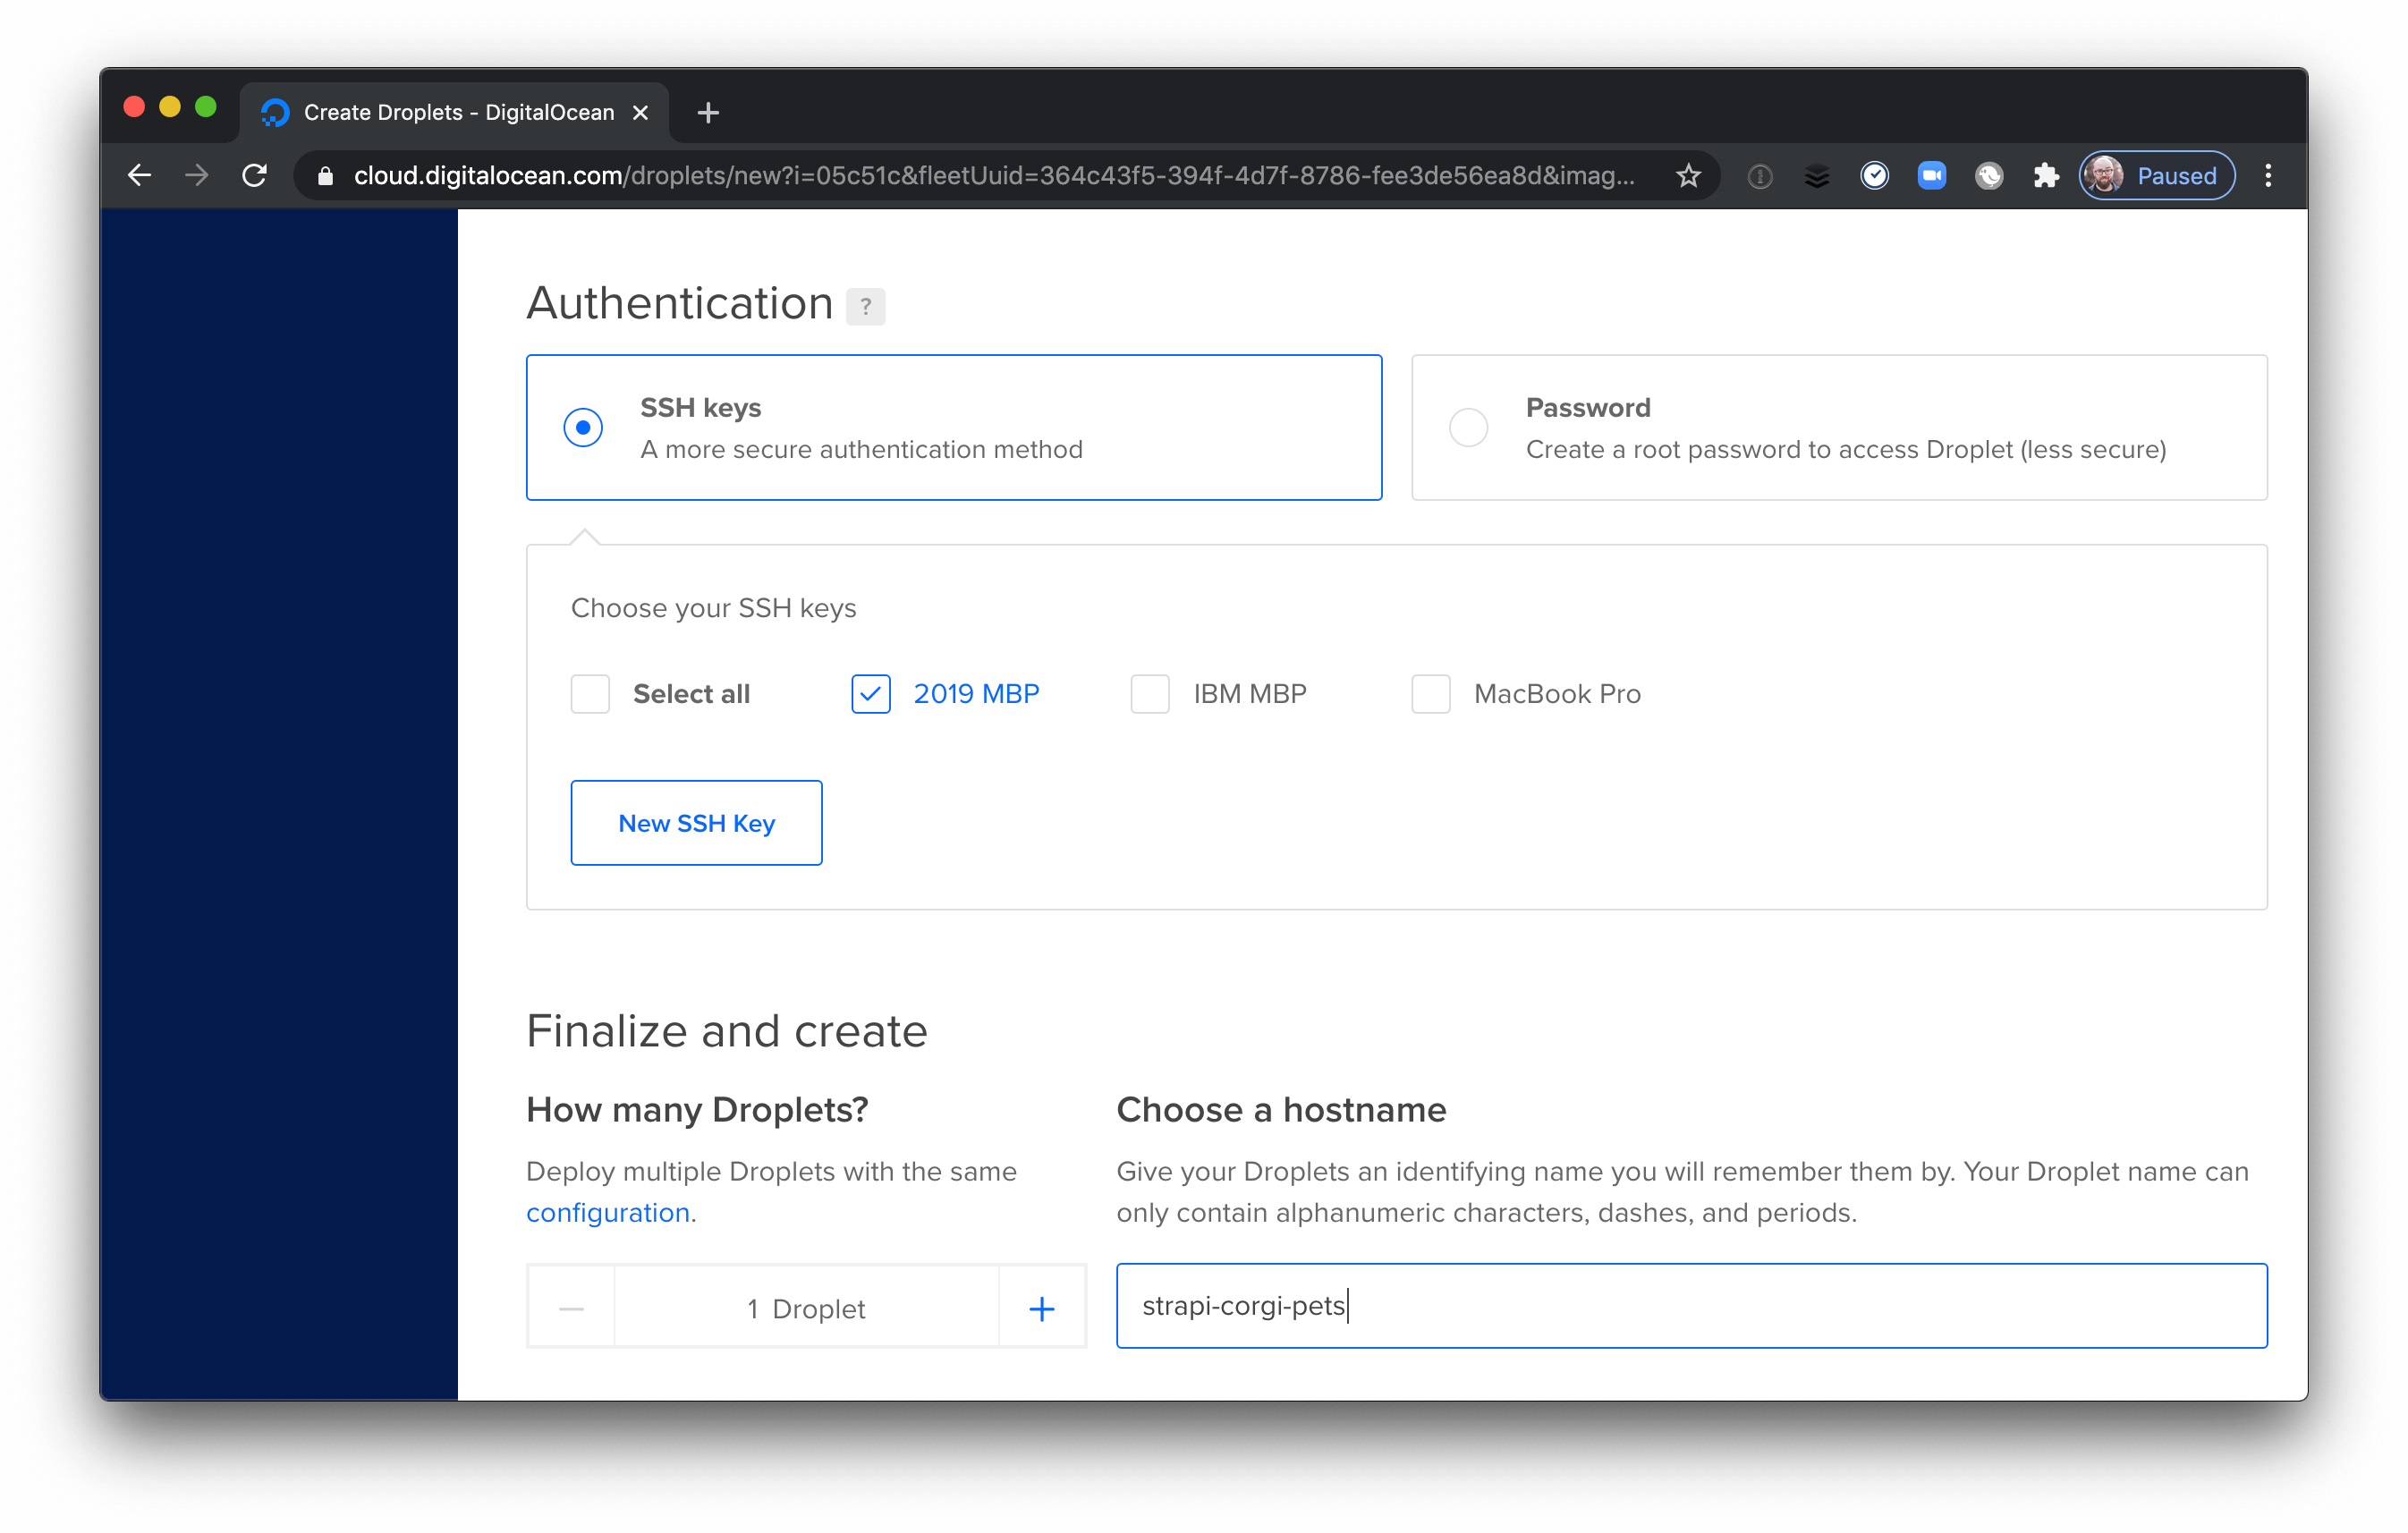
Choose whatever datacenter you prefer. Typically you’ll want to start with the datacenter closest to you. Add or choose your SSH key(s) in case you need to log into the Droplet from your terminal — we won’t do this during this tutorial, but it’s important to have this set up in case you need to make changes later.
Heads up! If you’re unfamiliar with SSH keys, DigitalOcean has written up a guide to adding SSH keys to Droplets.
Next, choose whether you want to add tags (these are optional and only for organizing Droplets in DigitalOcean) and whether you want to enable backups. Backups cost 20% of the Droplet price, but they also automatically back up your whole backend weekly — it’s your call, but in my opinion they’re worth it.
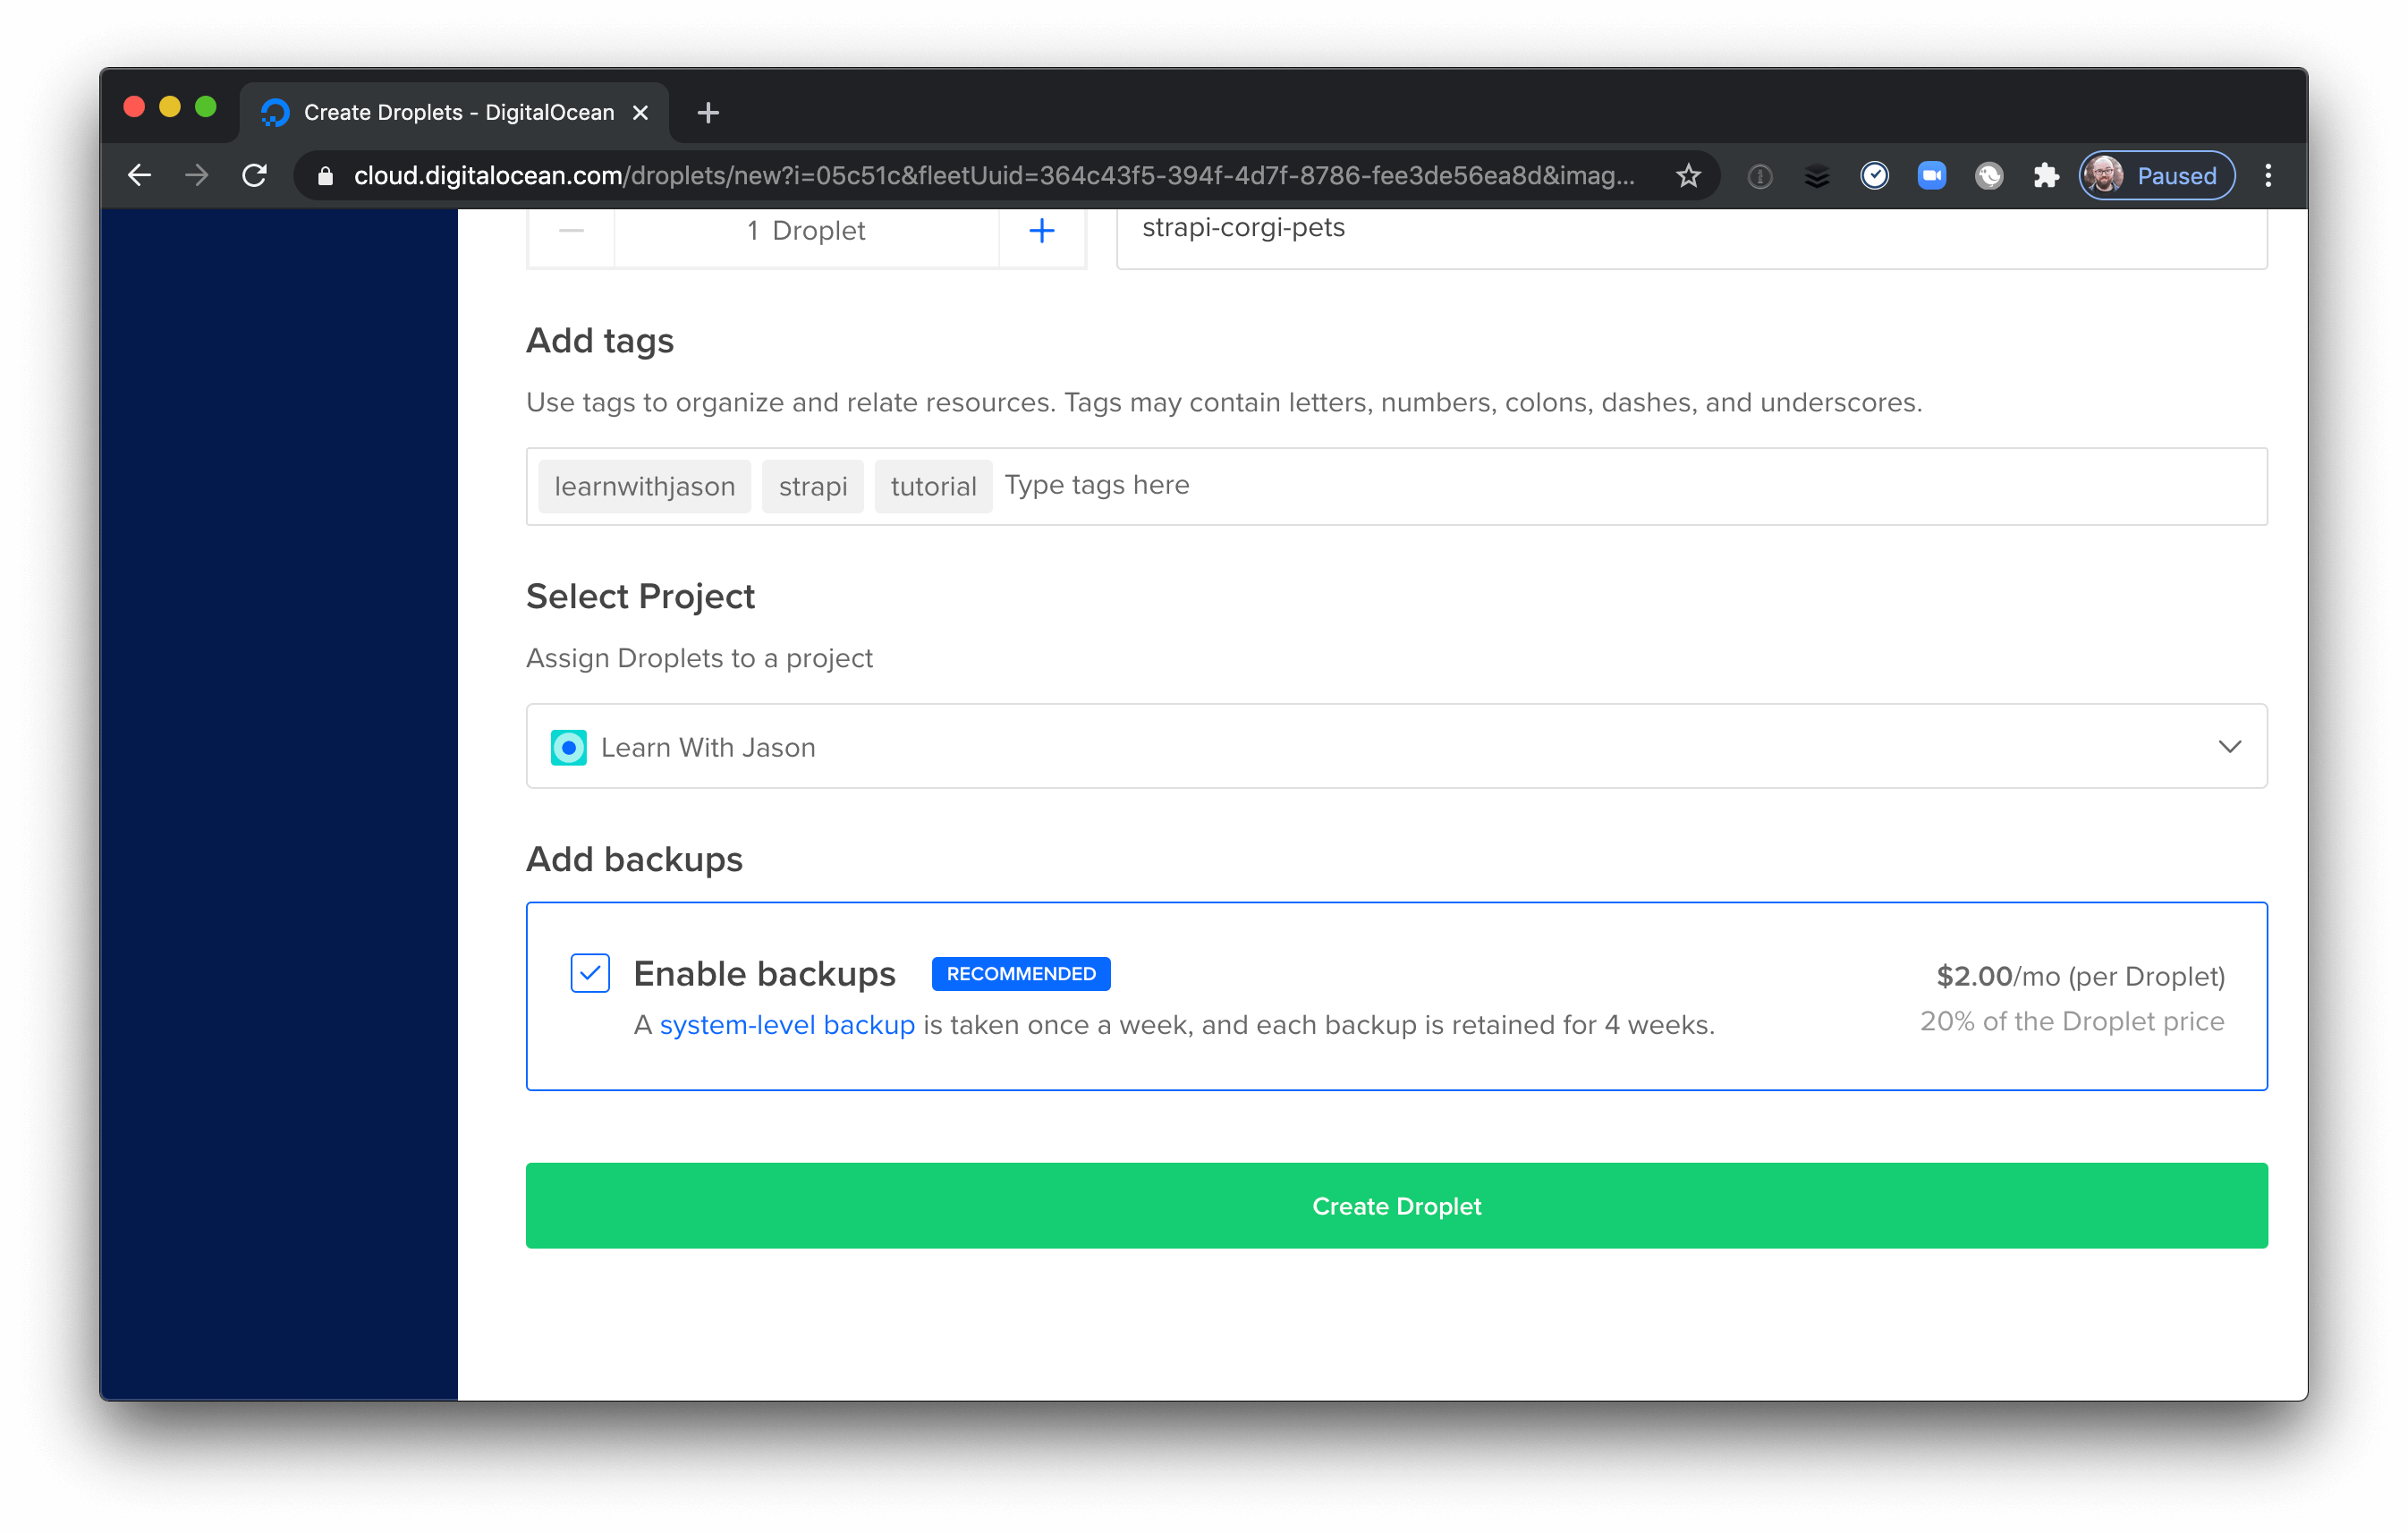
After choosing settings, click "Create Droplet" and you’ll see a progress bar as your new Droplet is provisioned and started.
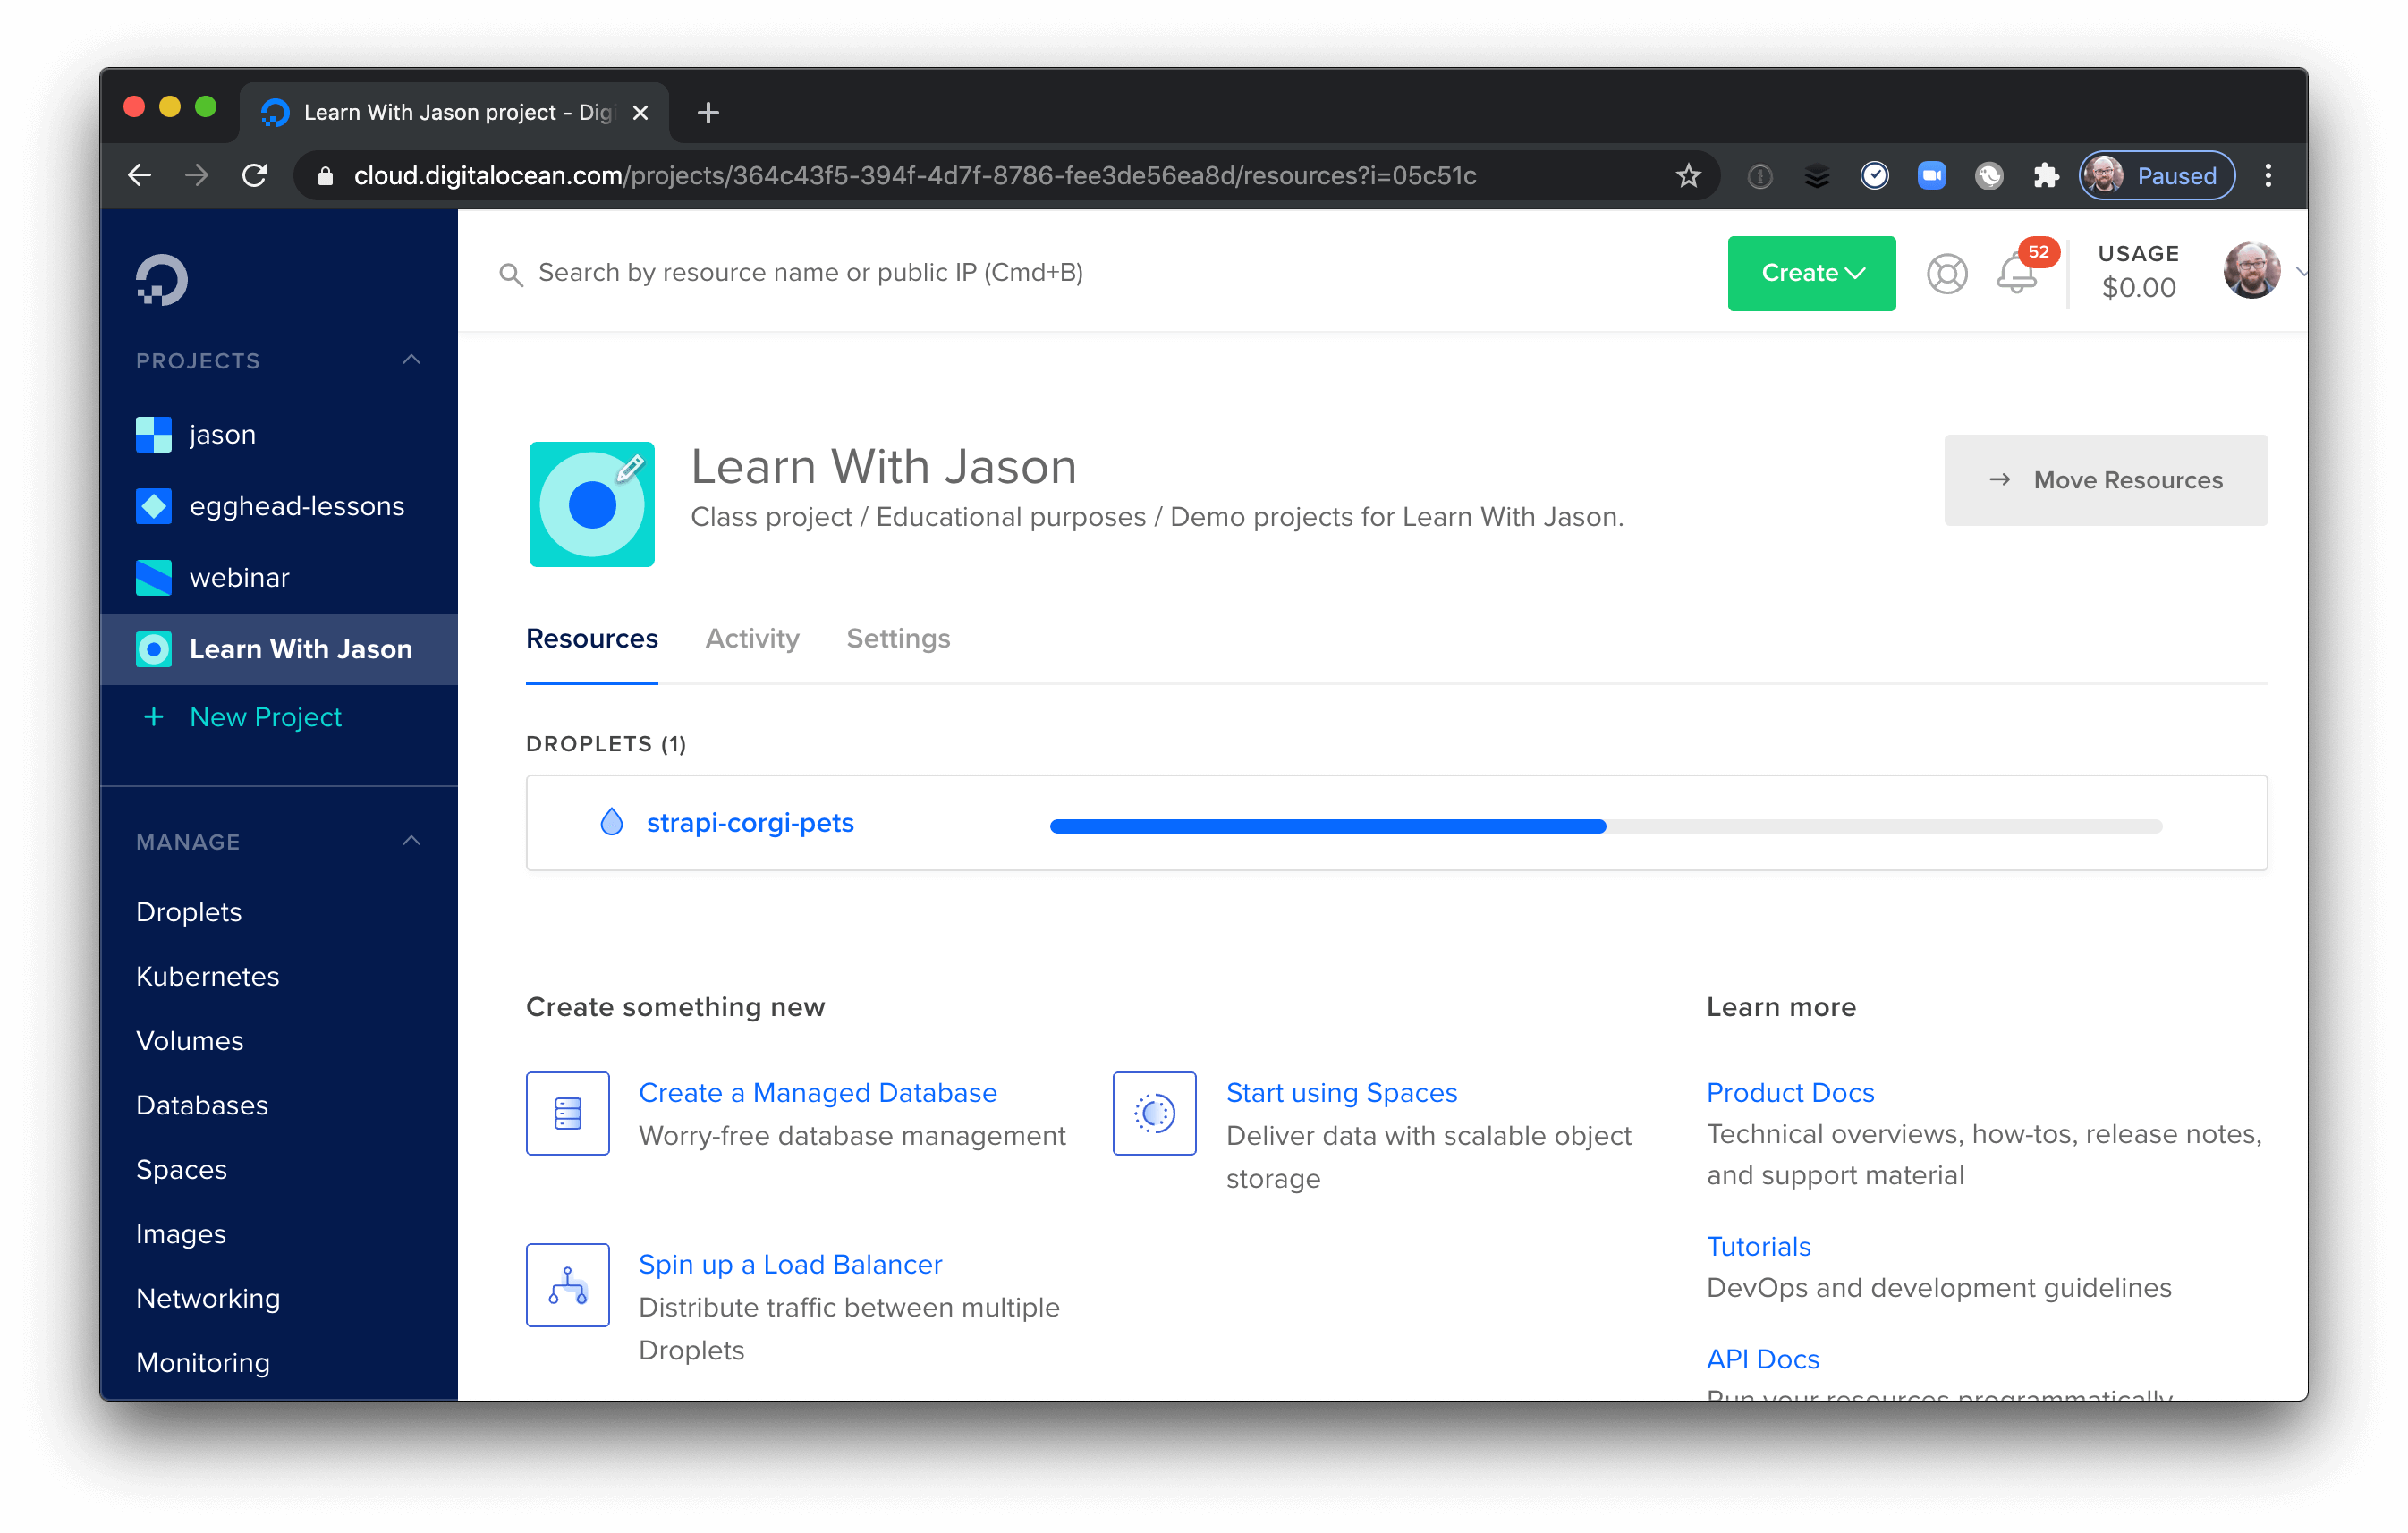
After a minute or so, the Droplet will be fully set up and started.
Copy the IP address of your new Strapi Droplet.
Once the Droplet starts, you’ll see its IP address, and if you hover there’s an option to copy it to your clipboard.
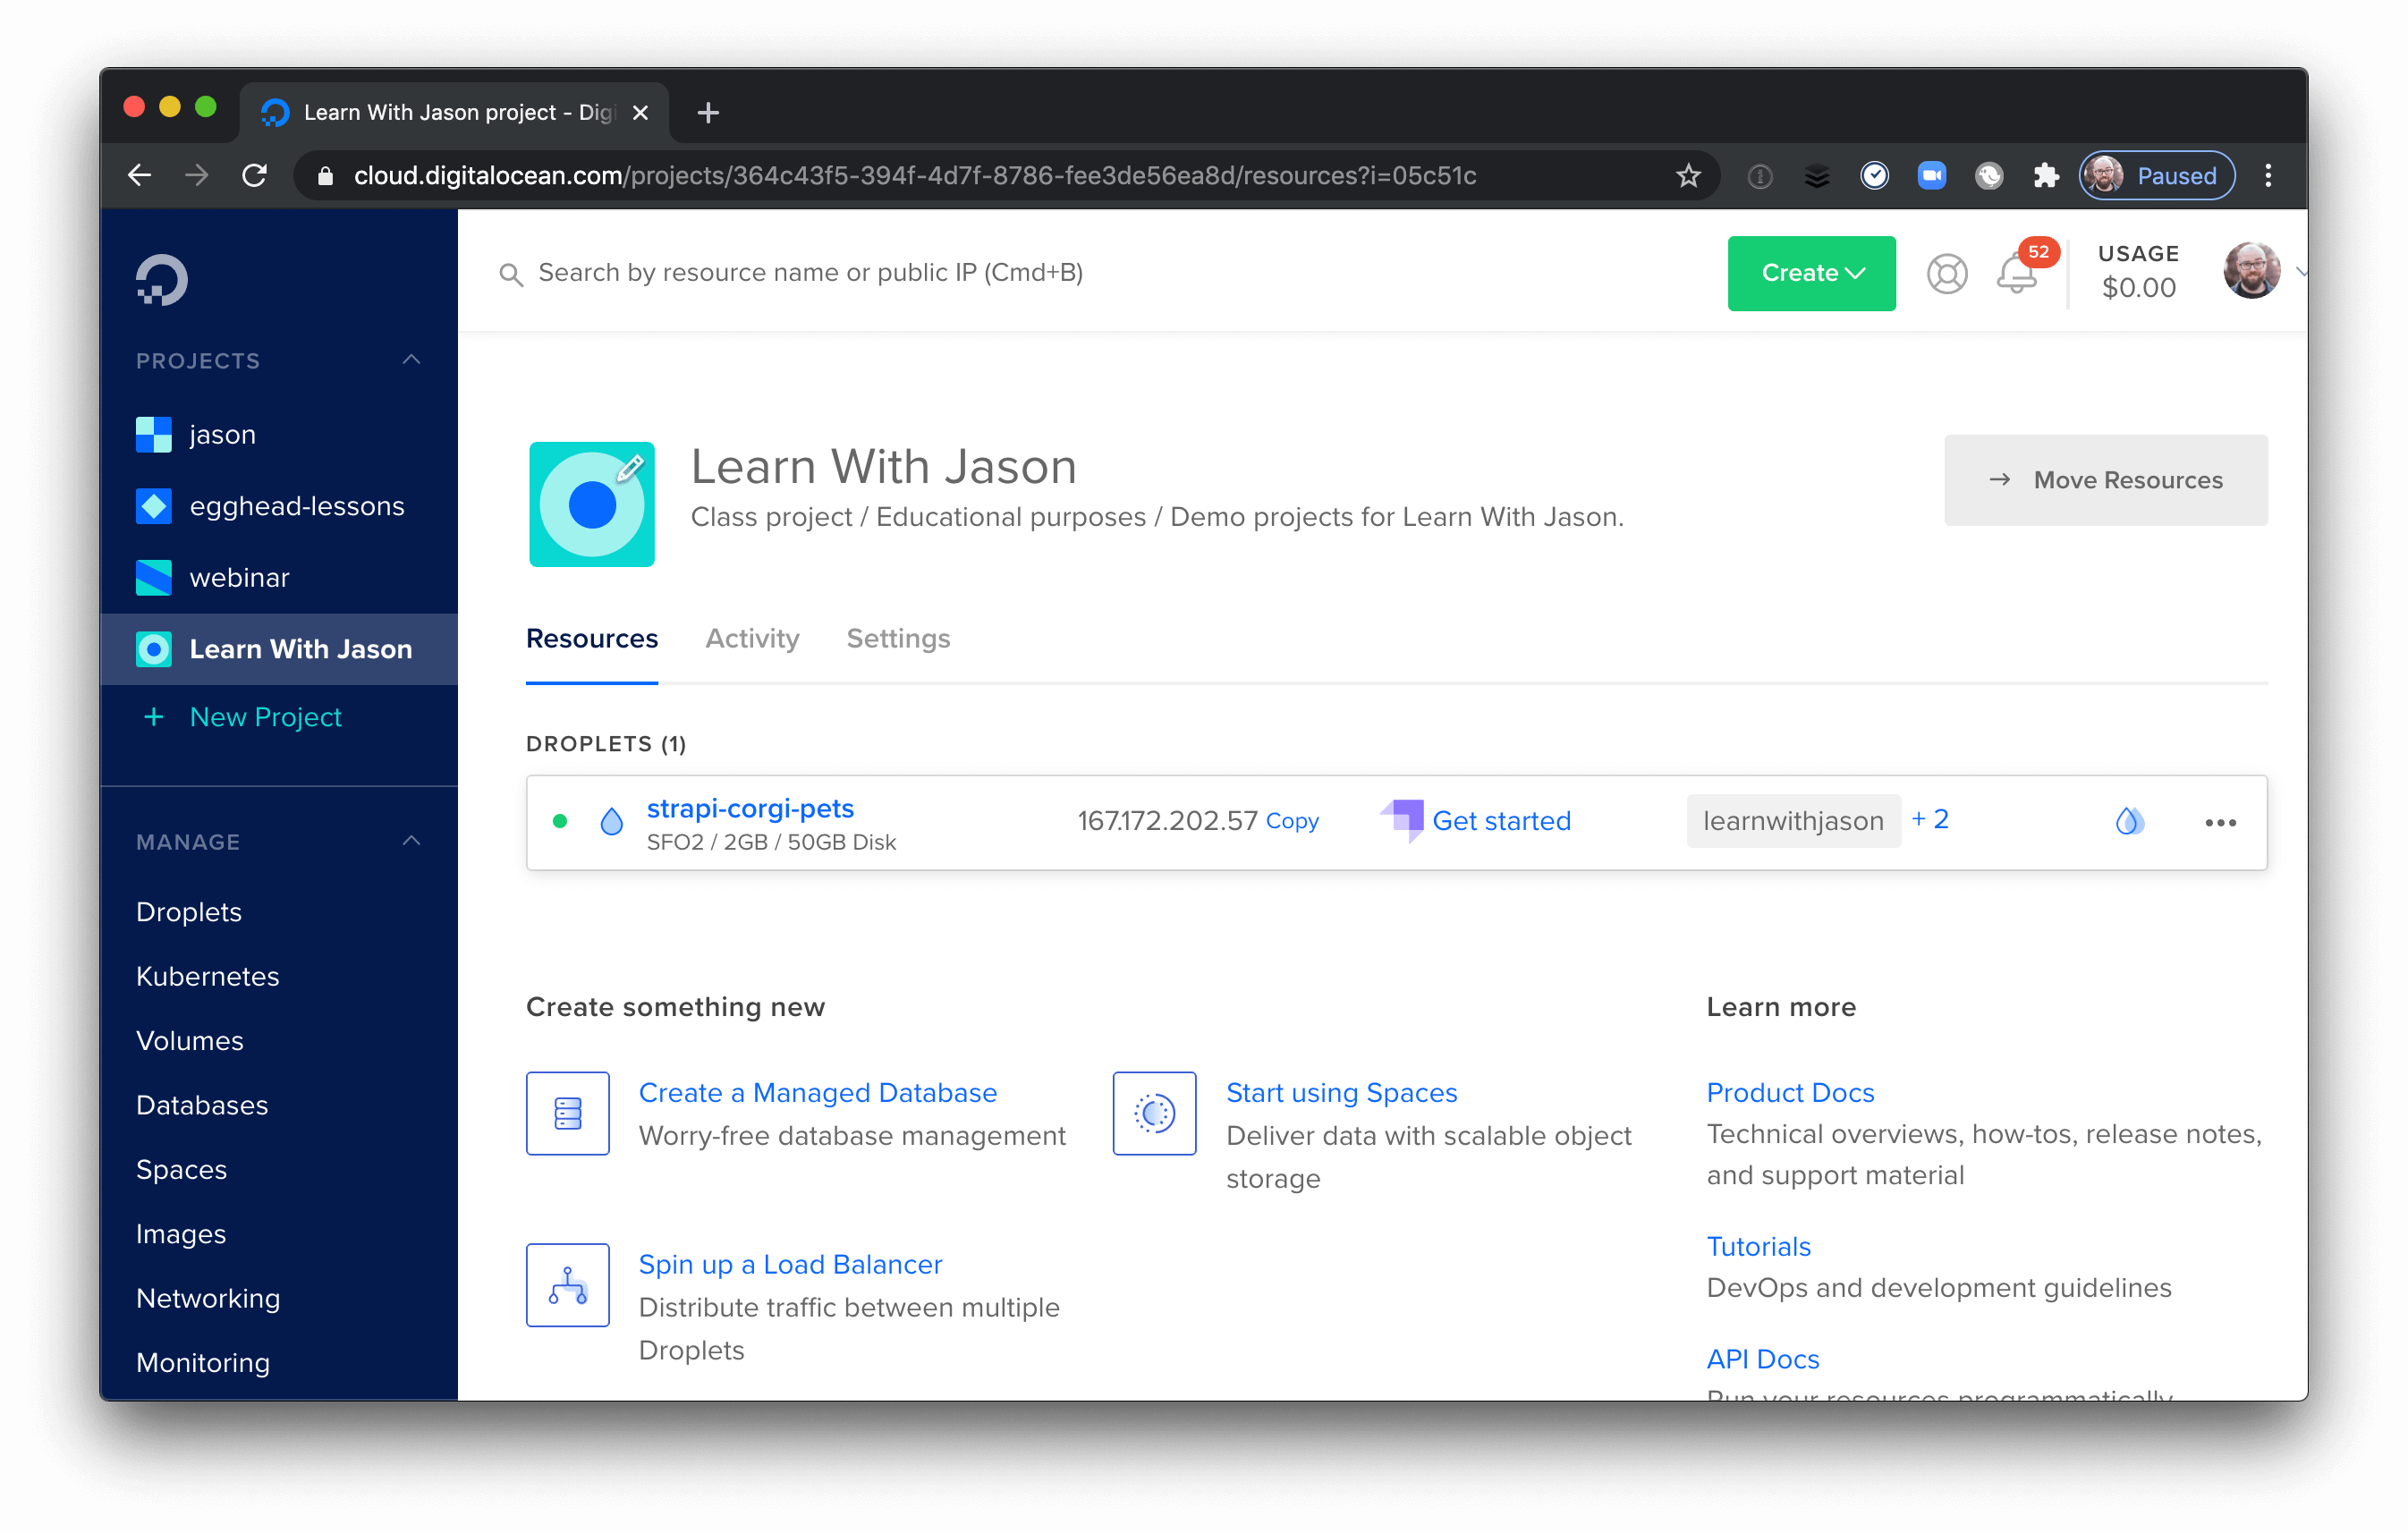
Copy the IP address — you’re ready to configure Strapi!
Configure Your Strapi Instance
After the Droplet is created, your Strapi instance is up and running — no code required! The next step is to visit the IP address for your Droplet in the browser and configure Strapi.
On the first visit, Strapi shows a “getting started” page with a link to create an administrator.
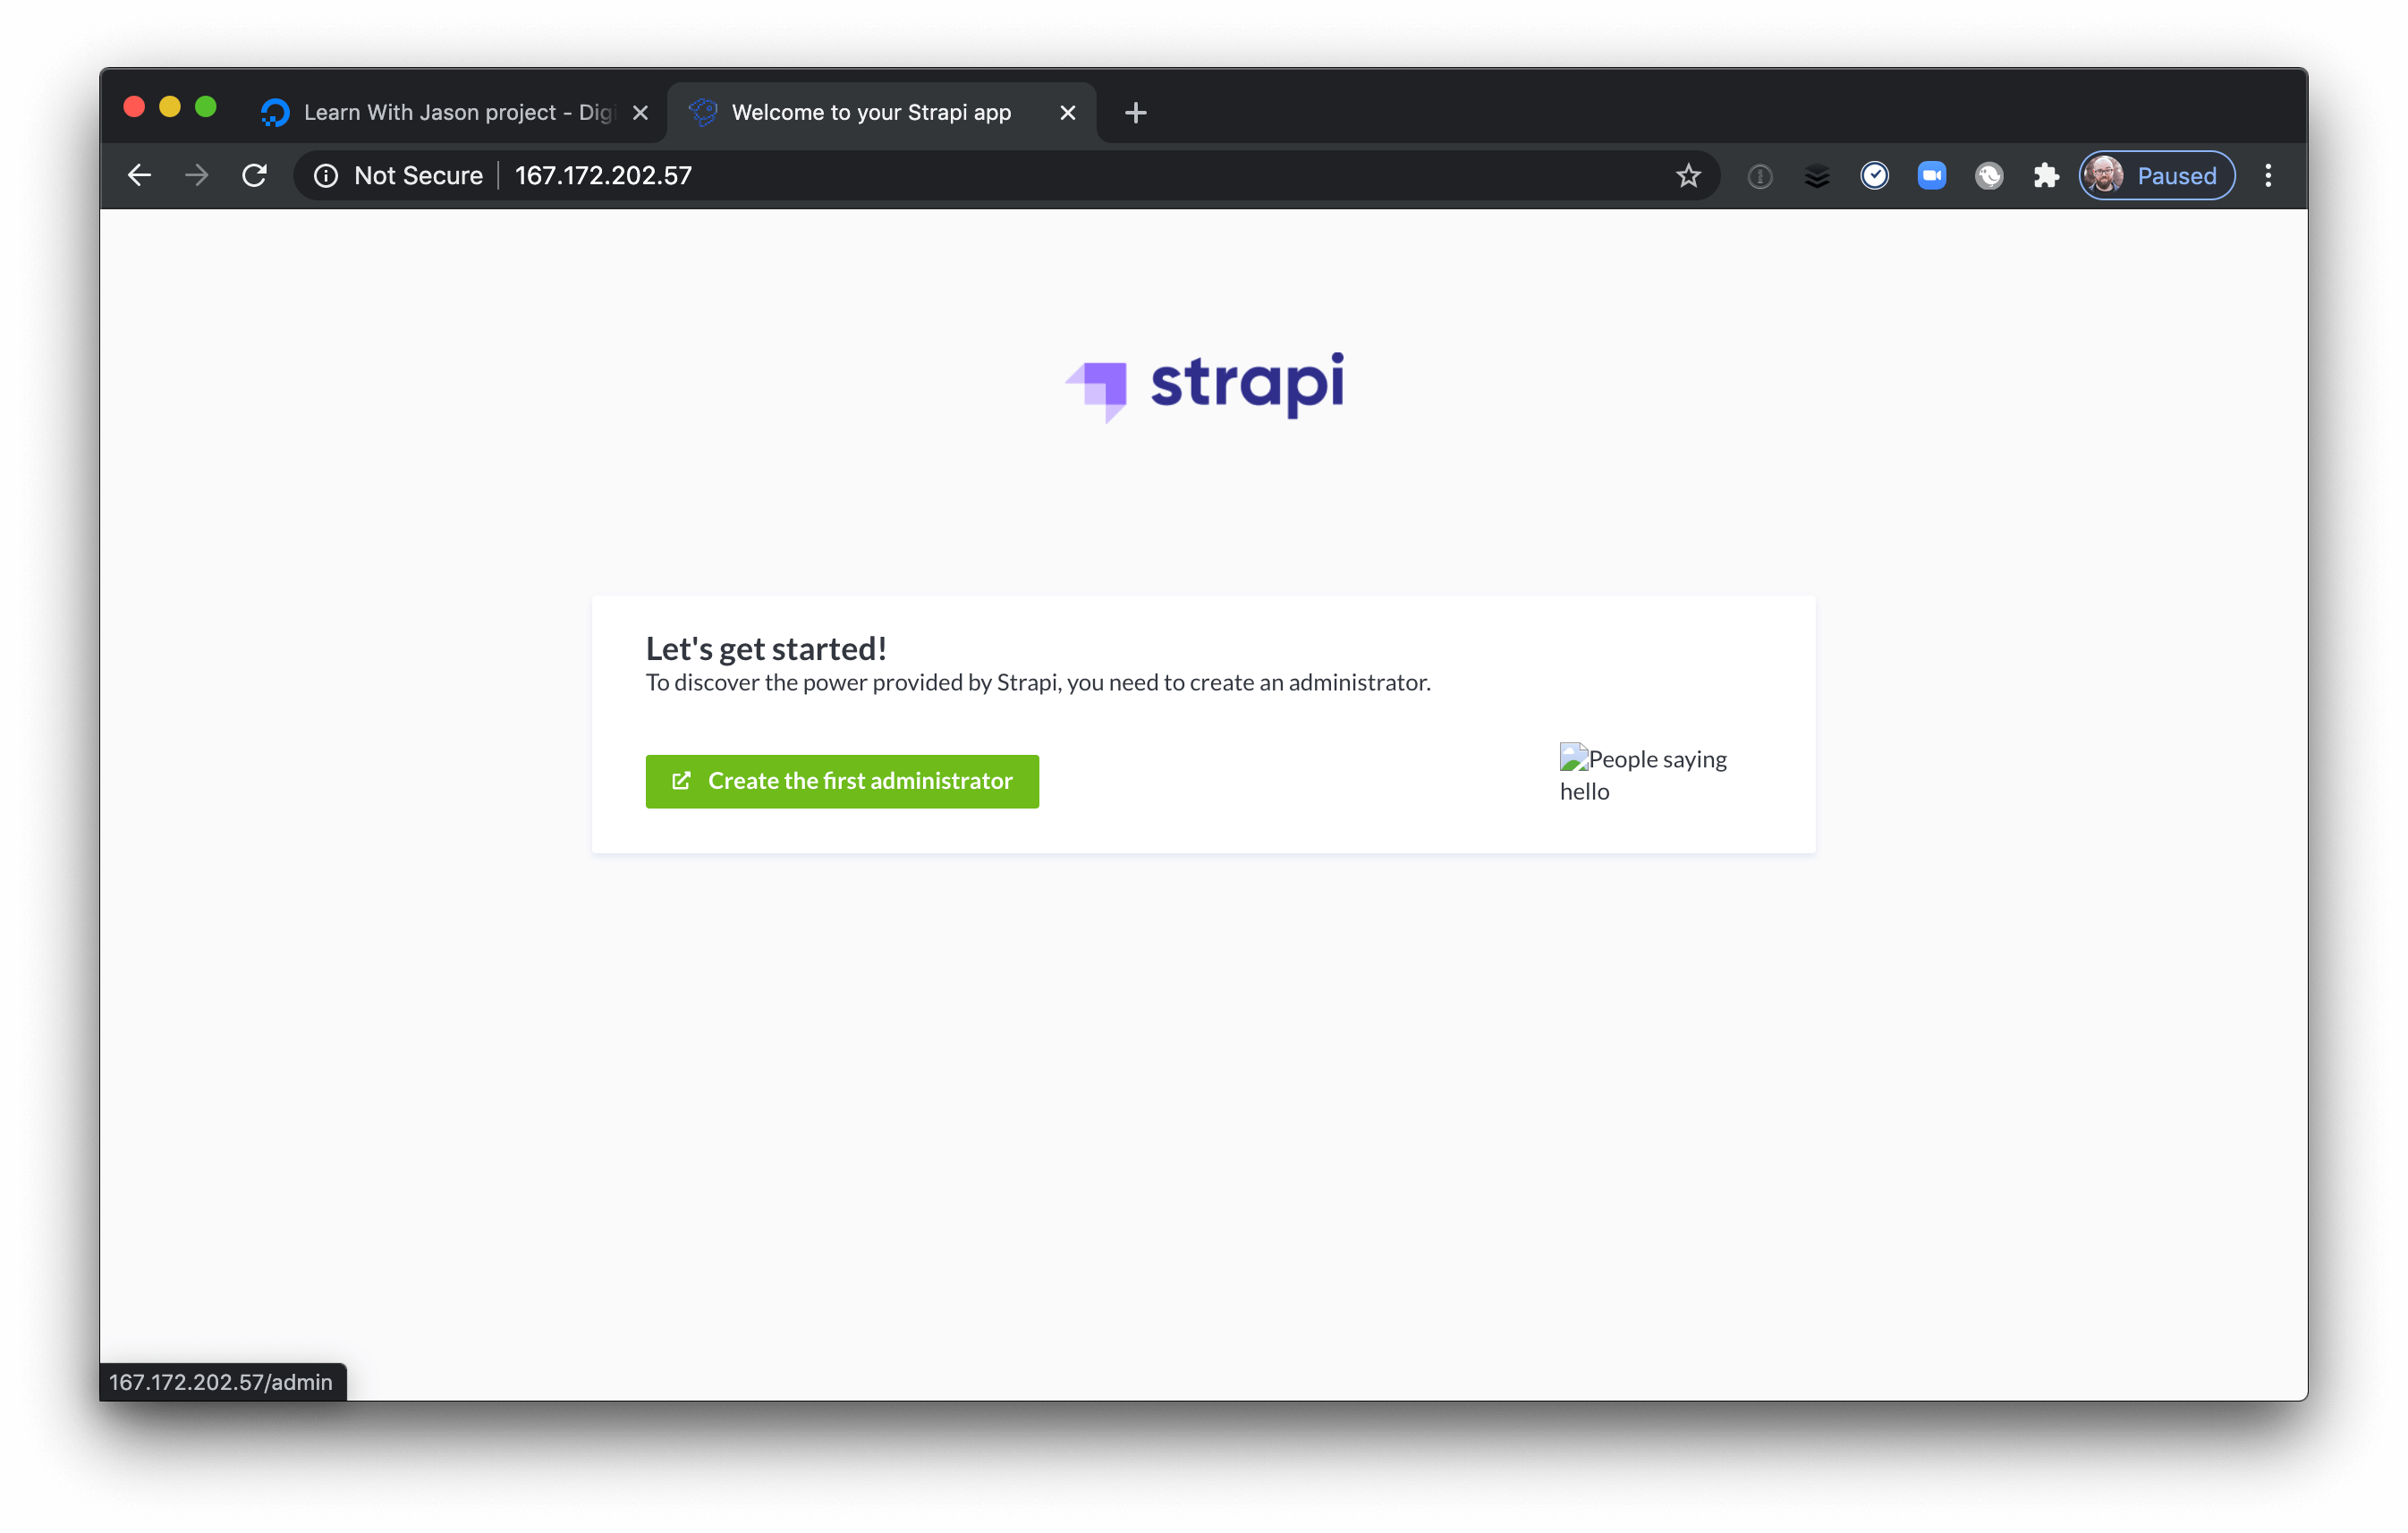
Click the “Create the first administrator” button to get started.
Create an Administrator account.
The Administrator account has full privileges on the Strapi instance. If you’ve worked with content management systems like WordPress before, the administrator account works similarly here. If you’re not familiar with Administrator accounts, this account is allowed to do everything, so keep the credentials safe!
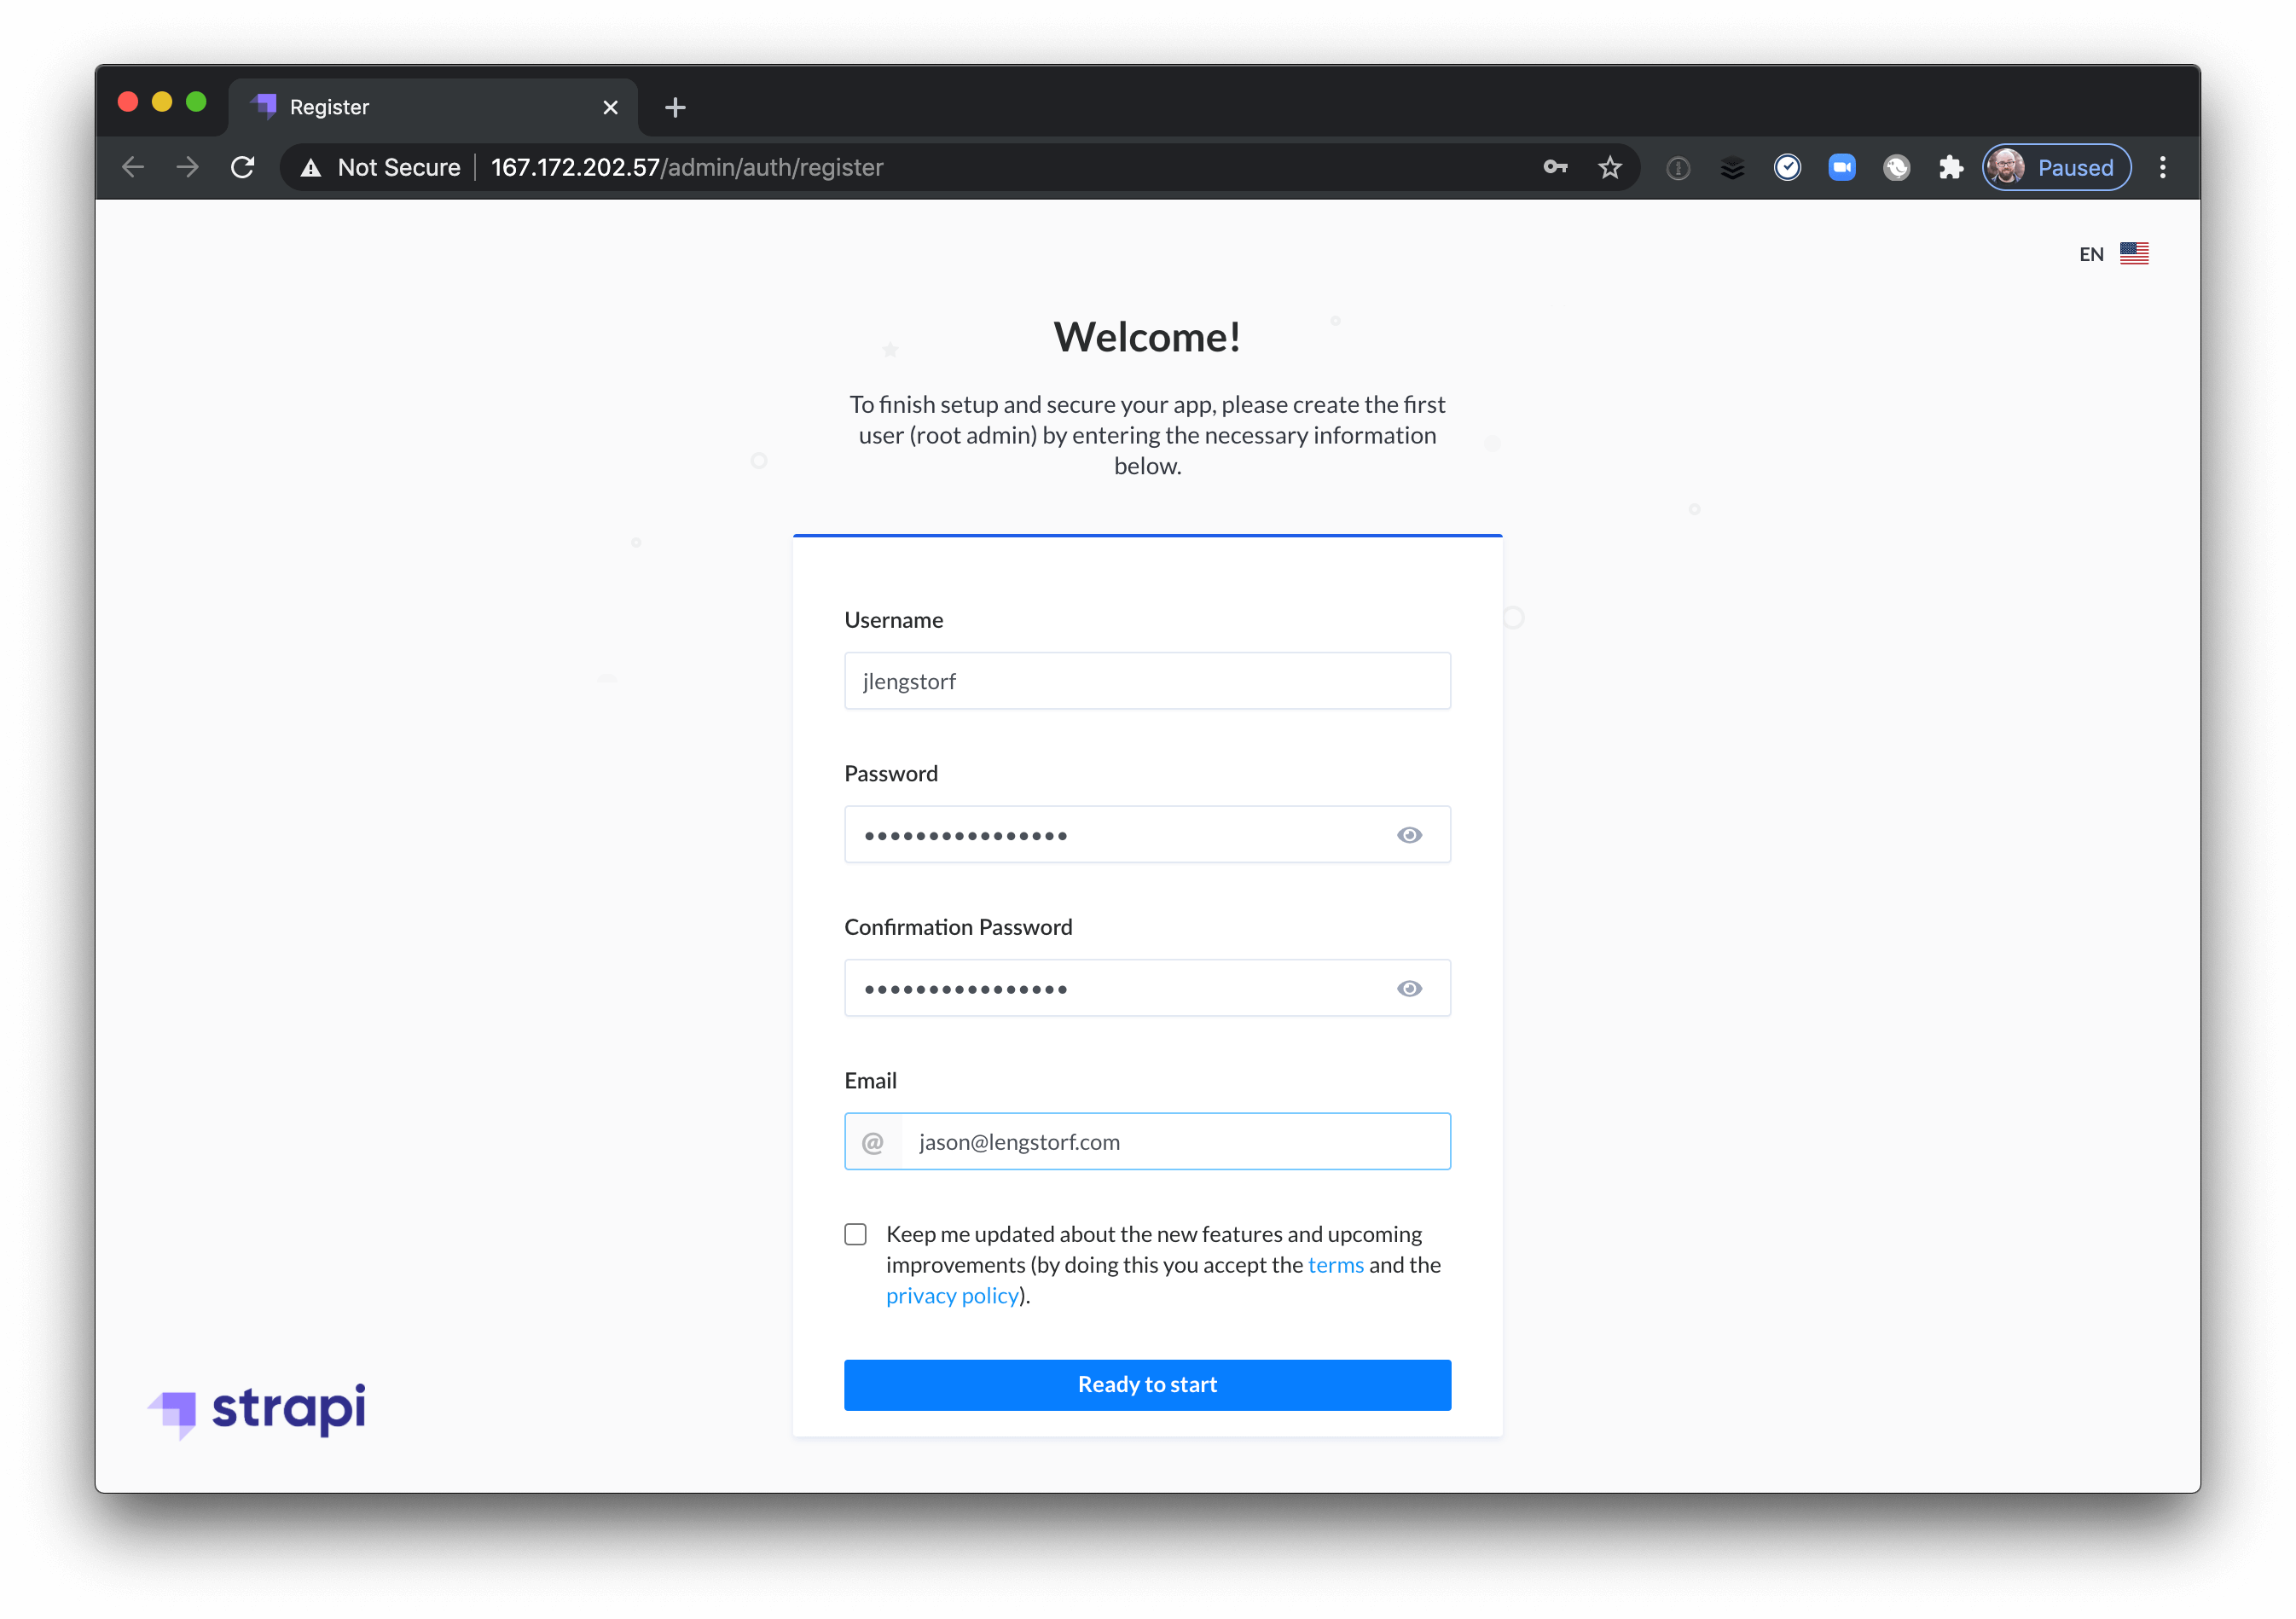
Set a username, password, and email so you’re able to log in and, if necessary, recover your account.
Create content types in Strapi.
After creating the Administrator account, you’ll see the Strapi dasbhoard. Since there’s no content yet, a panel is displayed asking you to create your first content type.
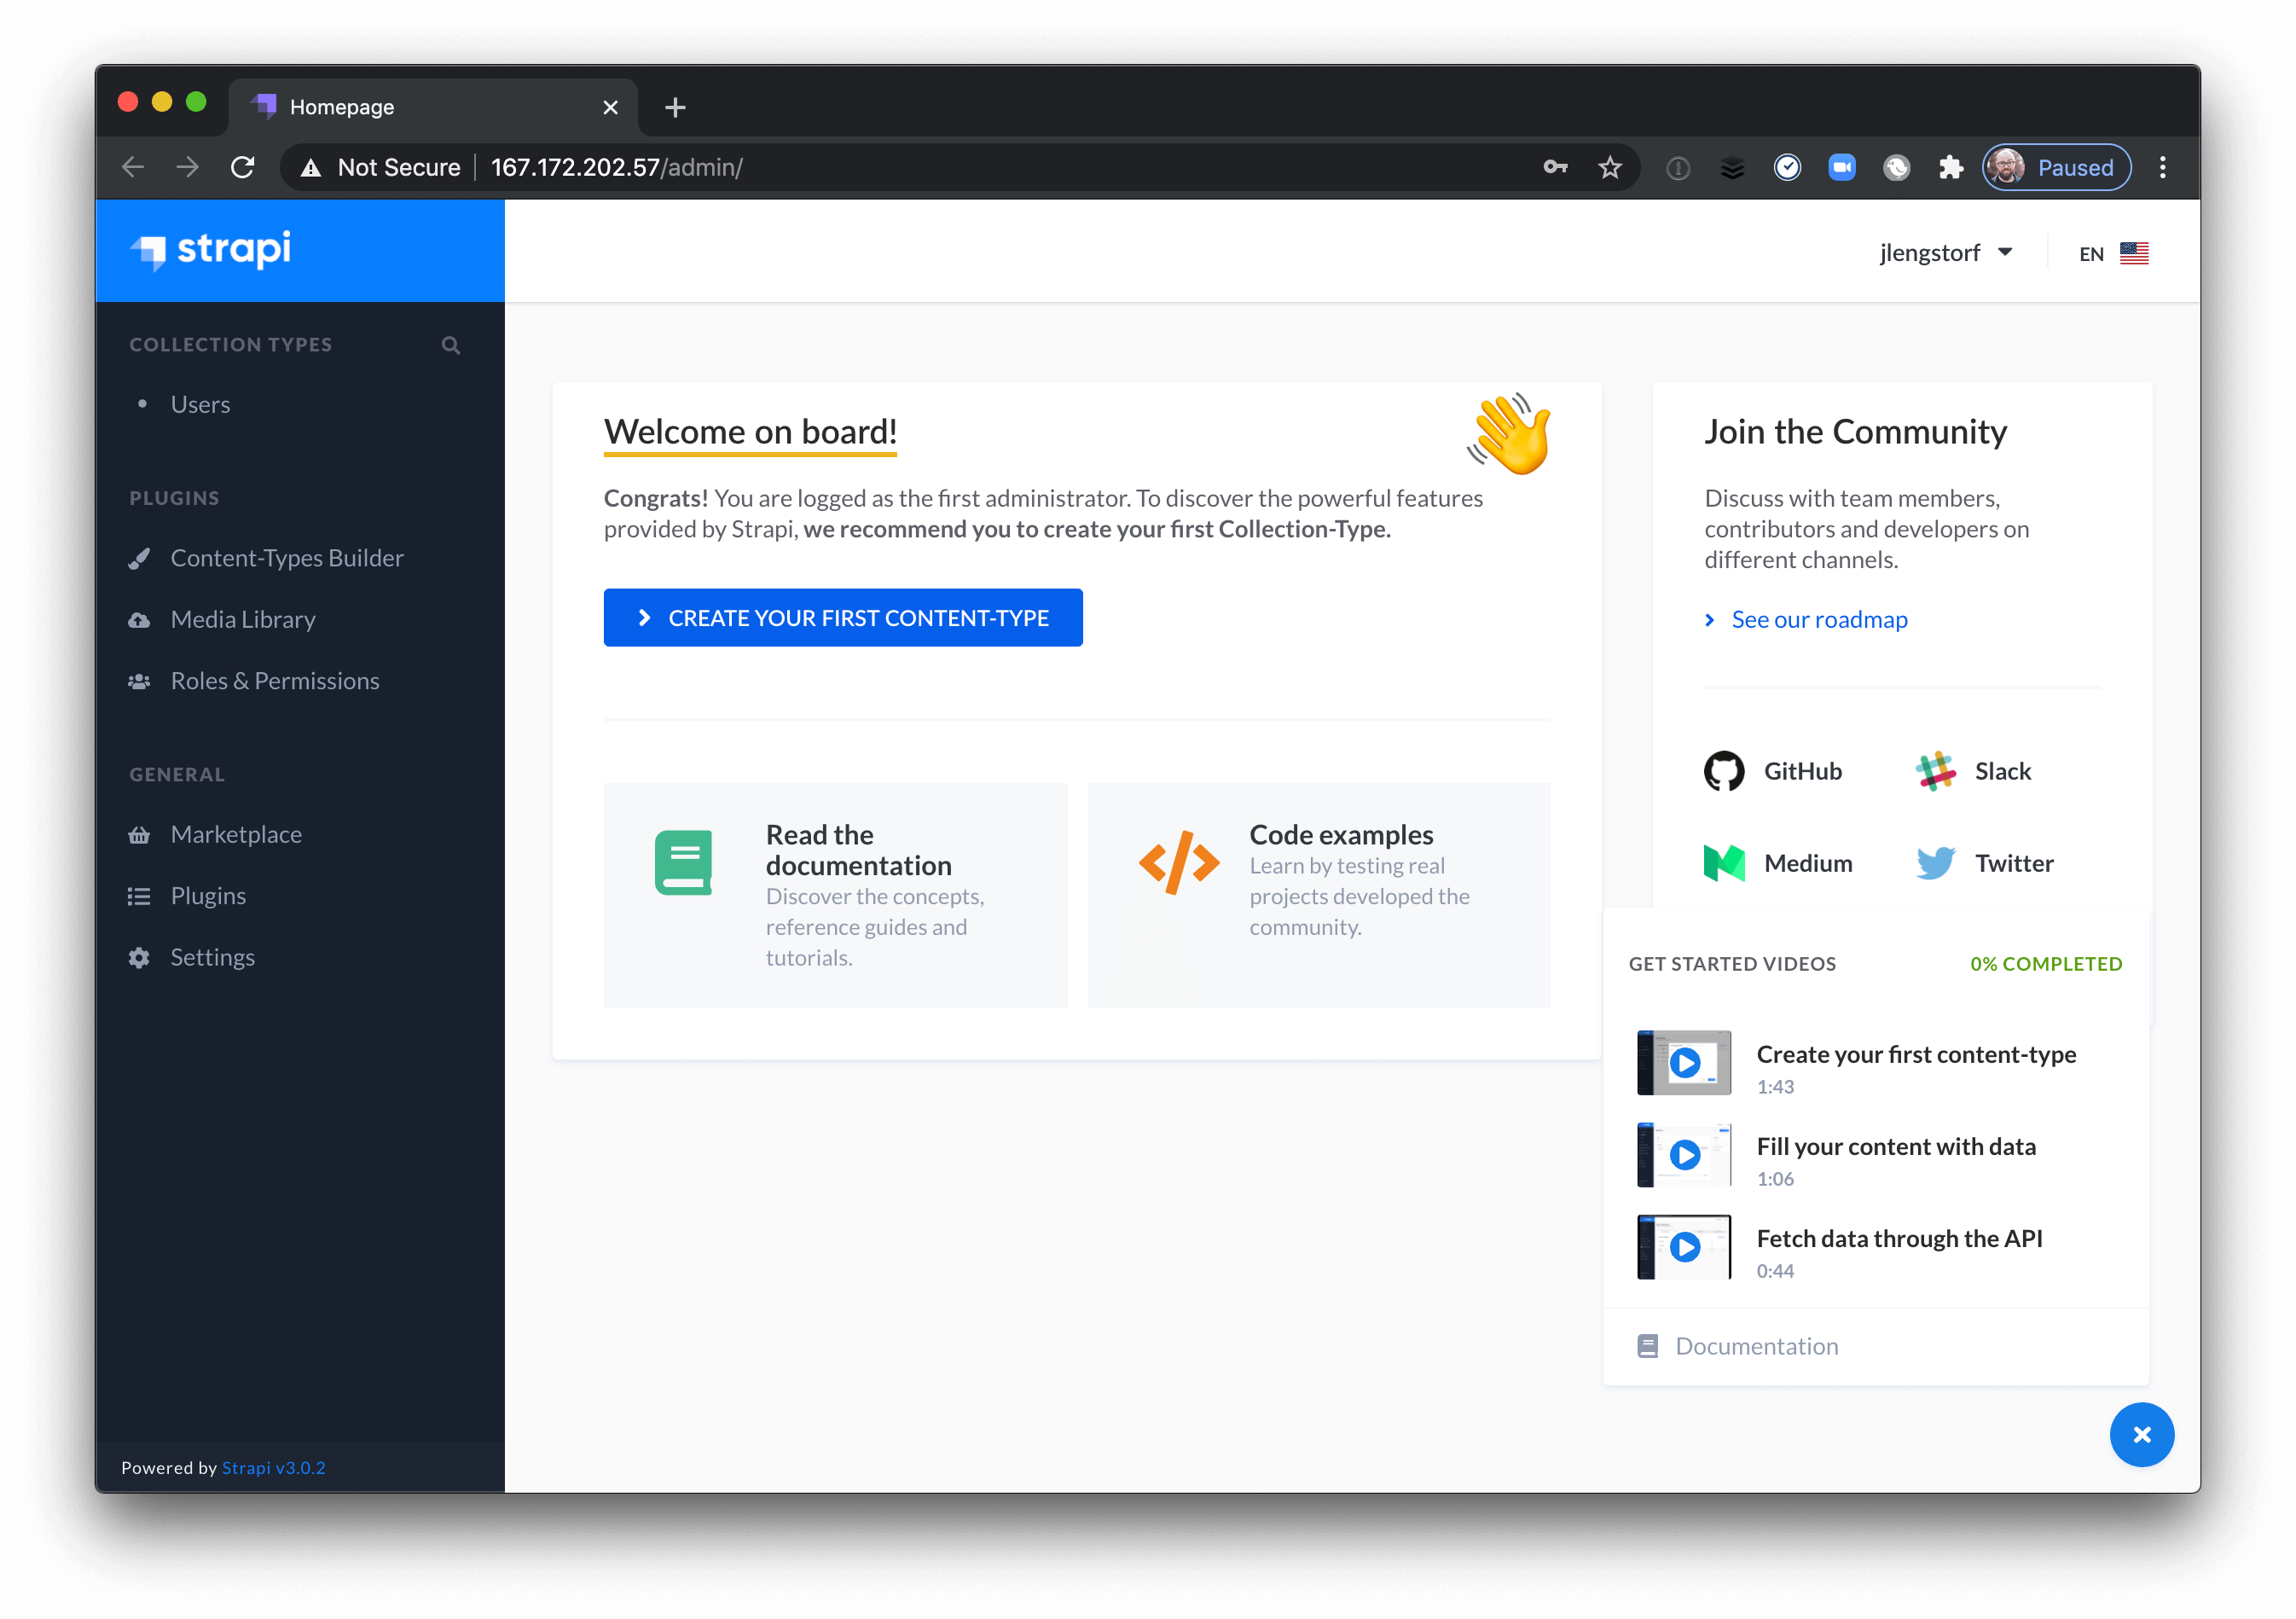
Click the “Create your first content-type” button.
Create a custom Corgi collection type.
Our app is going to display photos of corgis to site visitors. Each corgi photo will have two “reaction” buttons: you can pet or boop the corgi(s) of your choice.
To start, click the “collection” type and give it a name of “Corgi”.
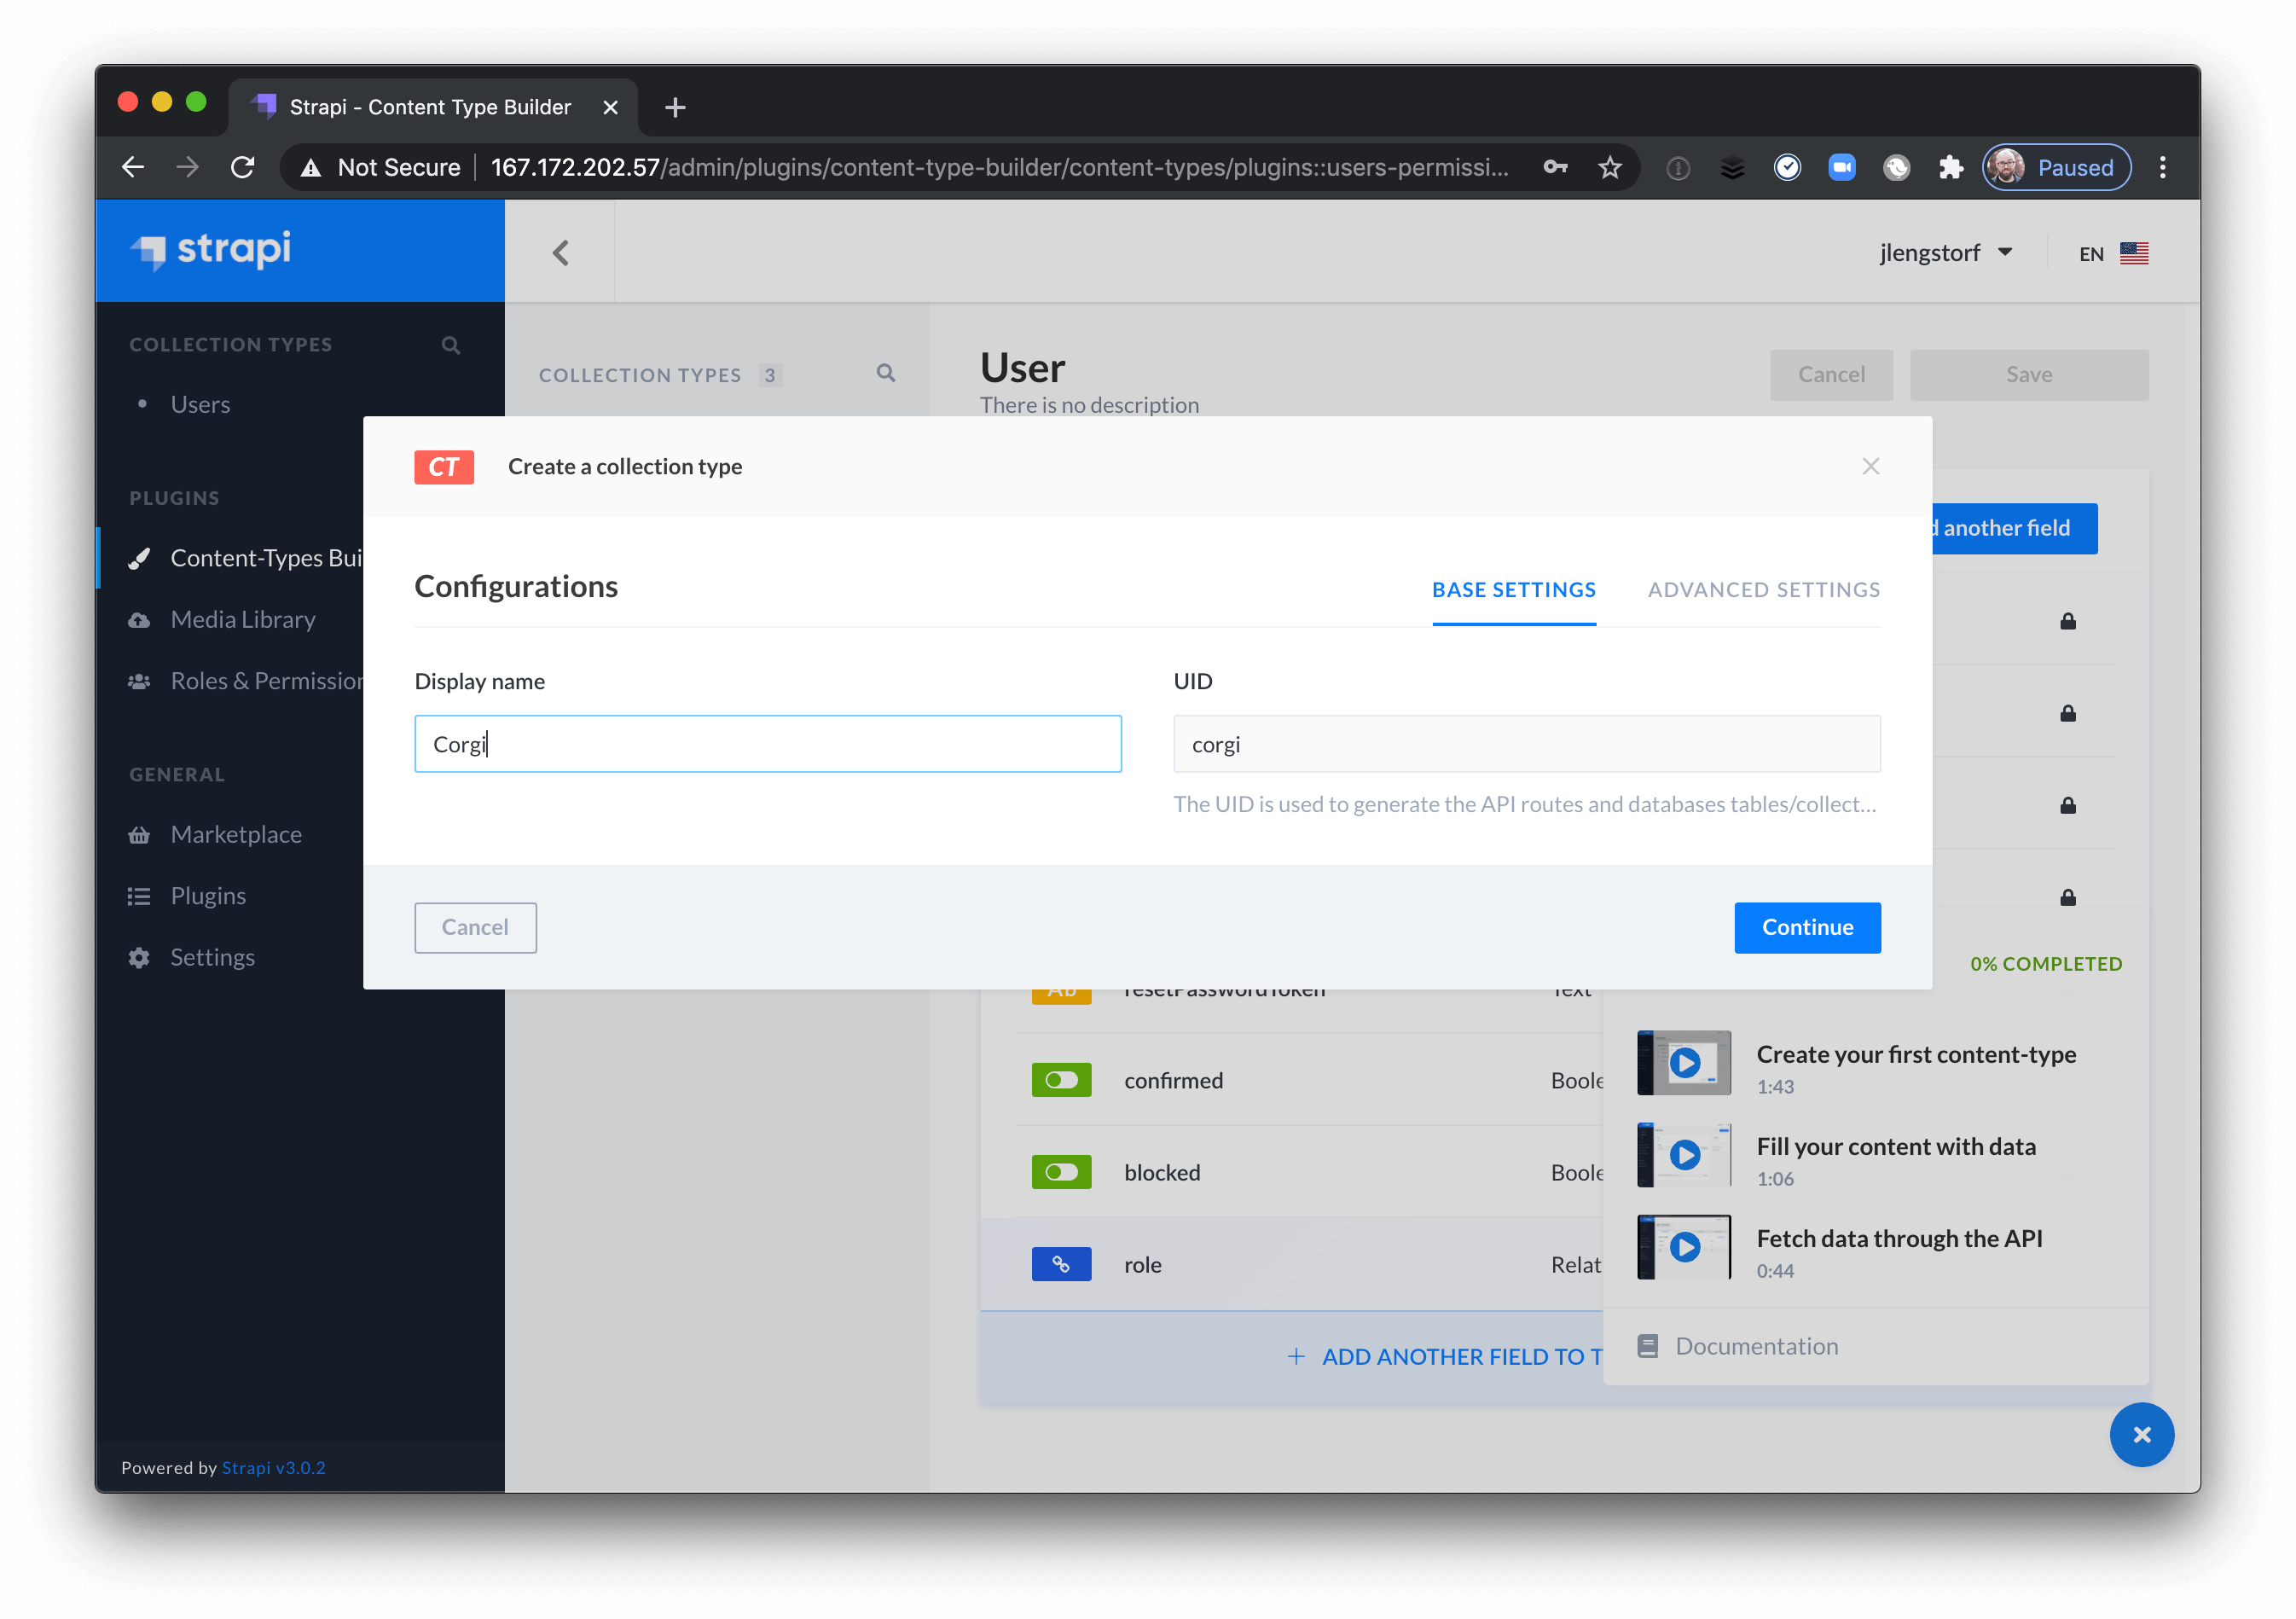
After clicking “Continue”, you’ll see an option to add fields. Click the “Text” field type and add a new field with the name “photo”. This will hold the URL for corgi photos, which will be sourced from Unsplash.
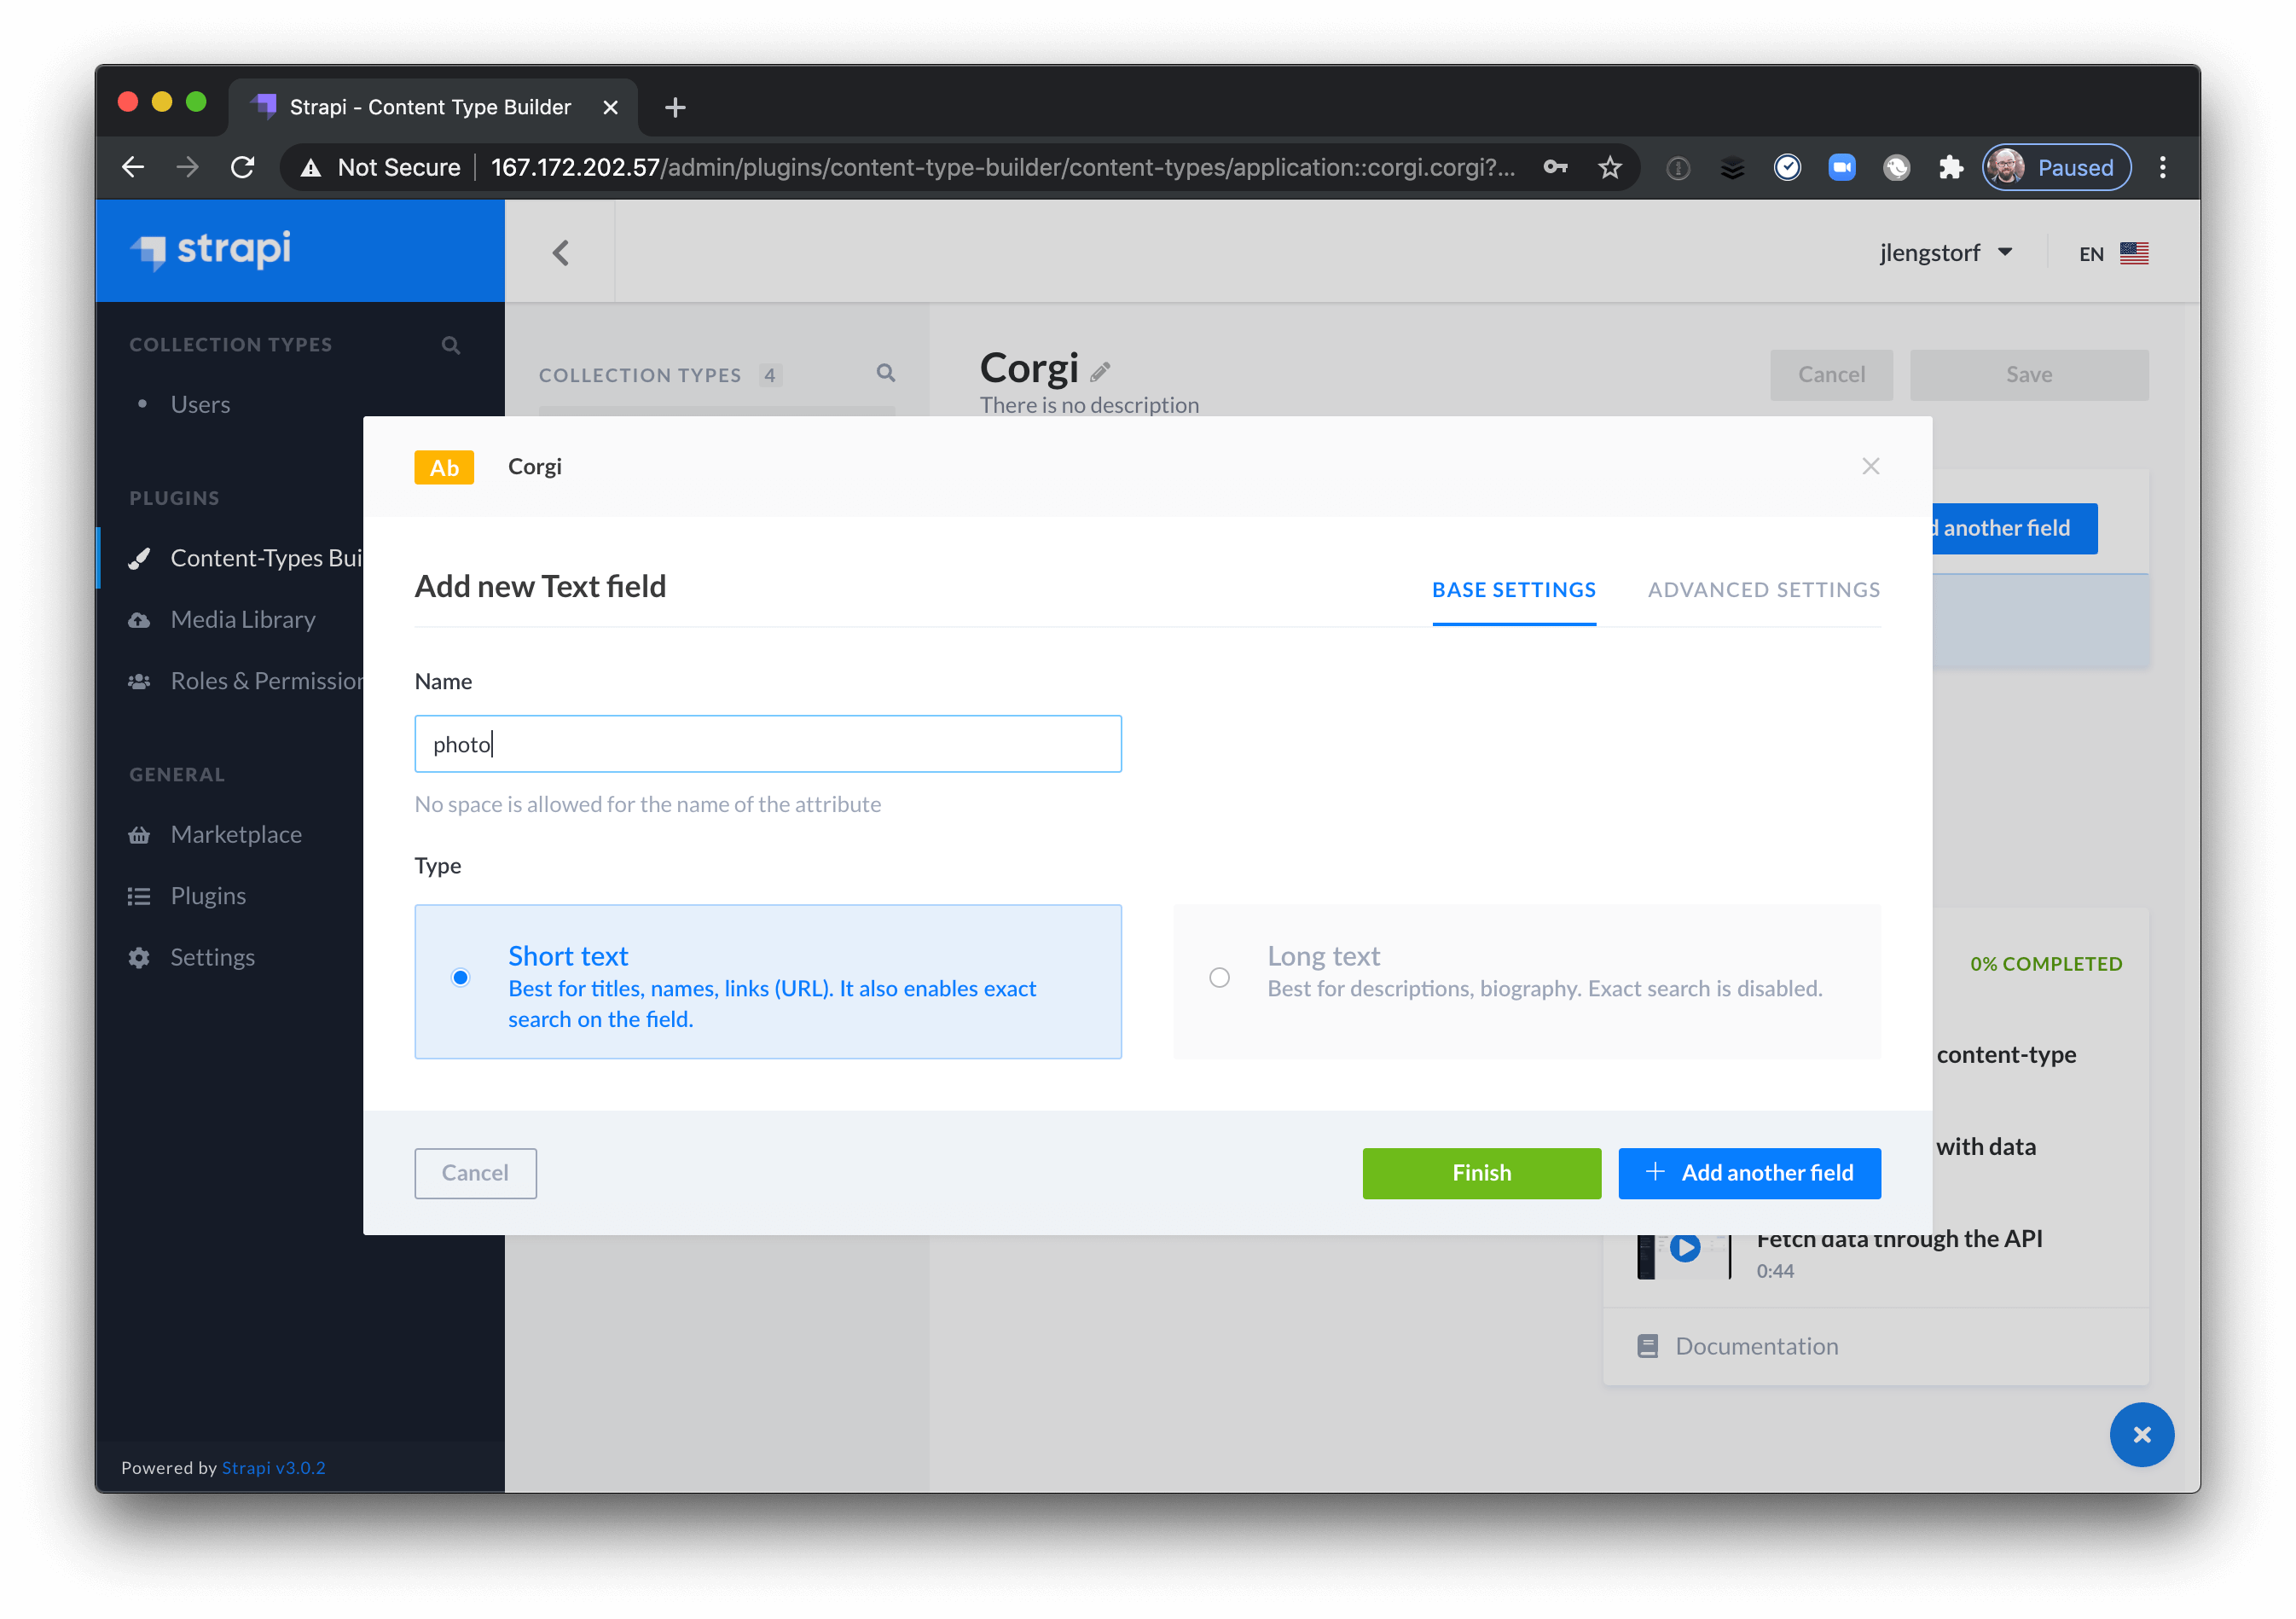
In the “Advanced Settings” tab, you also have the option to mark fields as required. This helps avoid accidental empty entries.
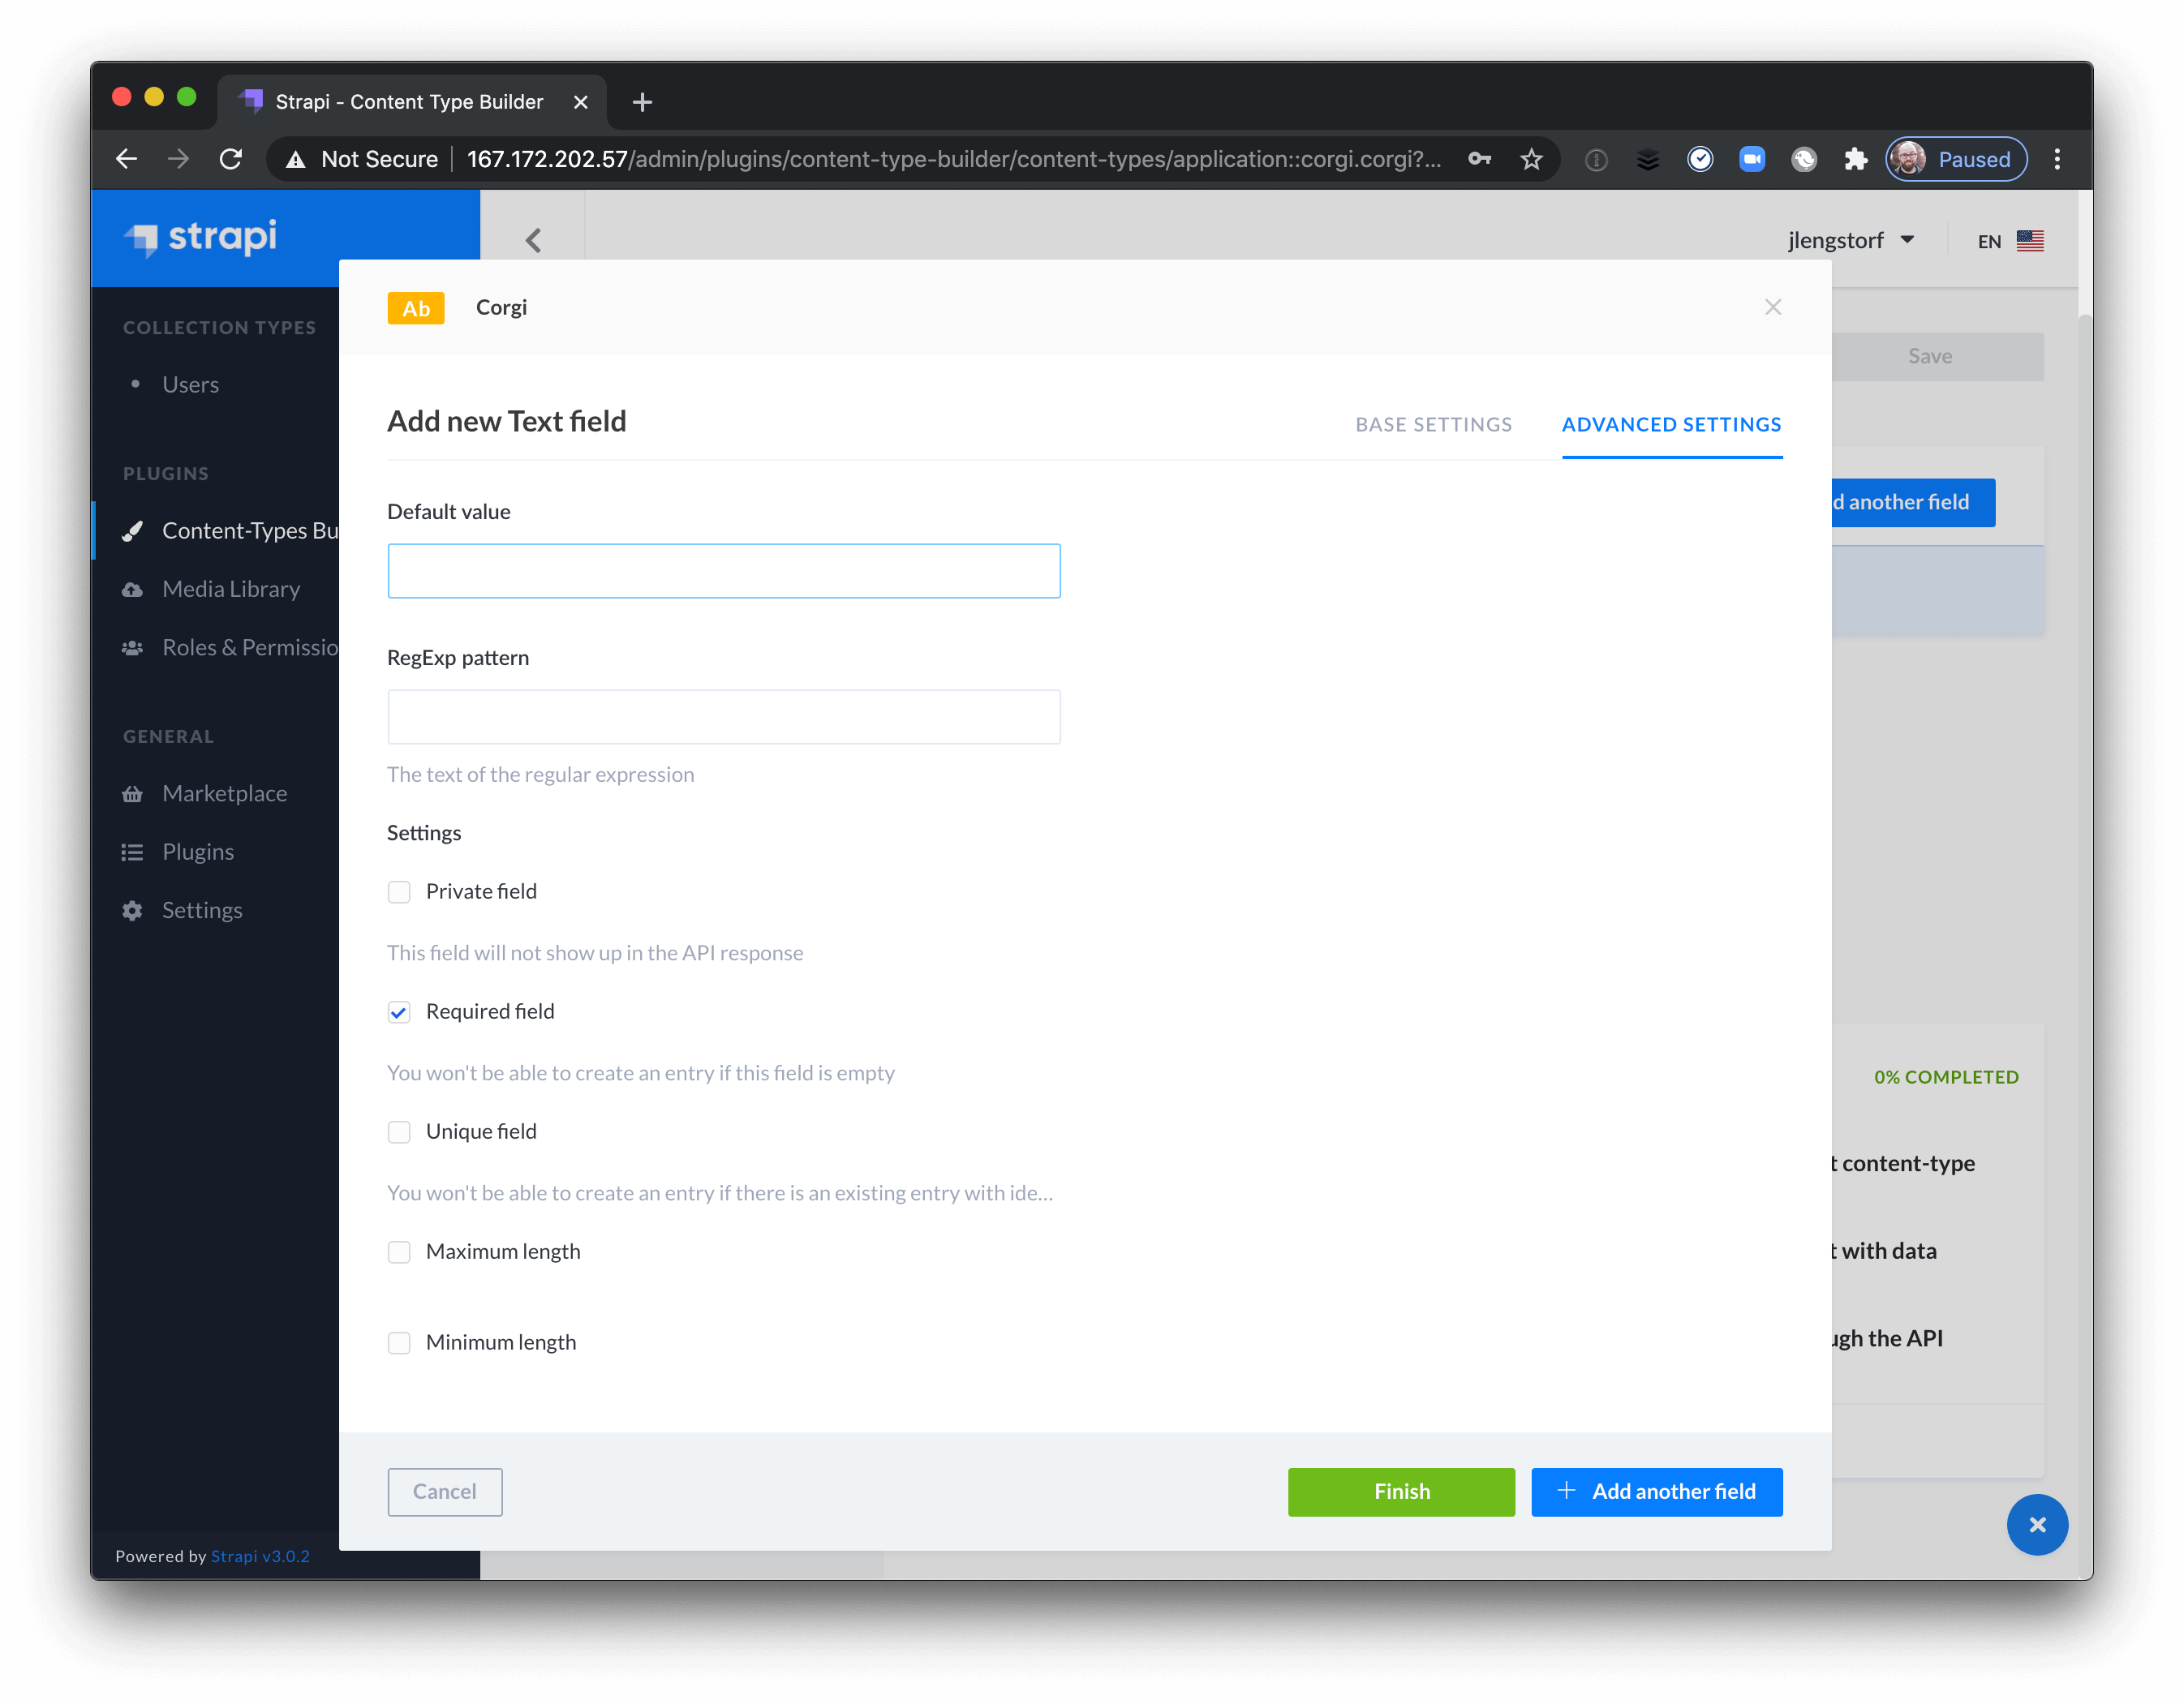
After choosing the advanced settings for the photo field, click “Add another field” and repeat the process for a “credit” and “title” field. When you’re done, you’ll have a “Corgi“ collection type with three text fields.
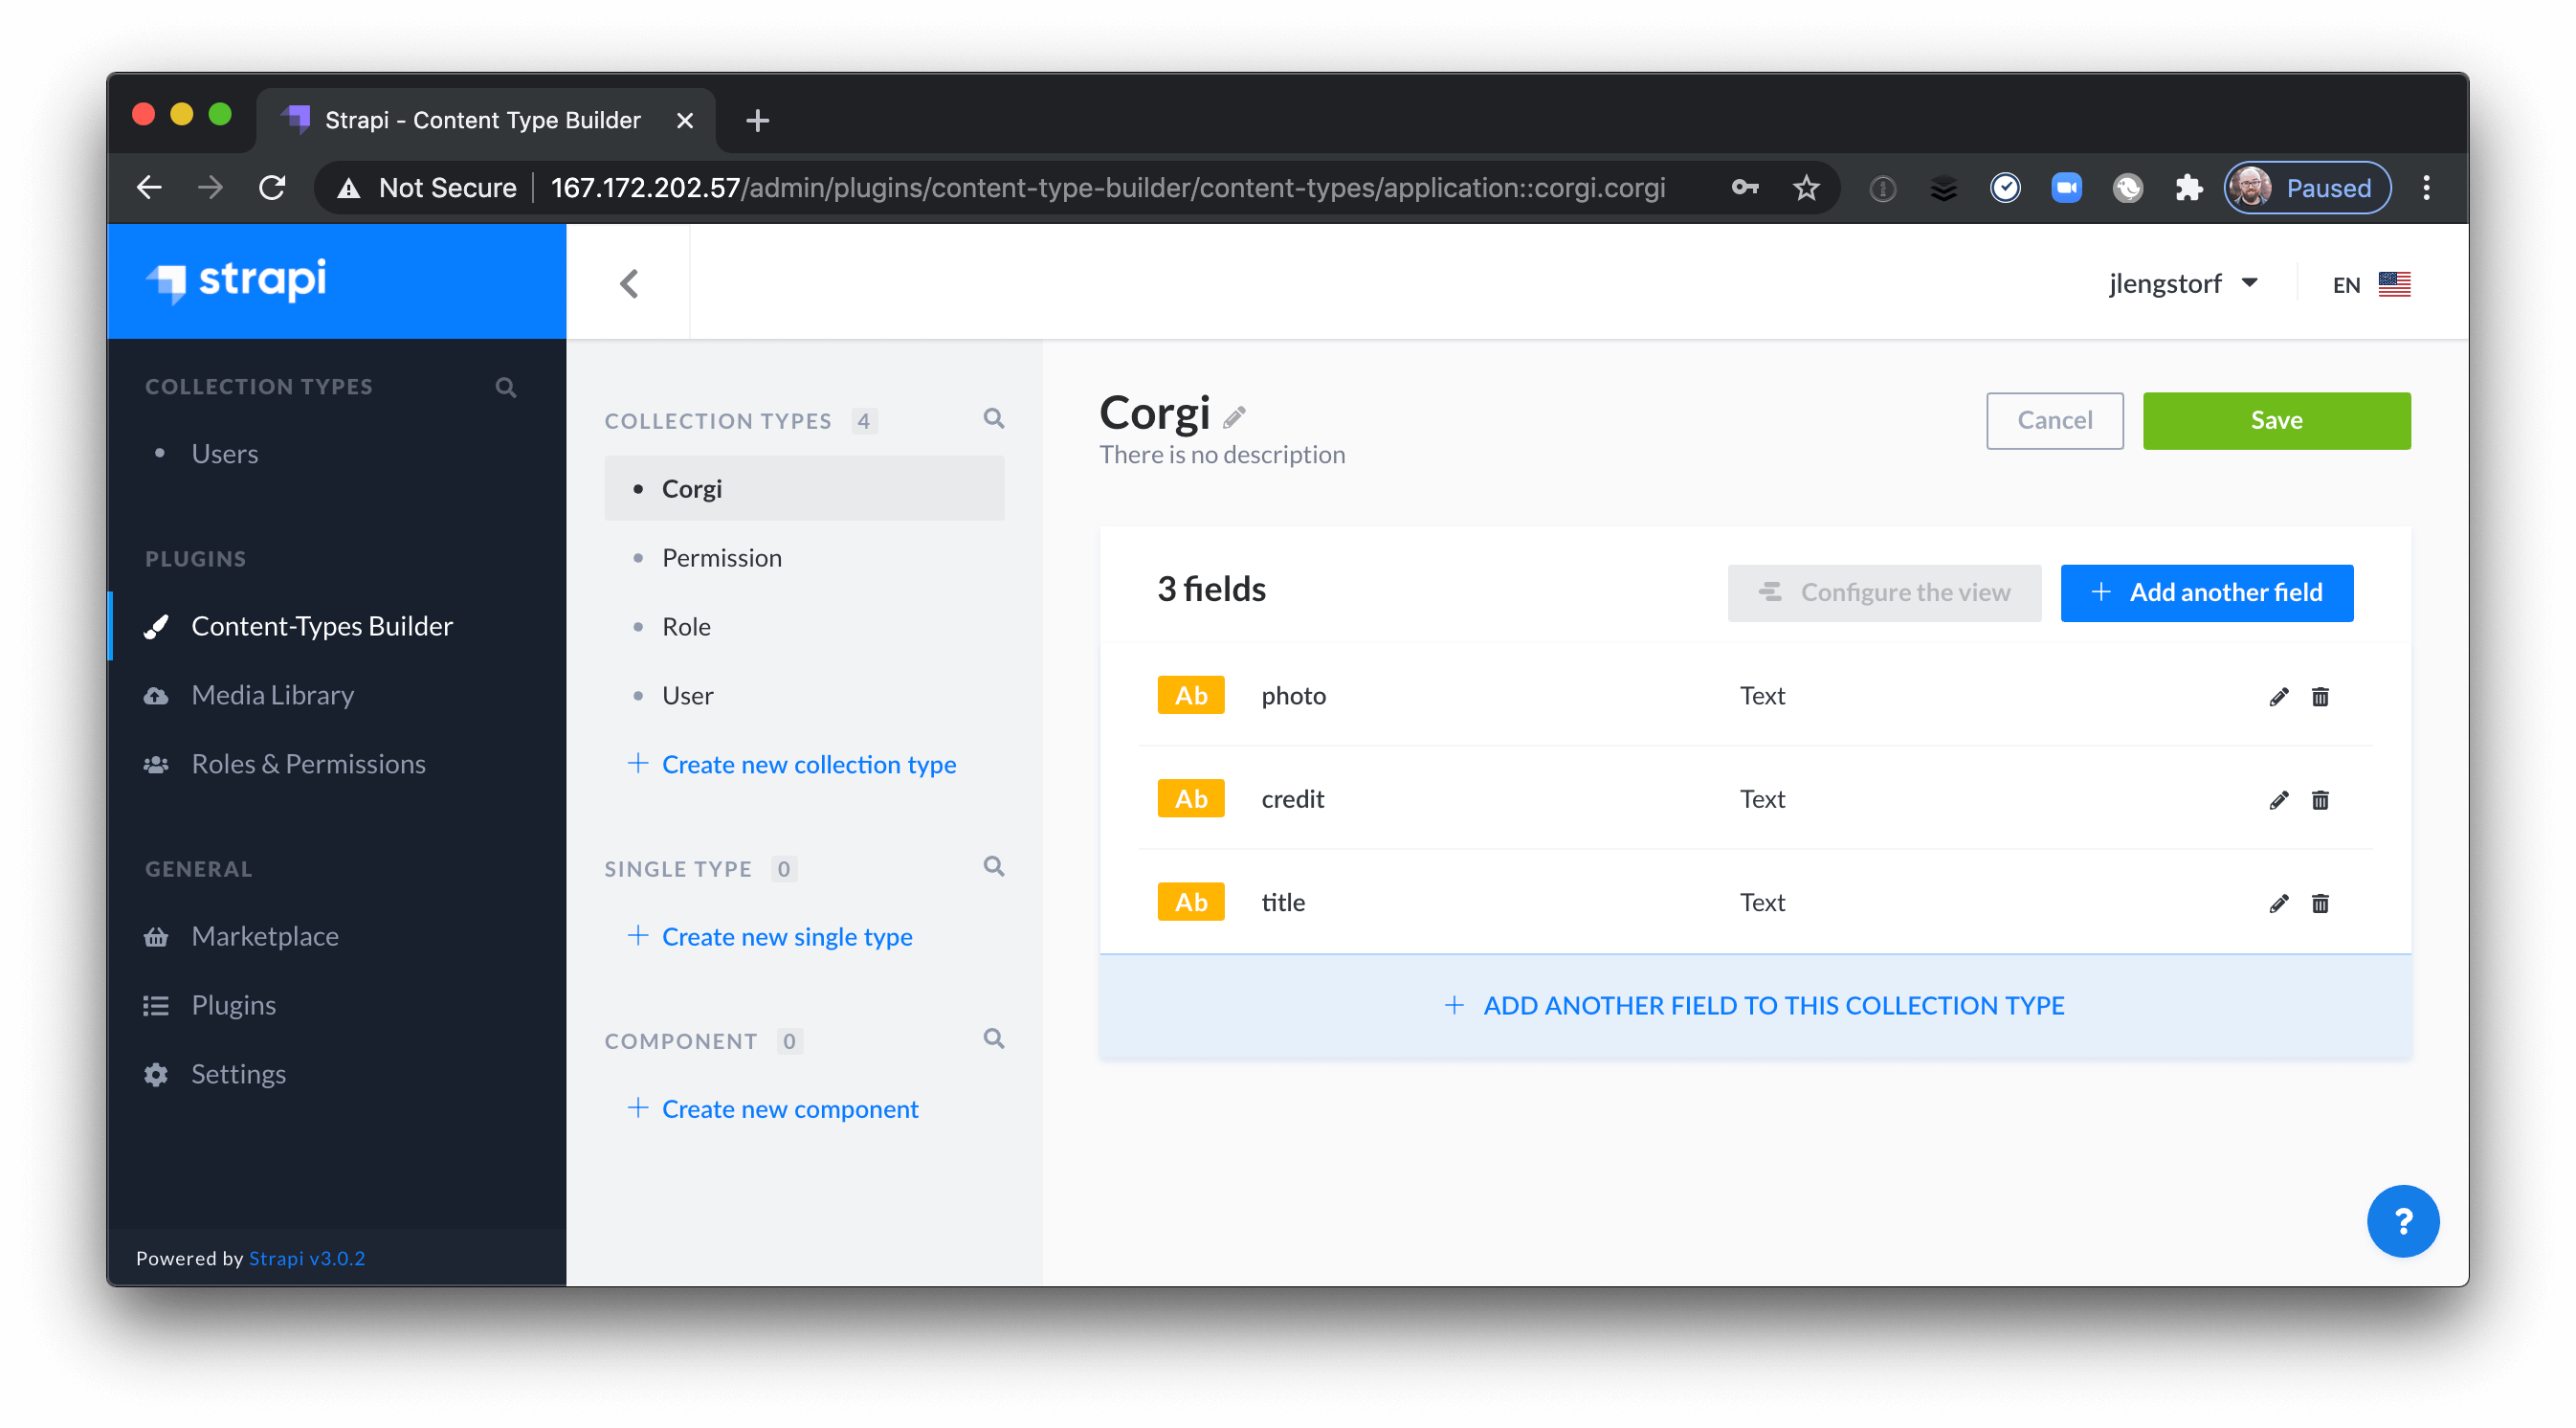
Next, you’ll need to create a “Reaction” type to handle pets and boops!
Add a Reactions collection type.
To track boops and pets, create another collection type and name it “Reaction”.
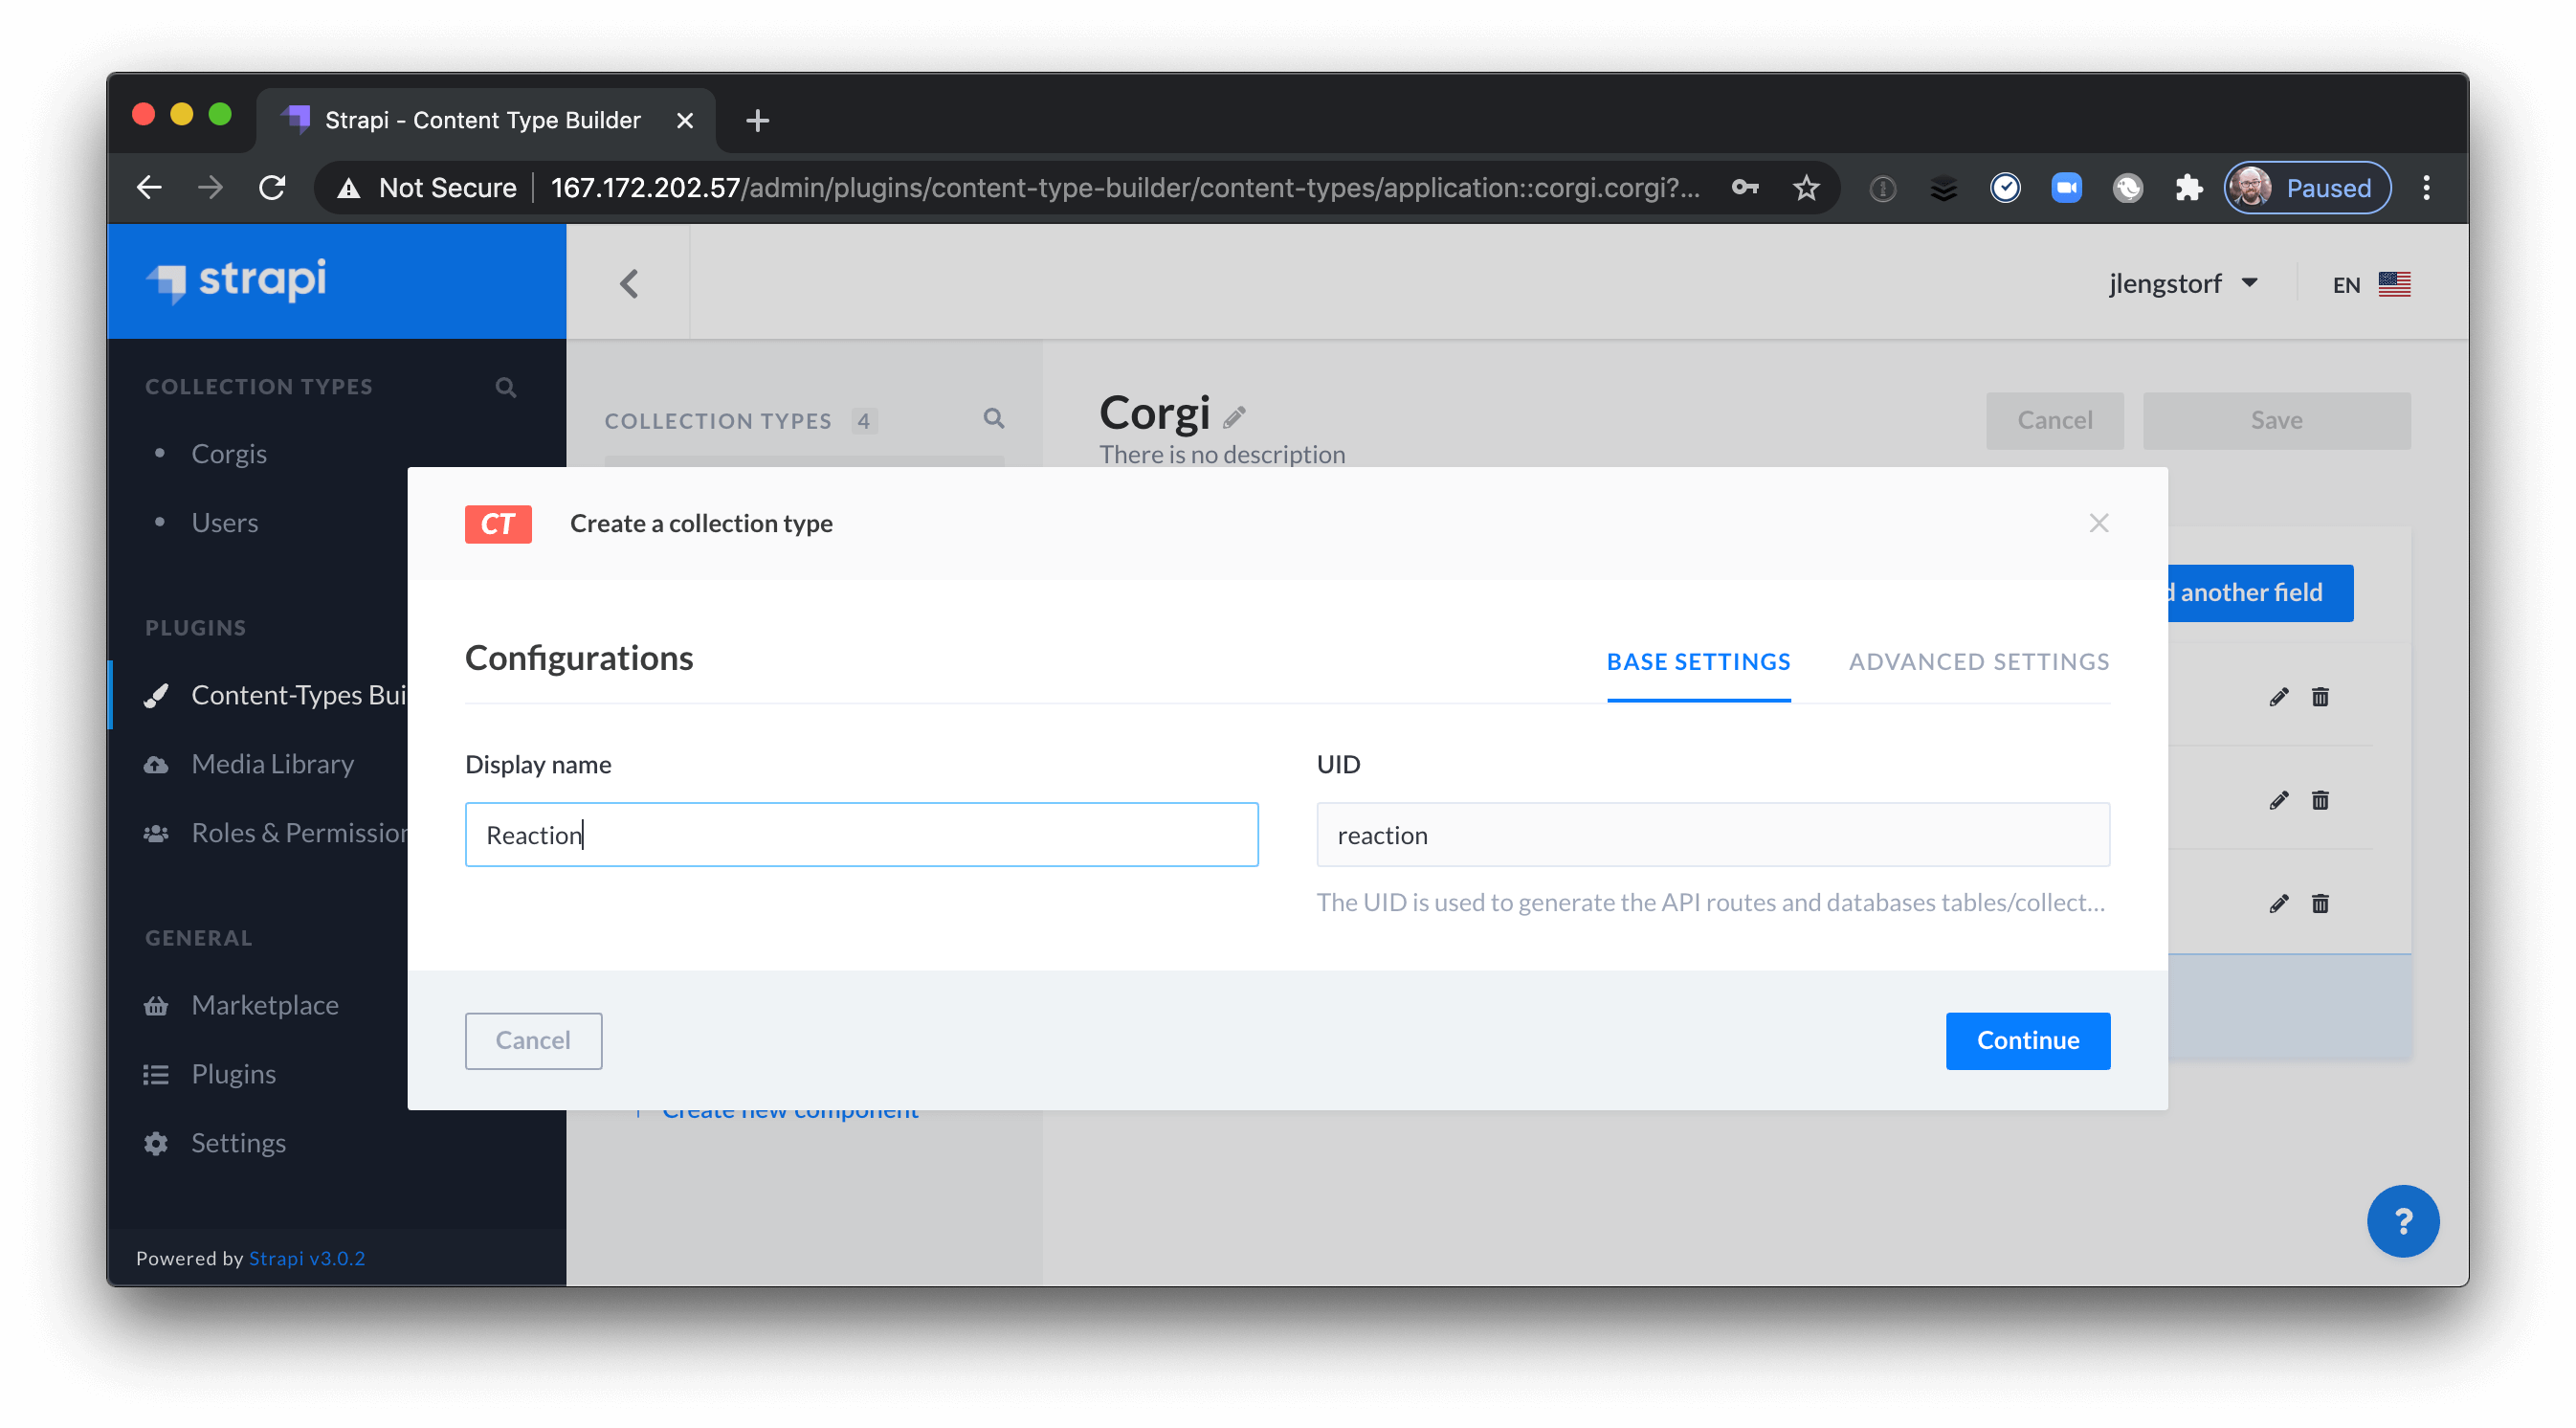
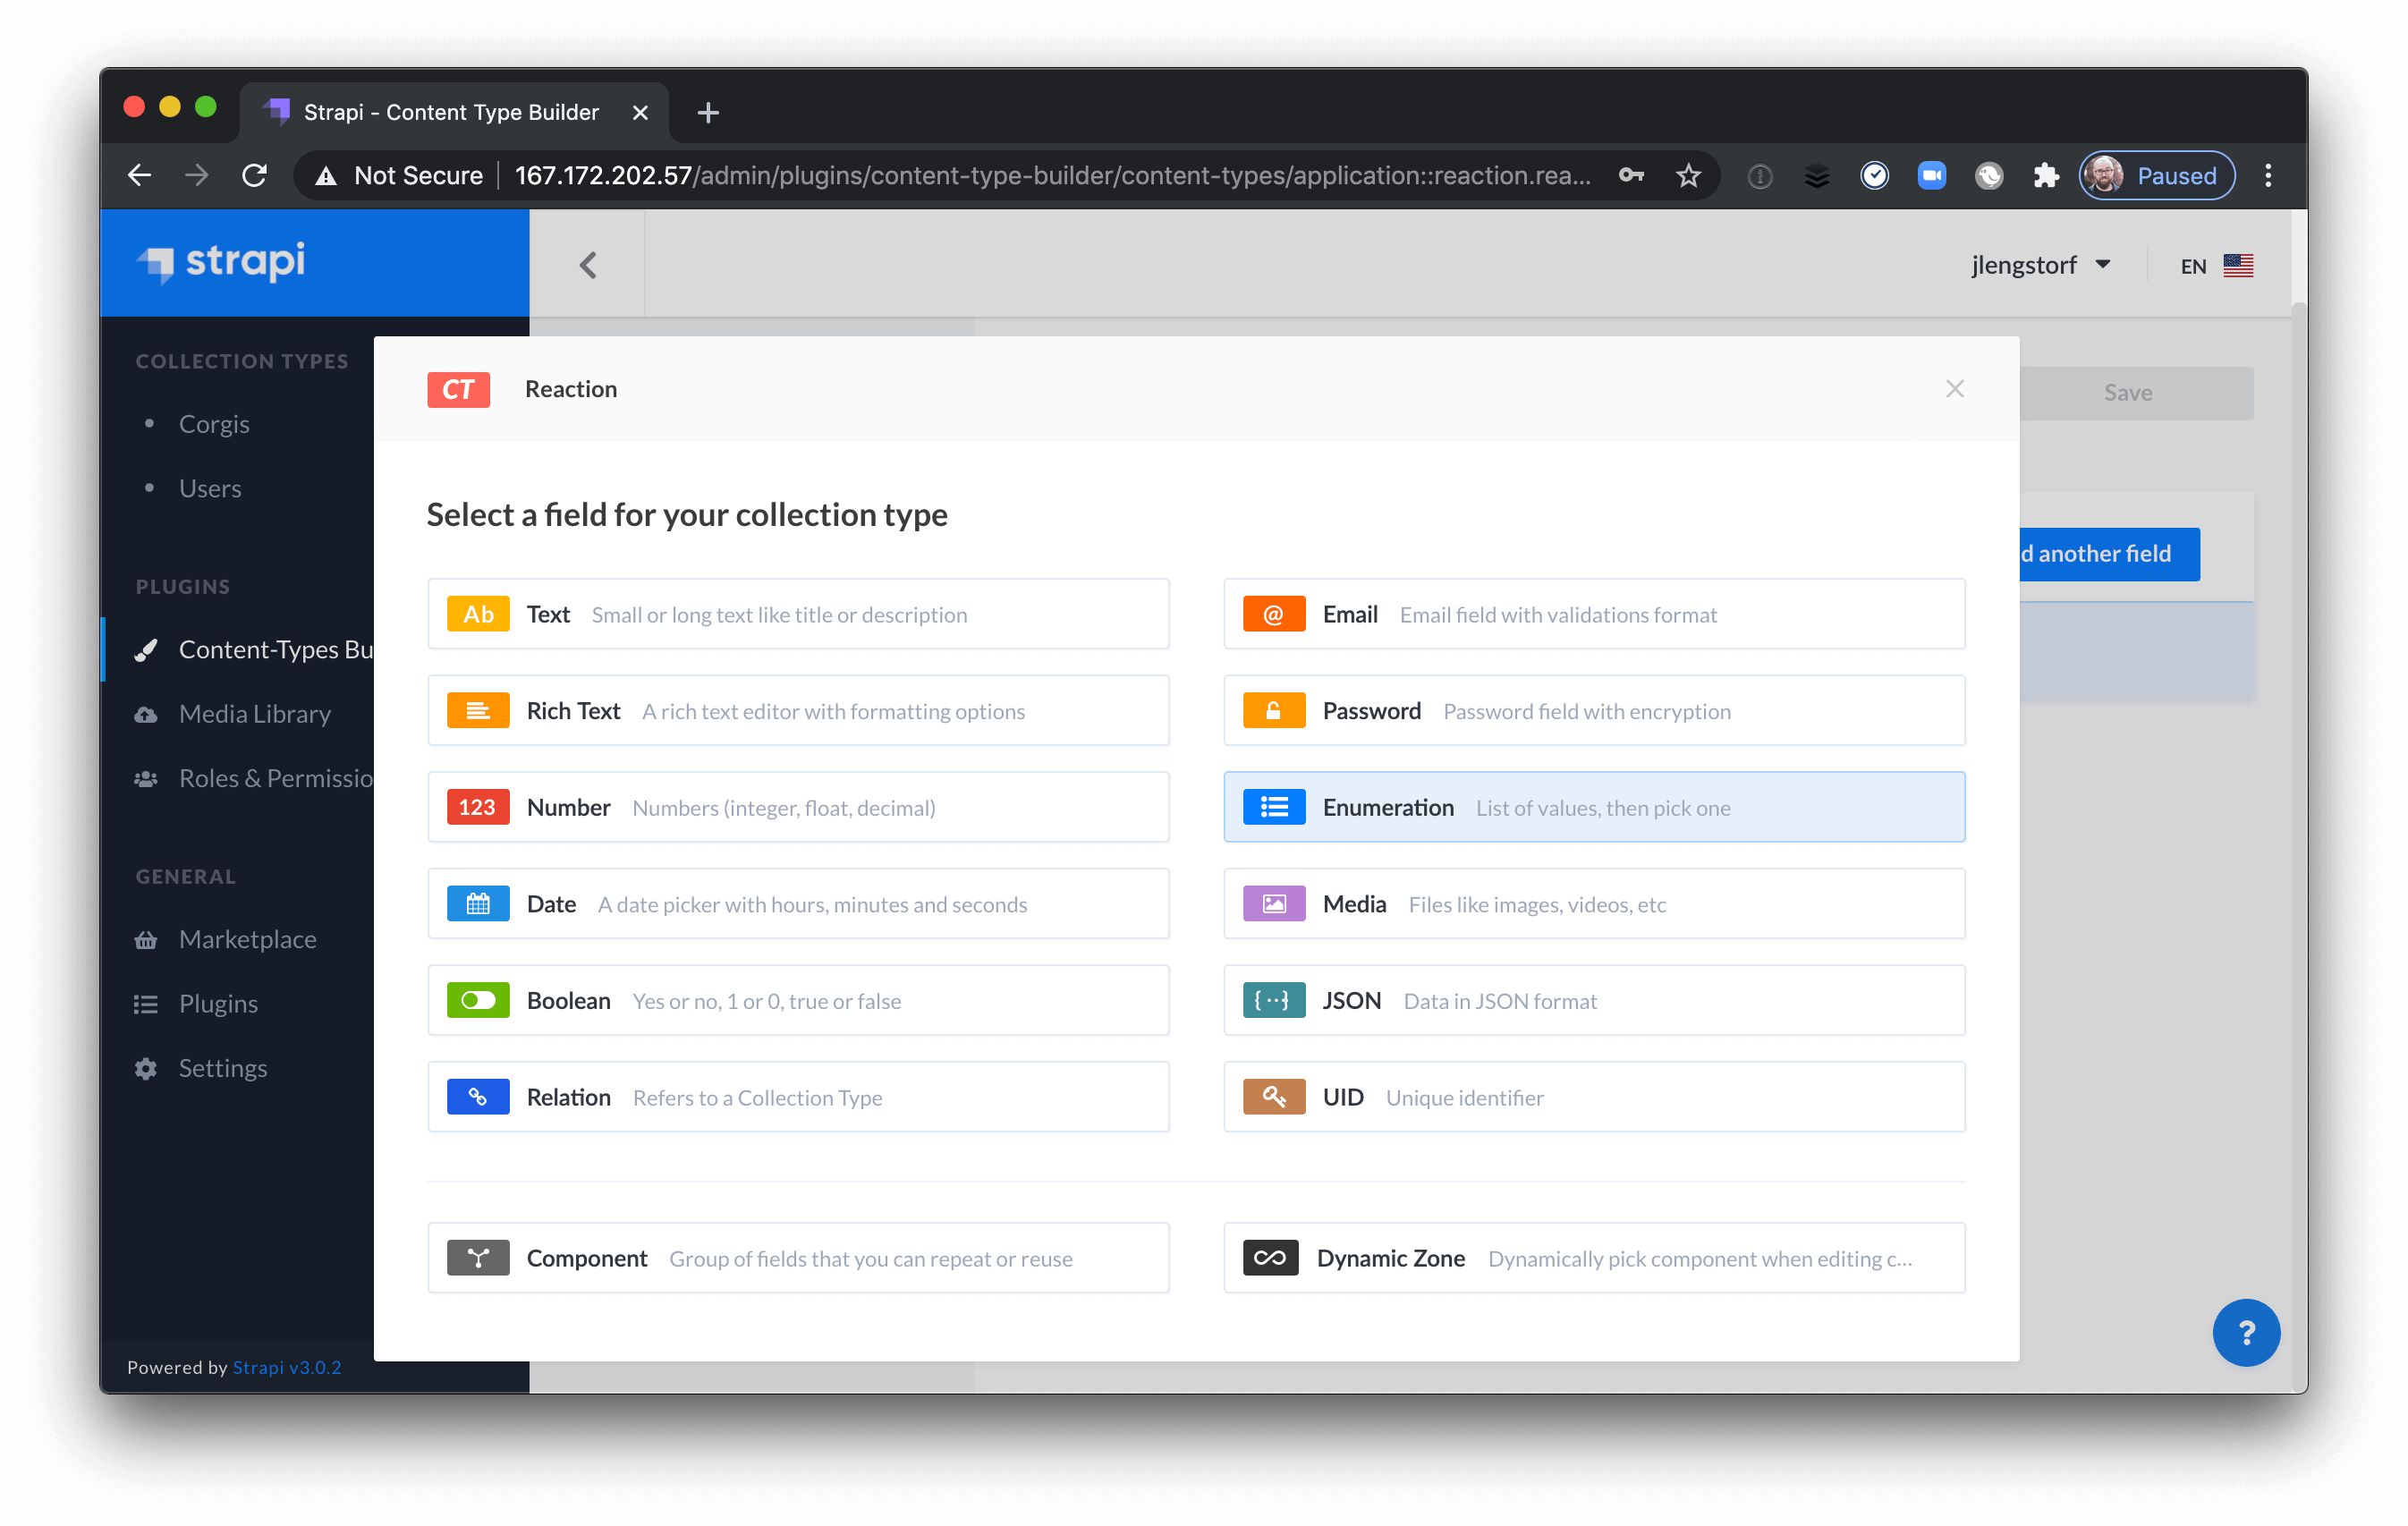
Because this app only supports two reactions — boops and pets — choose the “Enumeration” field.
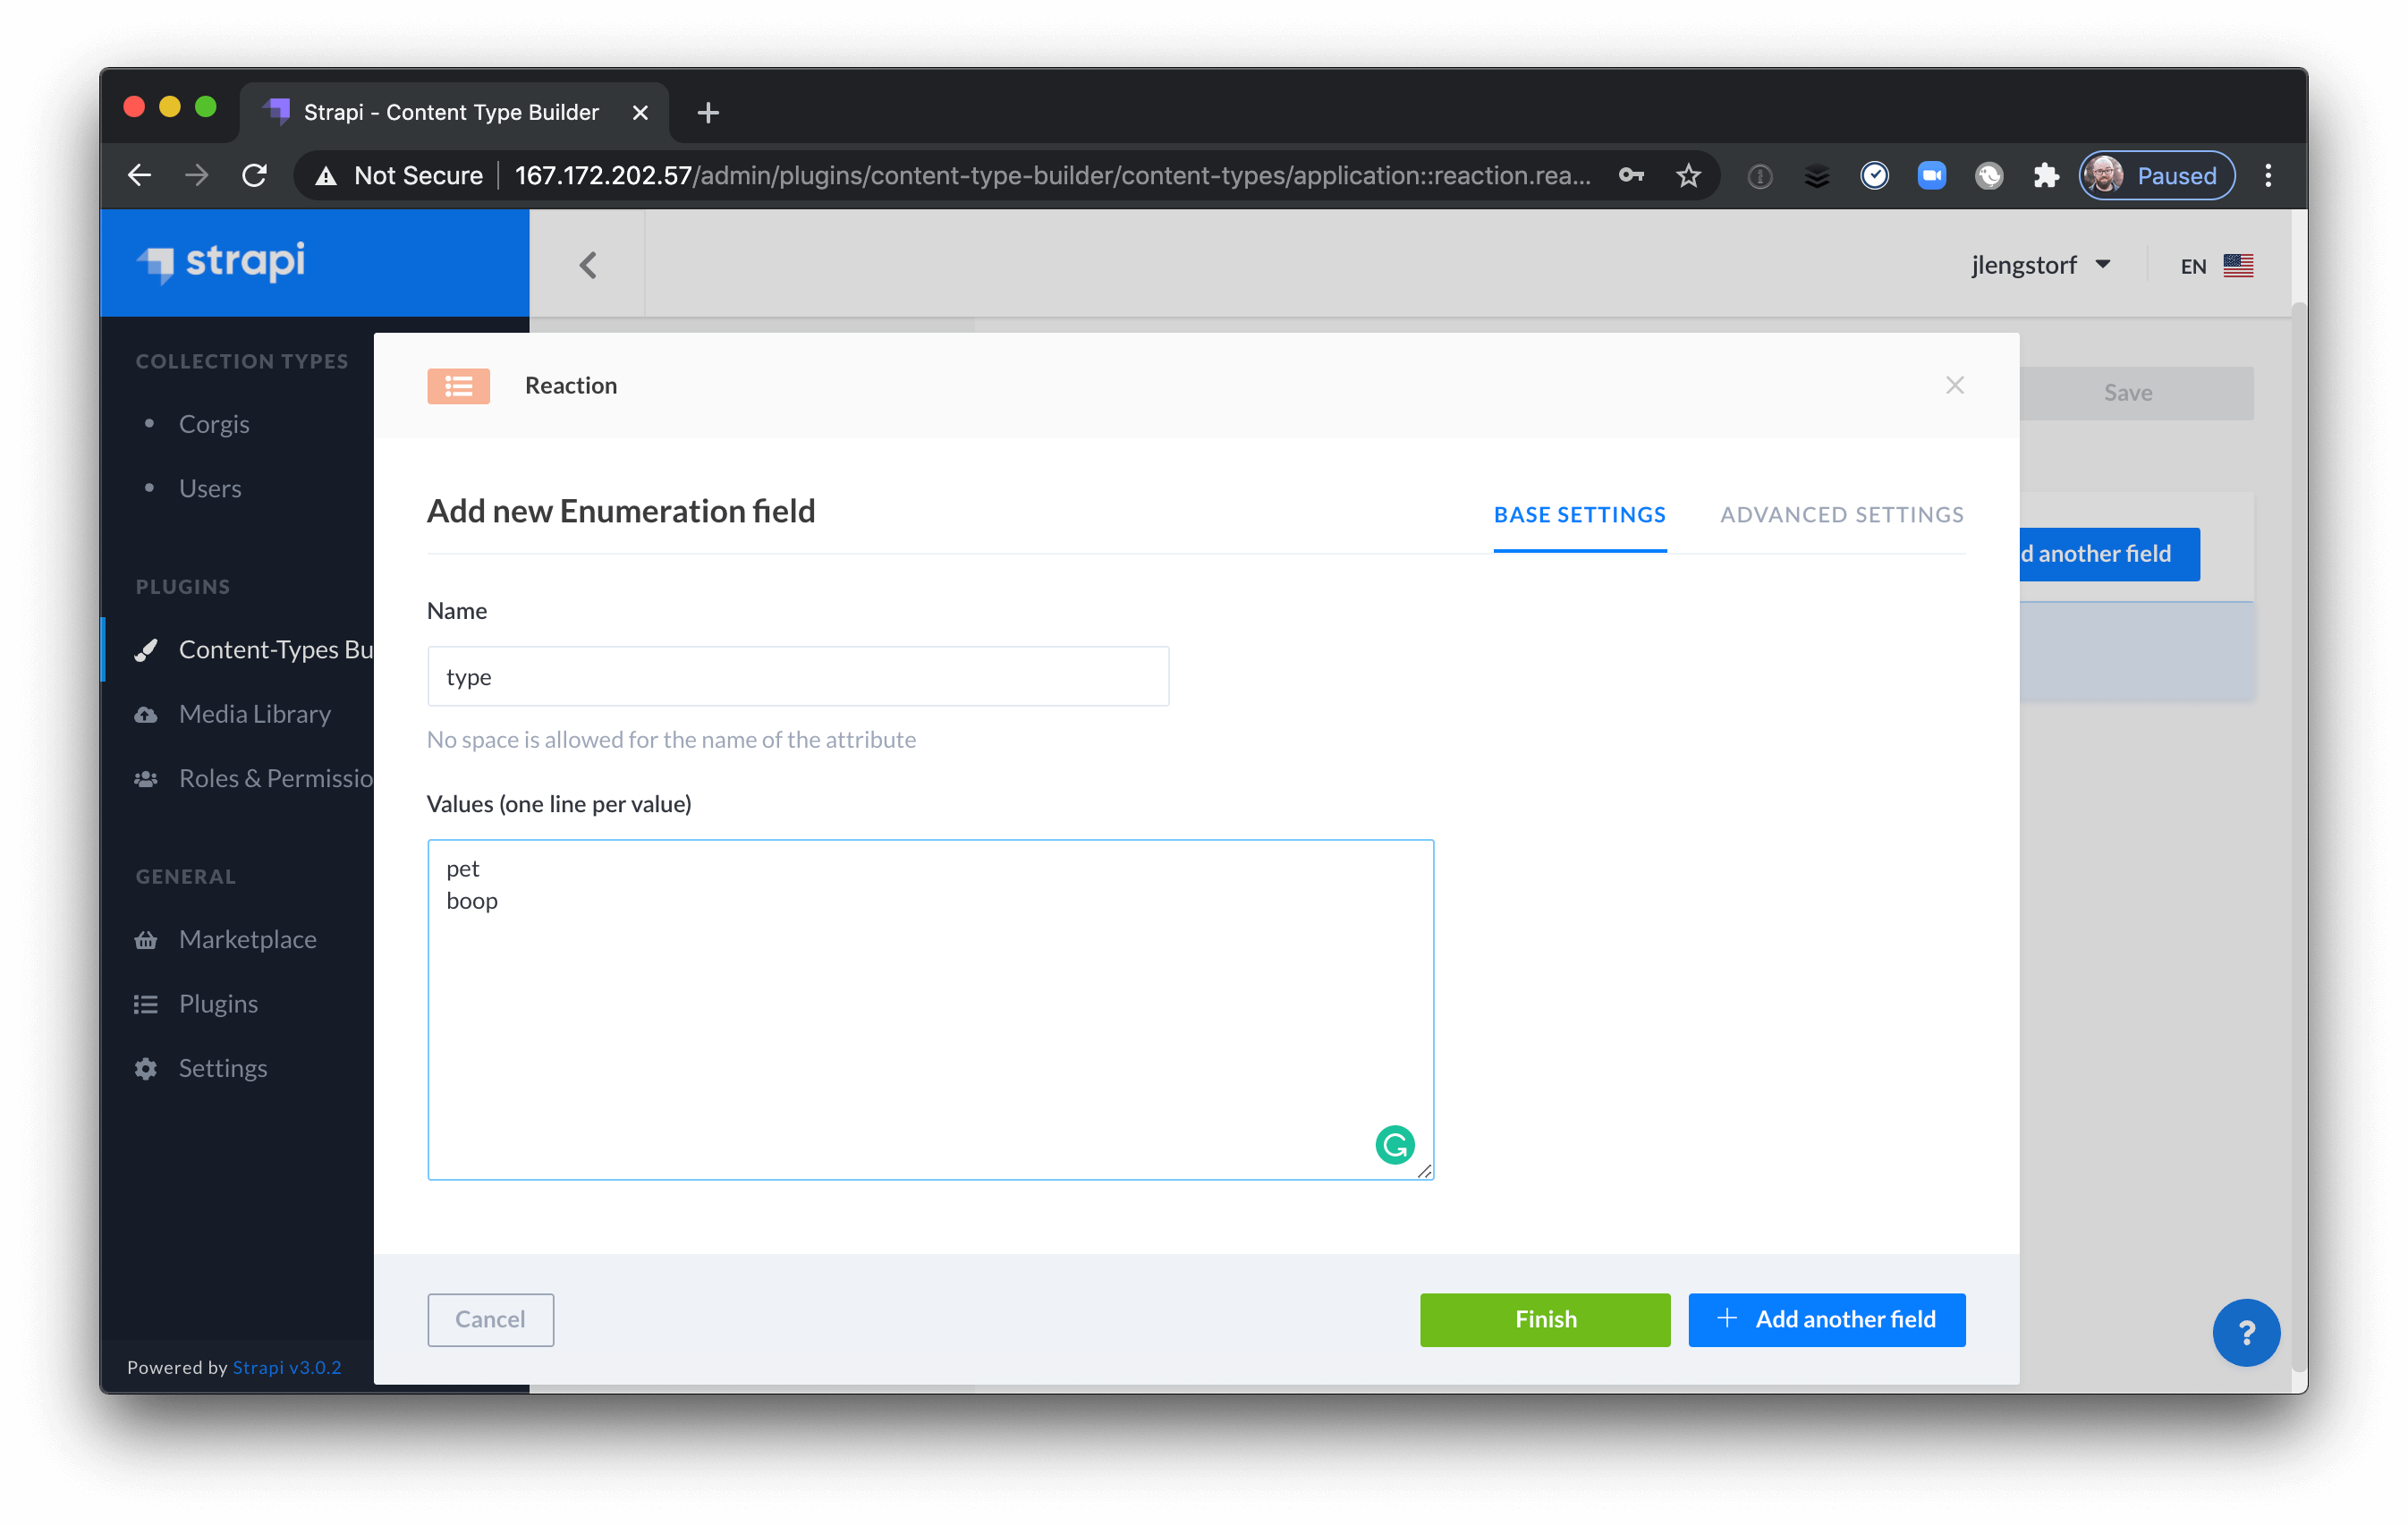
Name the field “type”, then place “pet” and “boop” in the values field on separate lines.
Each reaction needs to be associated with the corgi that spurred the reaction. To do this, add a “Relation” field and set it so that one corgi can have many reactions.
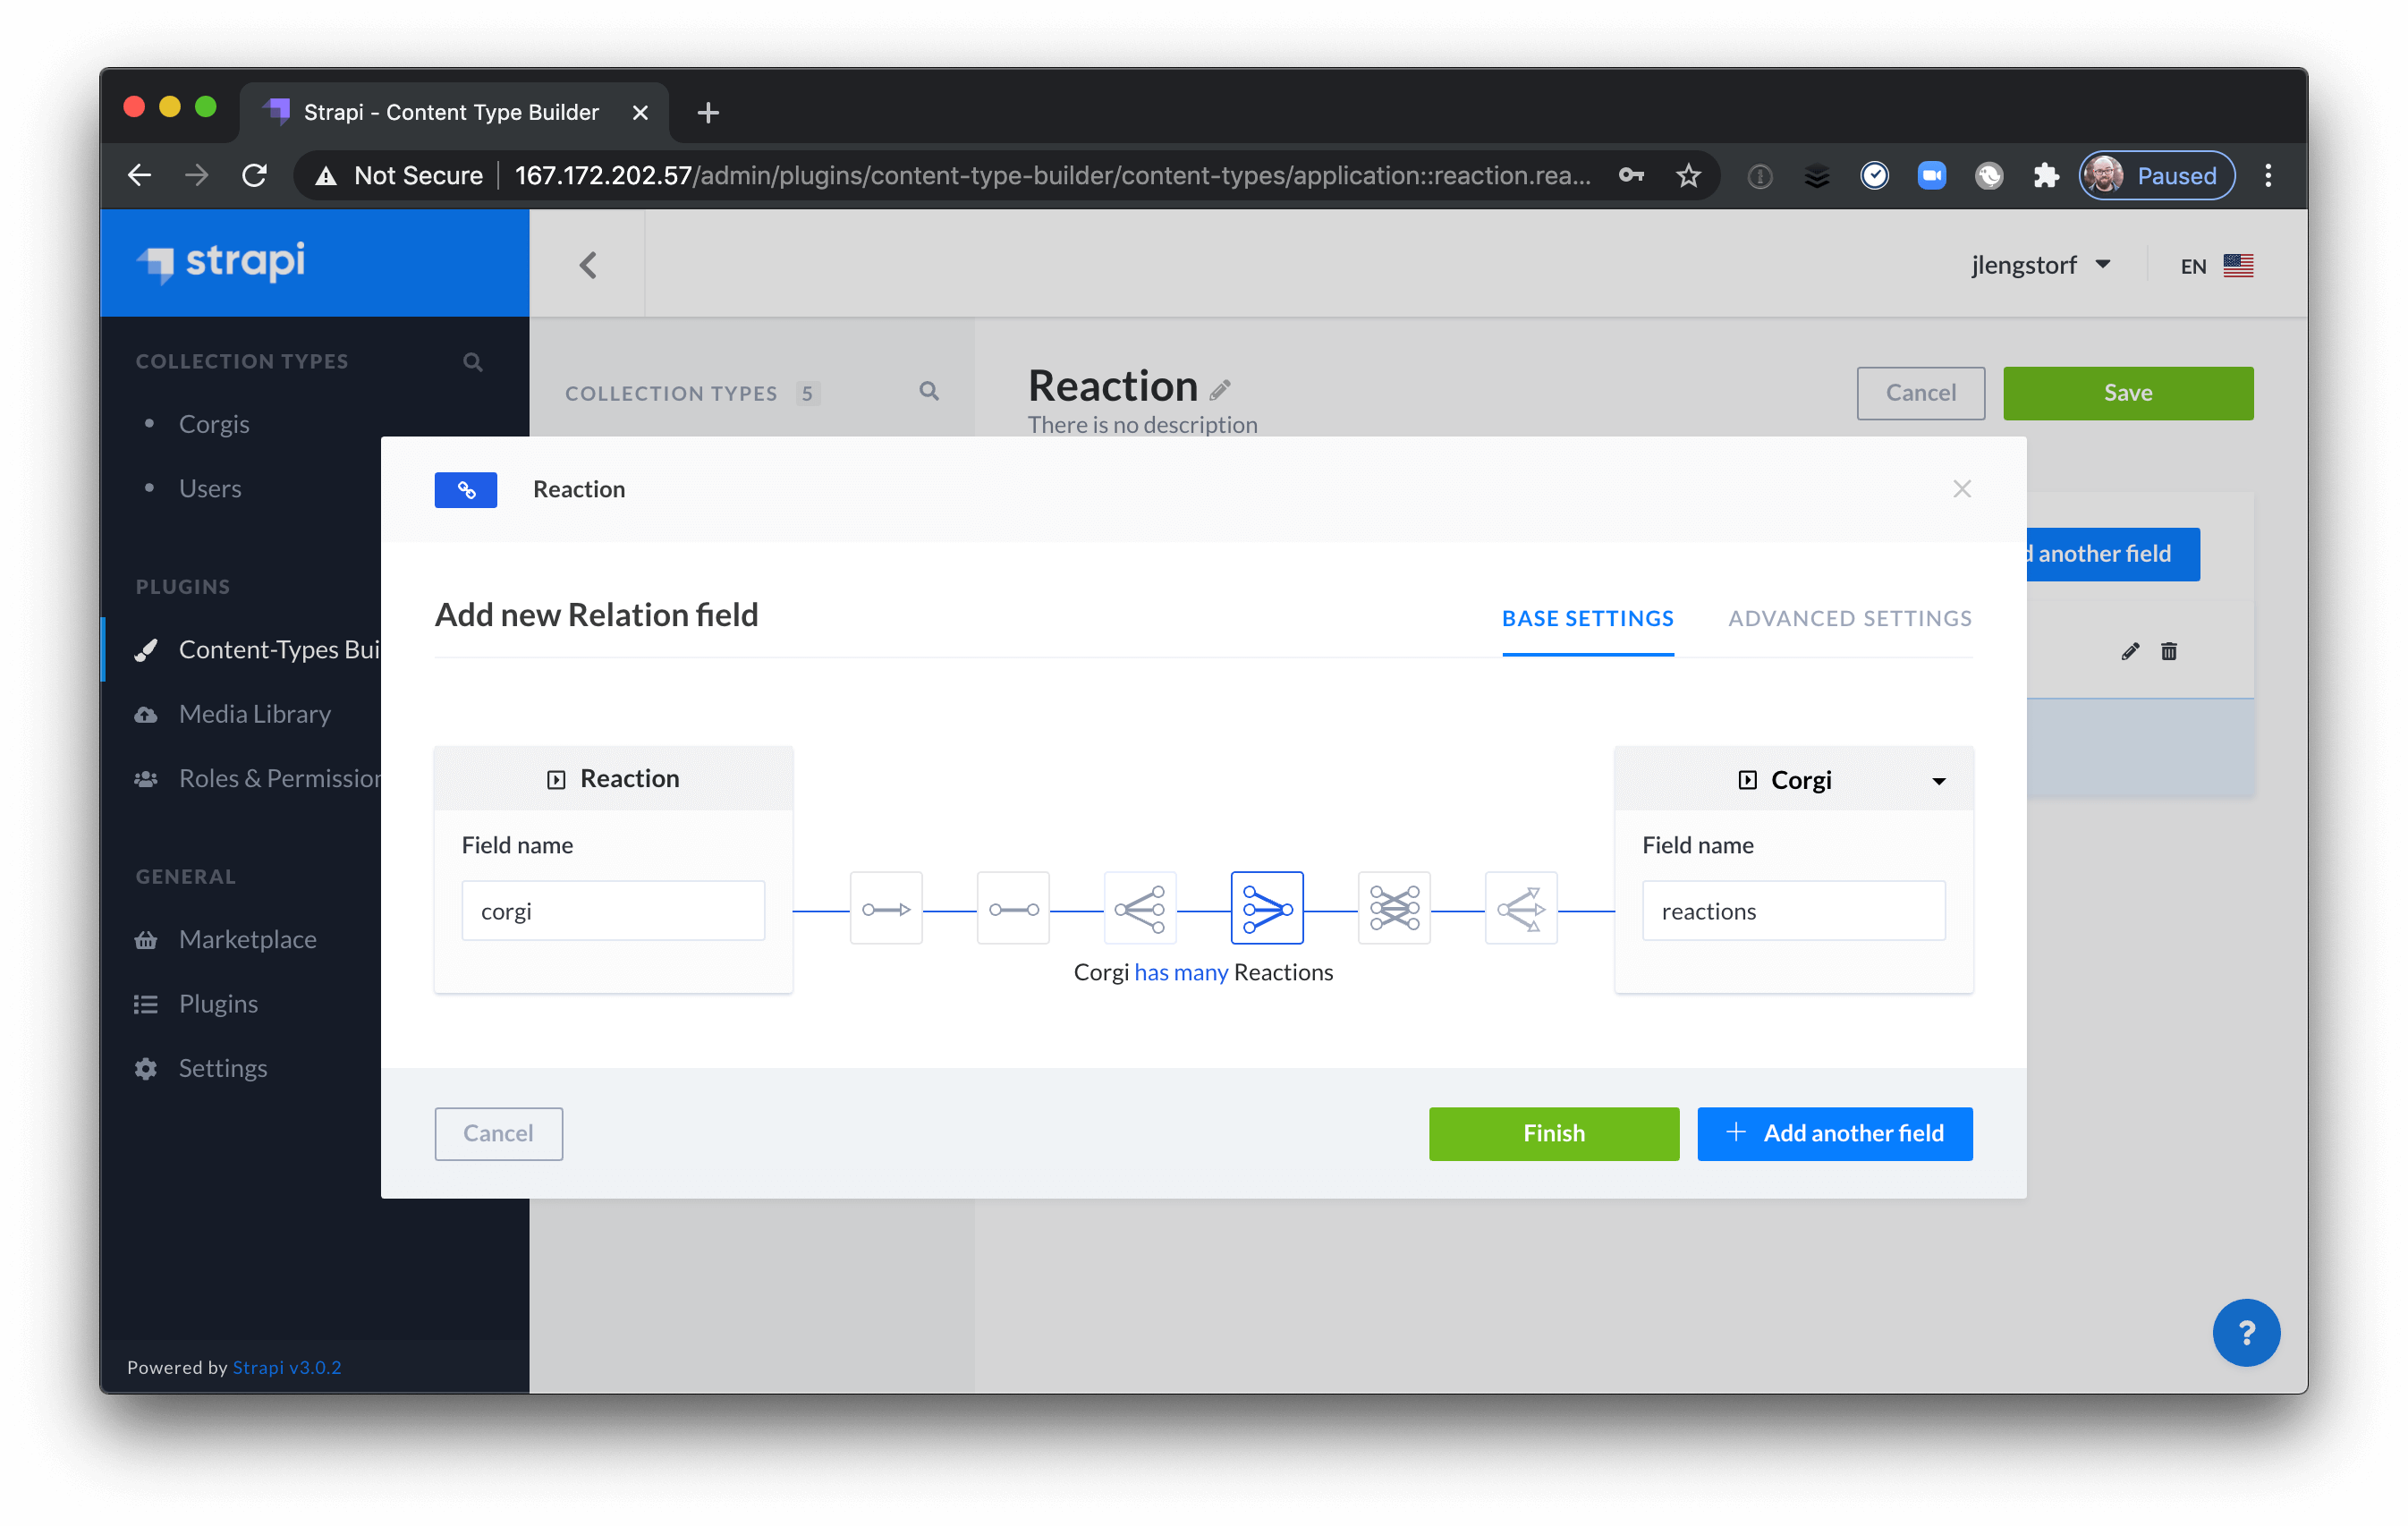
After saving the Reaction collection, open up the Corgi collection and you'll see a new reactions field that stores a relationship with our Reaction type.
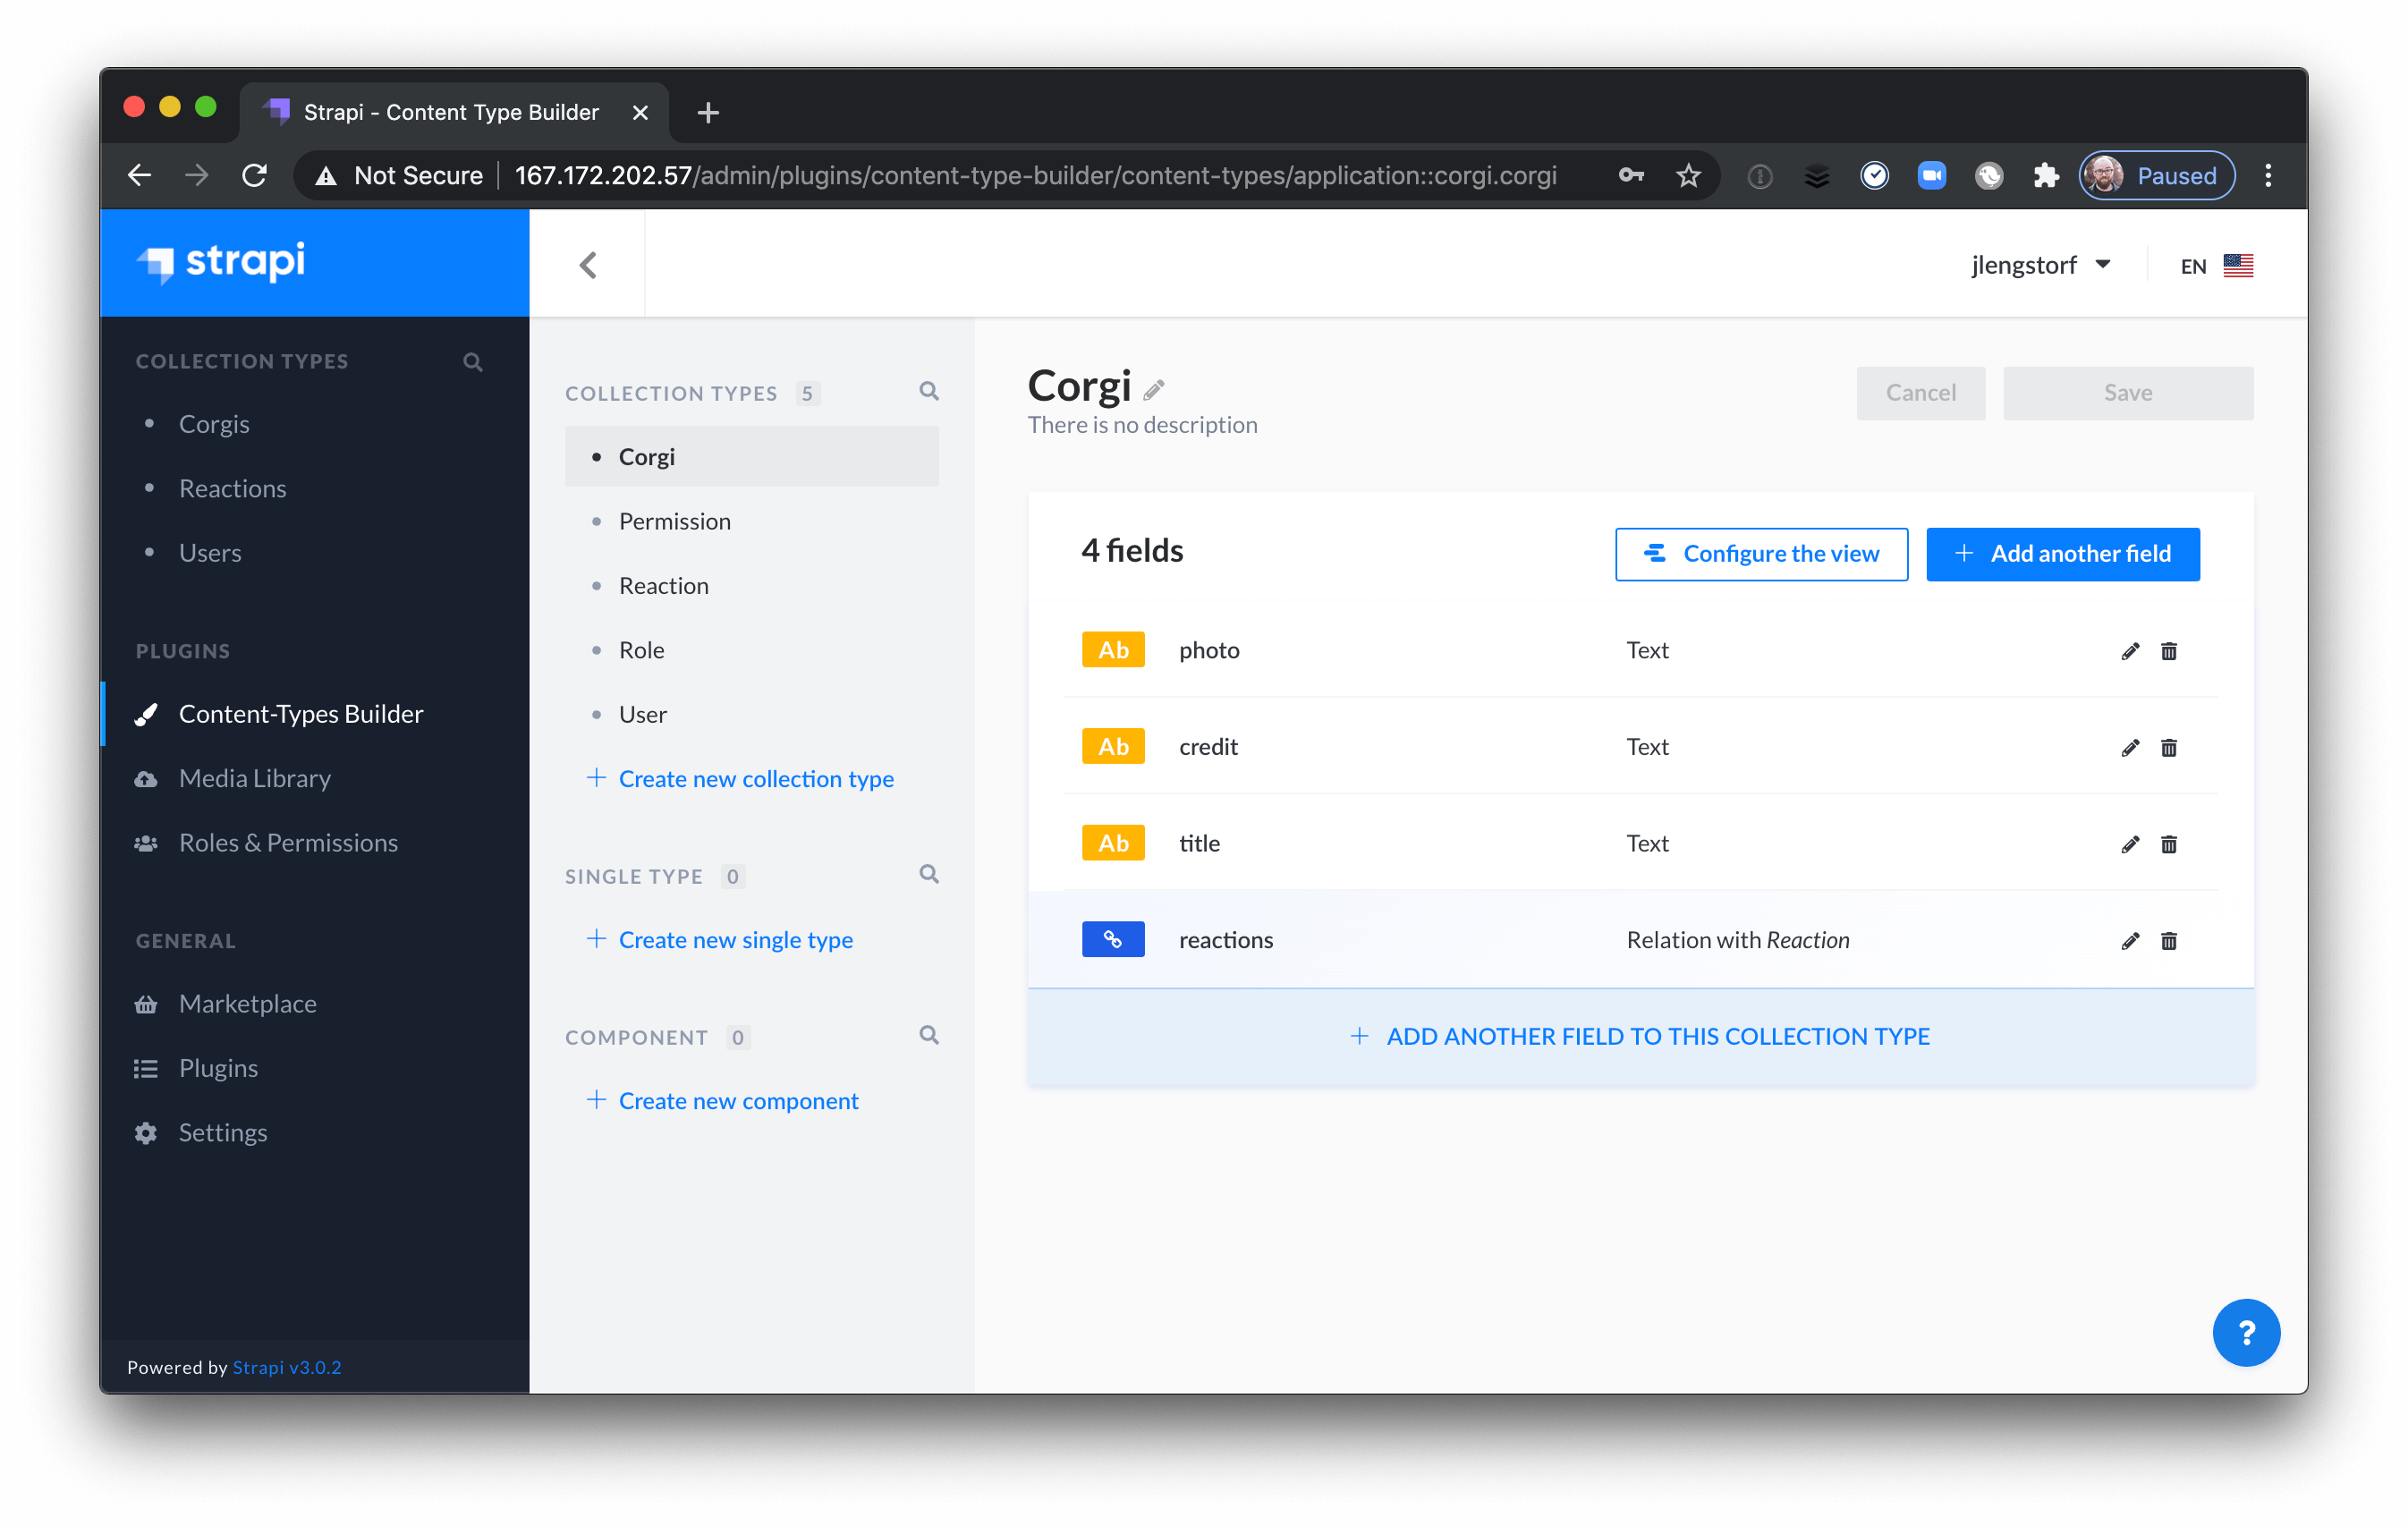
This means that each Corgi entry can have any number of pets and boops attached to it, but a pet or a boop can only be attached to one corgi.
Corgis do not share pets. They get very jealous.
Create corgi entries in the Strapi admin UI.
To keep this tutorial to a reasonable scope, we won’t cover creating corgis from the app frontend. However, the process you’ll follow for creating reactions later on will also allow you to create corgis with small adjustments.
For now, click the “Corgis” collection type in the top left of the Strapi sidebar and you’ll see an empty list.
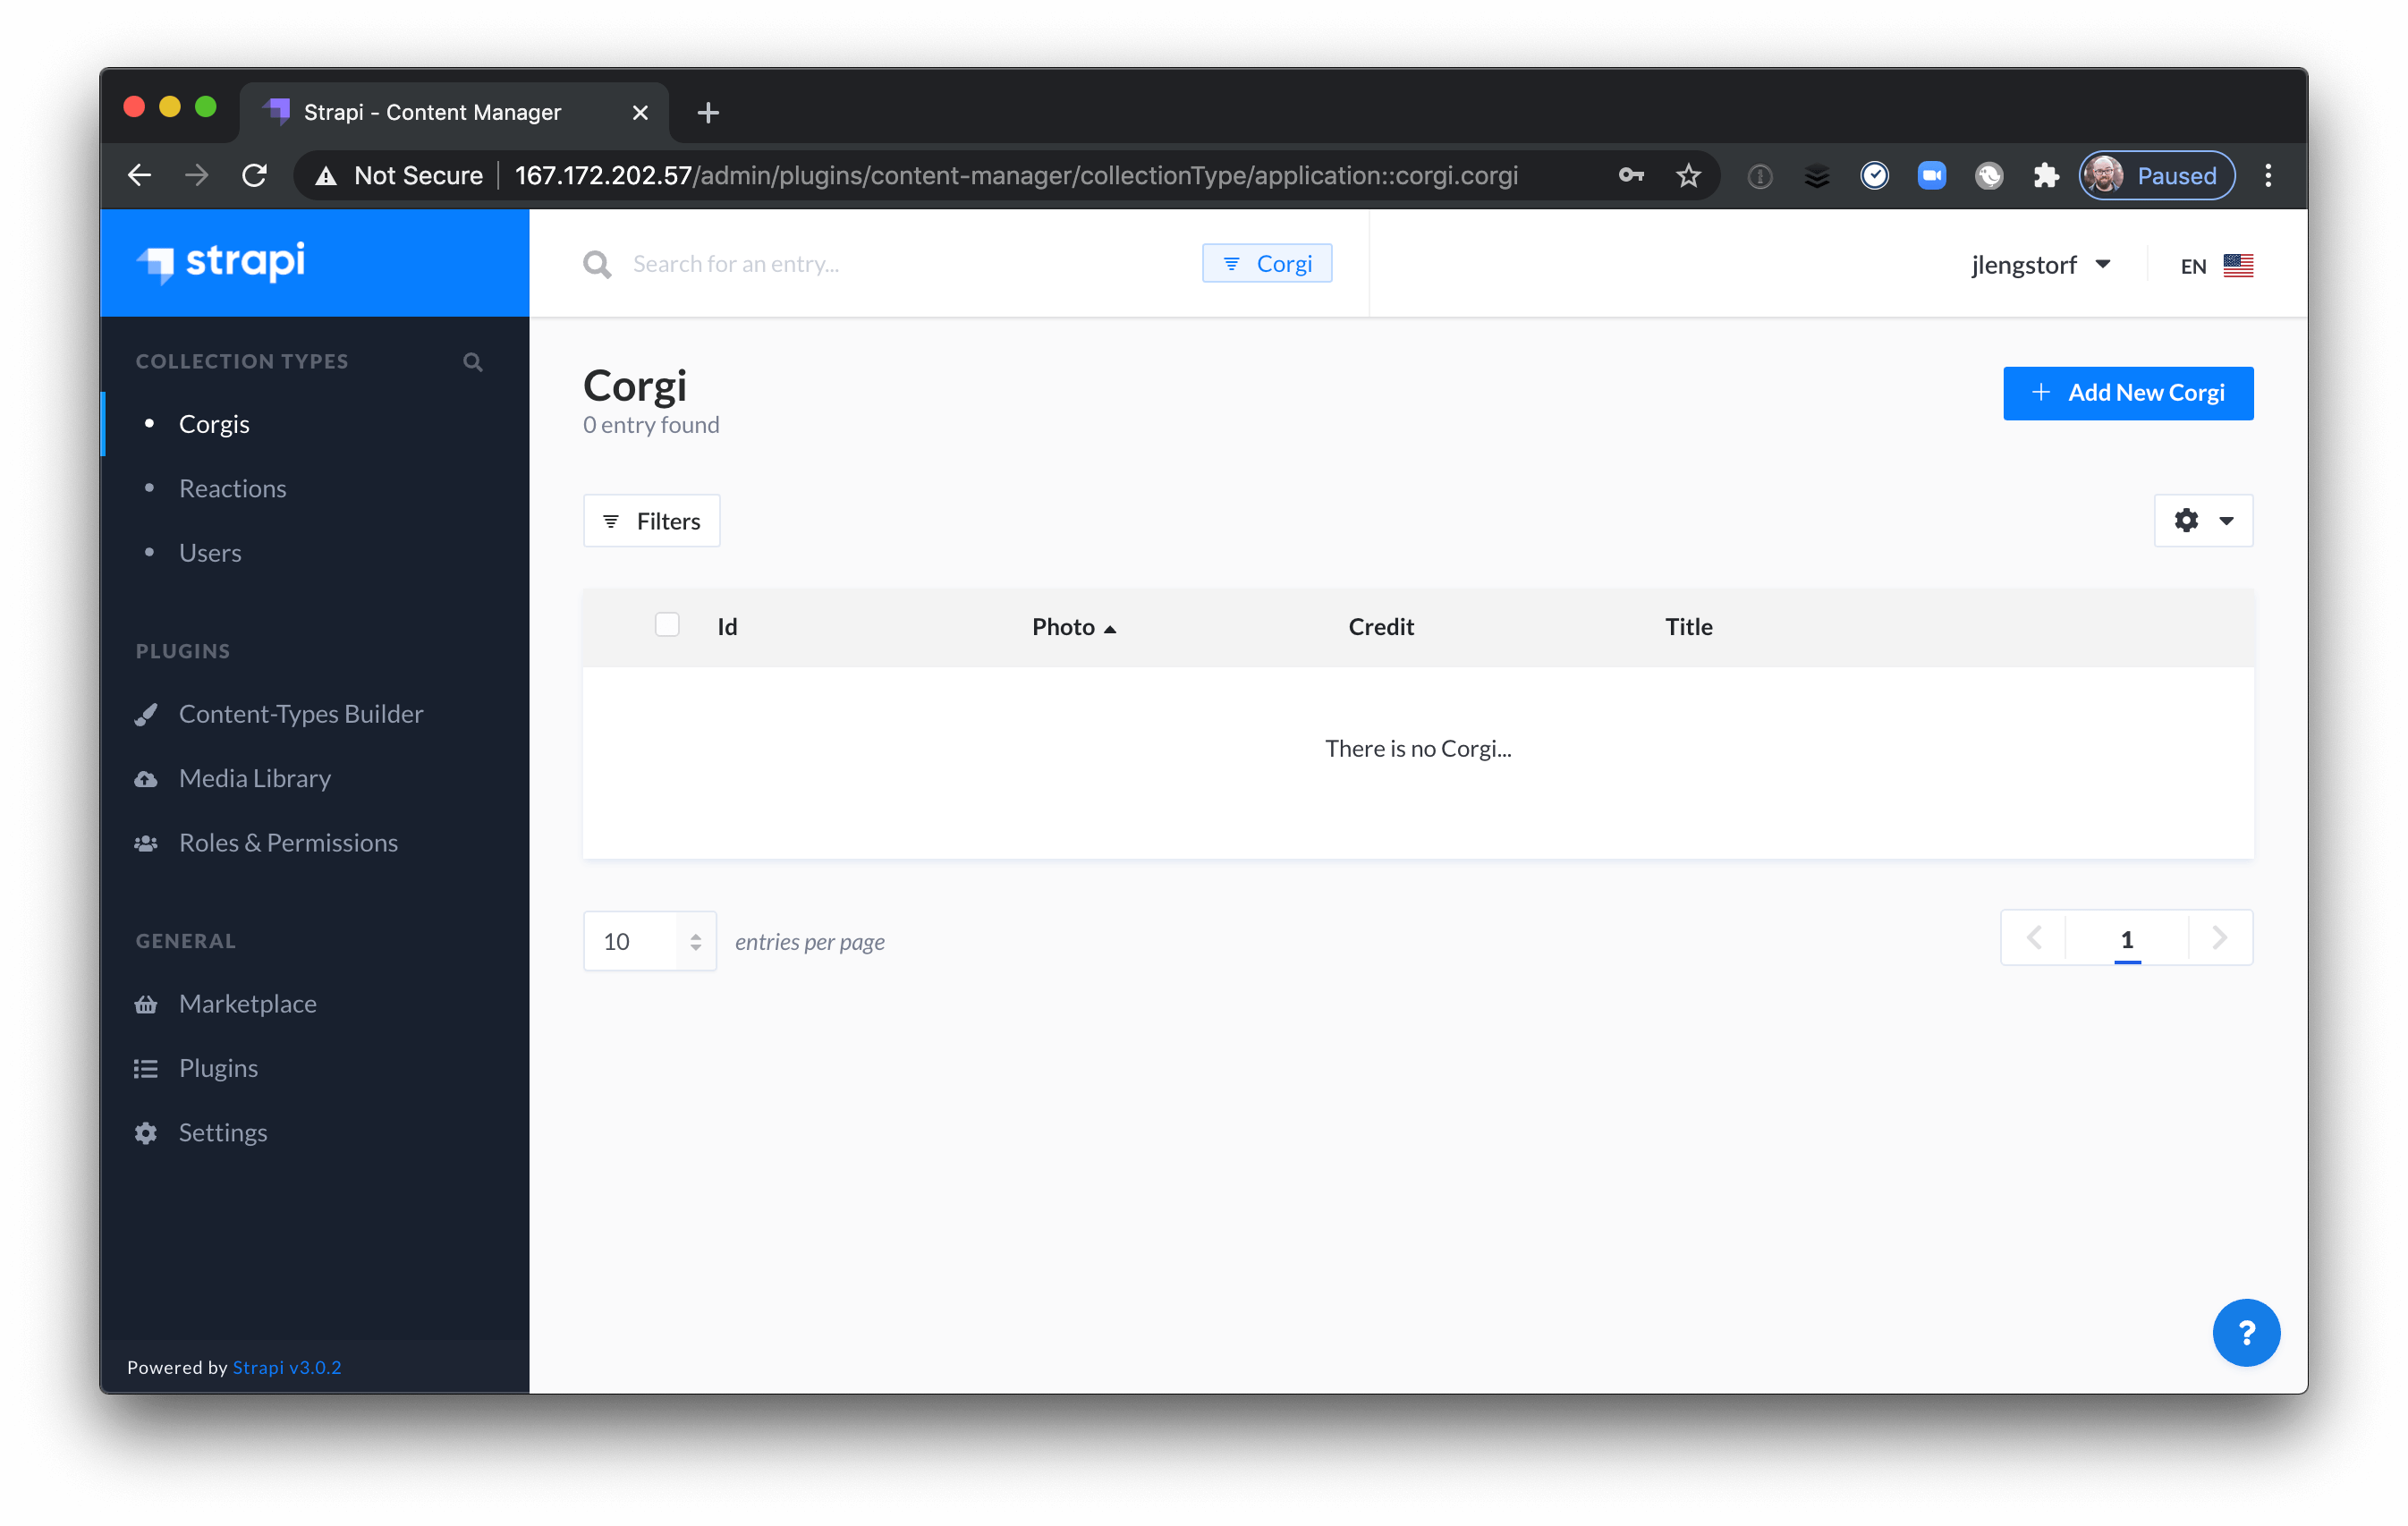
Strapi tells us that there is no Corgi, so — wait.
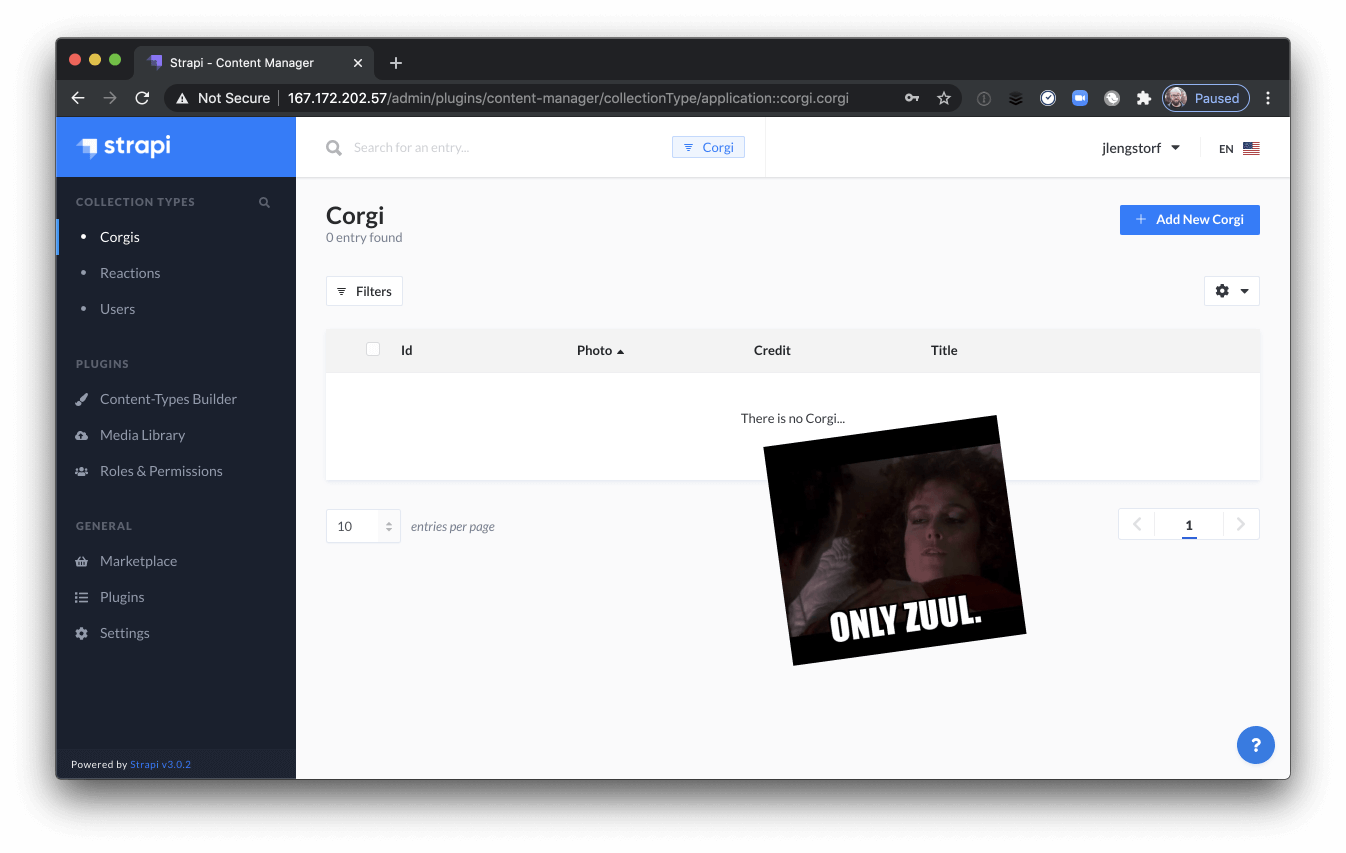
Sorry. Anyways.
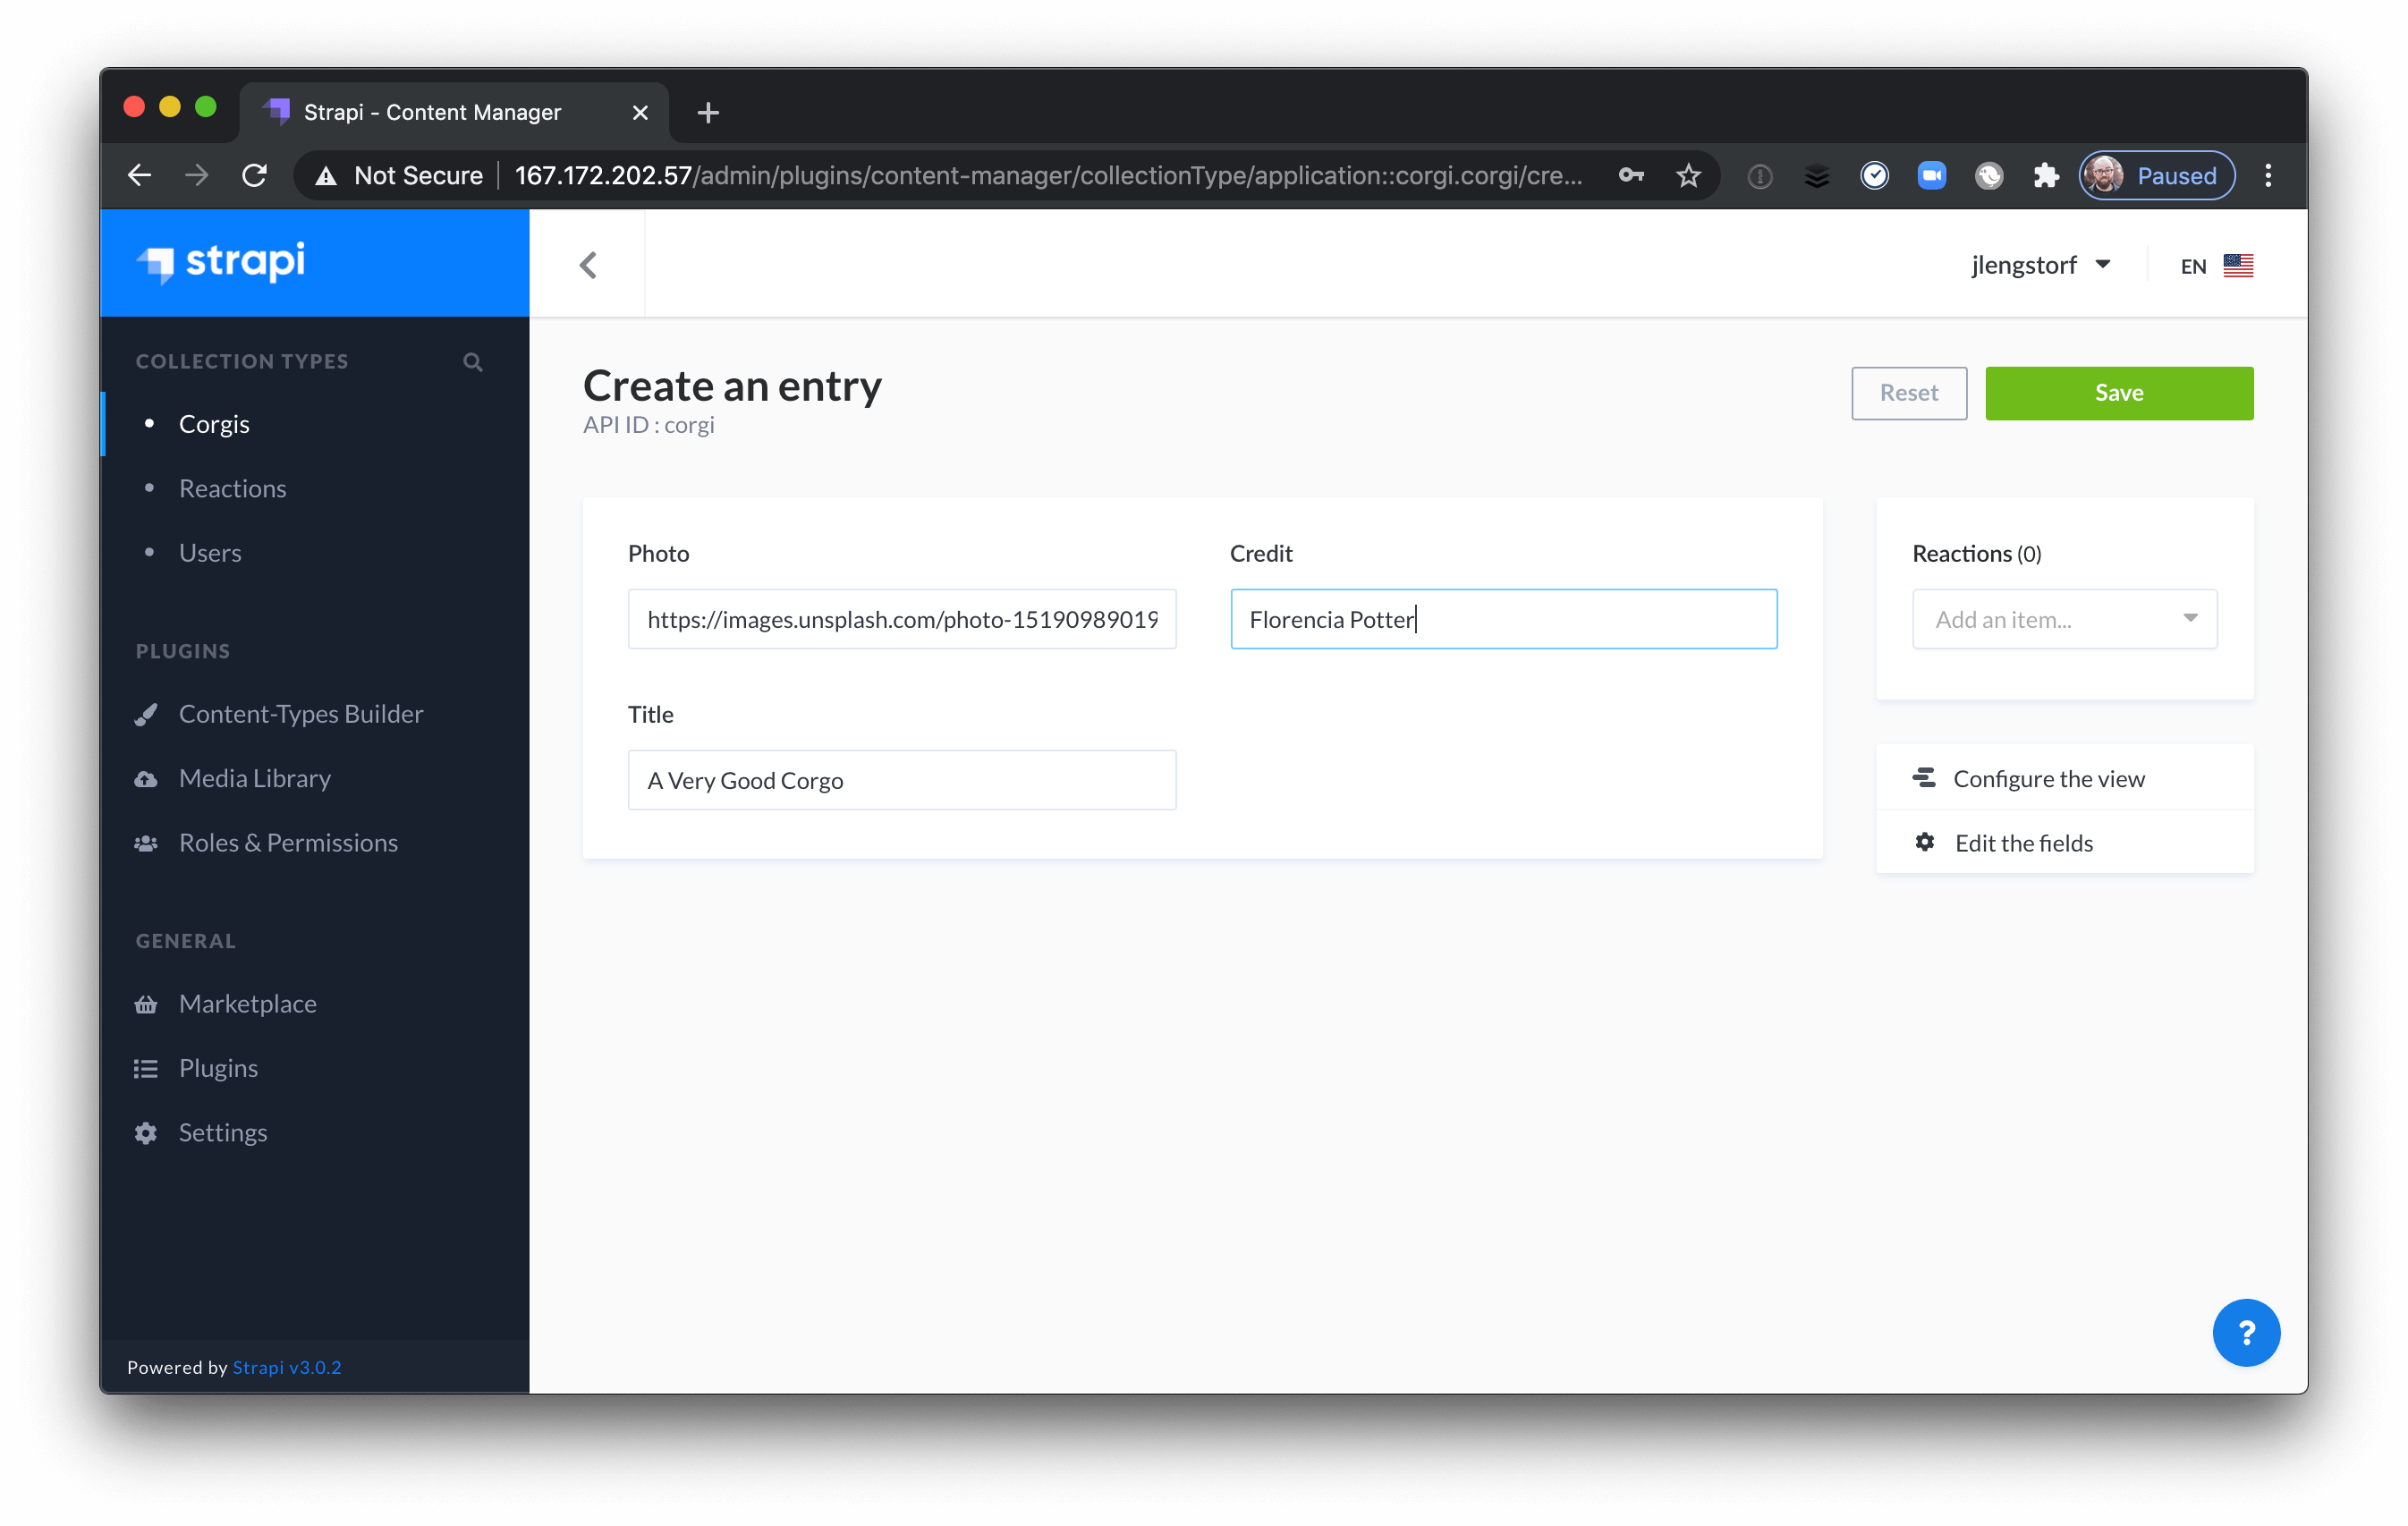
Create a new corgi by clicking the “Add New Corgi” button at the top right. For the first corgi, use the following field values to add this very good corgo:
- Photo: https://images.unsplash.com/photo-1519098901909-b1553a1190af?fit=crop&w=1267&q=80
- Credit: Florencia Potter
- Title: A Very Good Corgo
For the second, add a pupper in glasses:
- Photo: https://images.unsplash.com/photo-1523567353-71ea31cb9f73?auto=format&fit=crop&w=1350&q=80
- Credit: Brianna Santellan
- Title: Glasses!
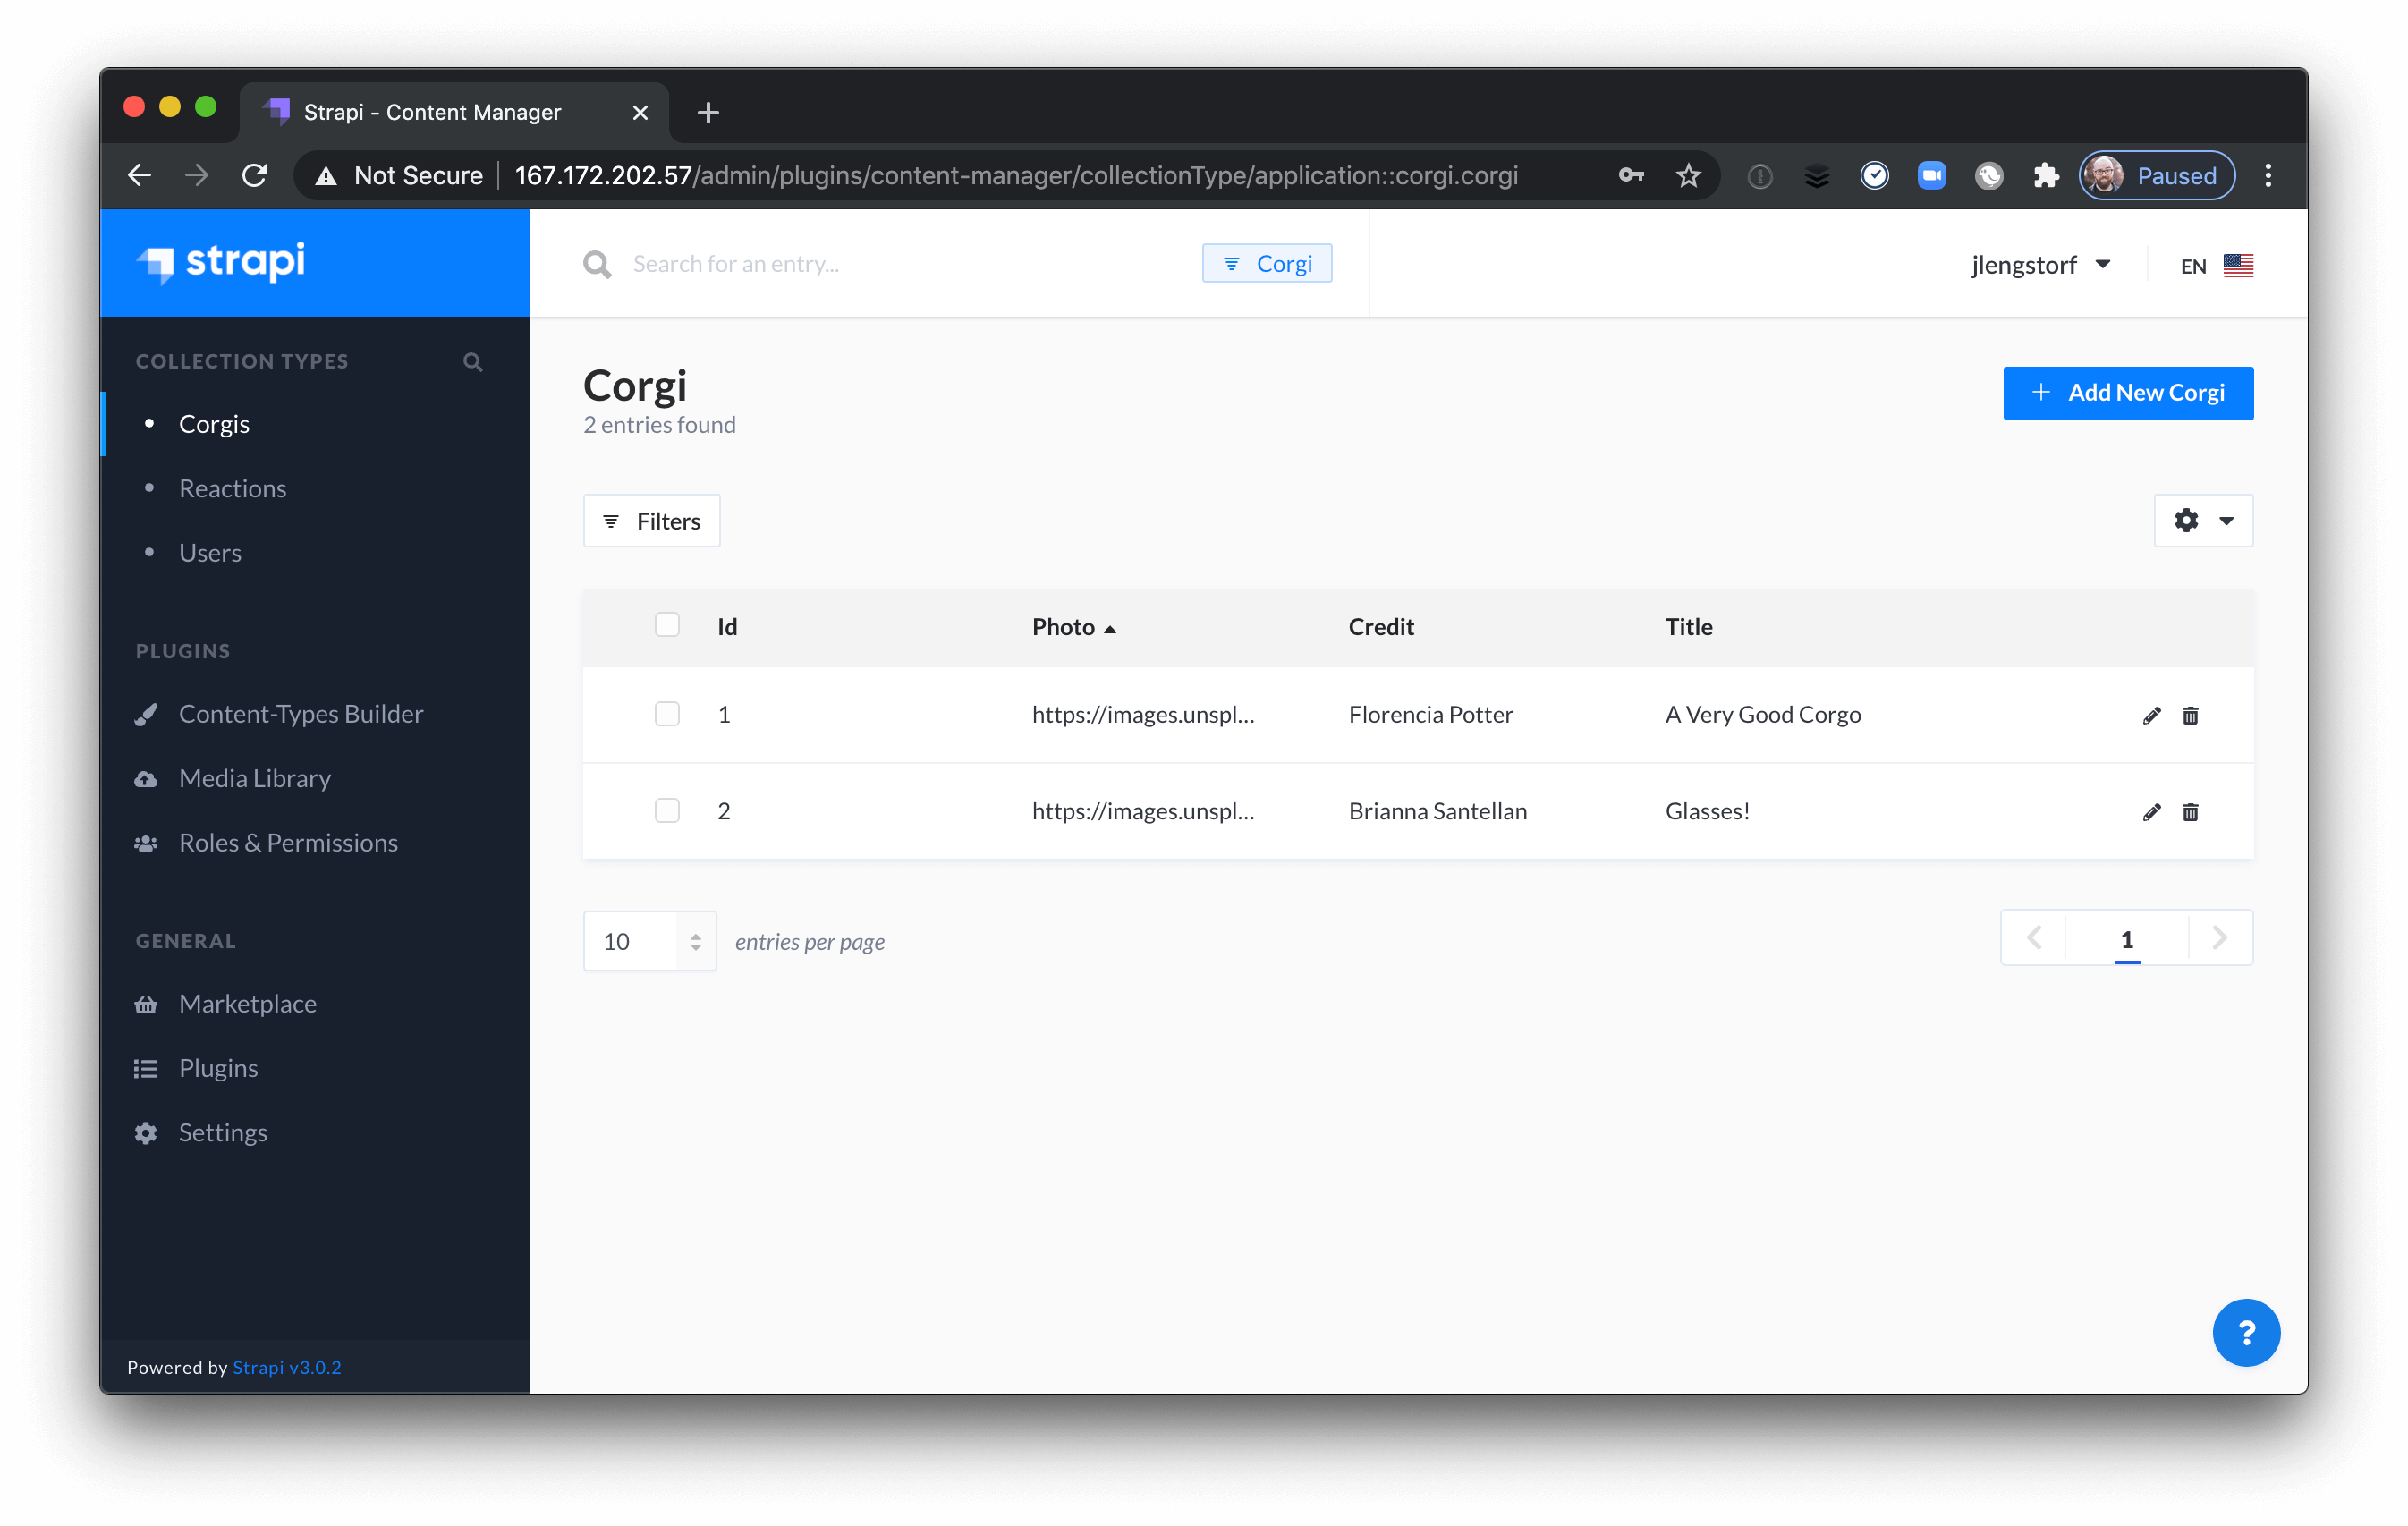
Save, then check out the Corgi collection type to see both entries.
Set read and write permissions for content types in Strapi.
Strapi has fine-grained access control for each content type, so we can explicitly allow public access to read both corgi and reaction values, while only allowing creation of reactions.
For “Reaction” types, check the count, create, and find boxes. For “Corgi” types, check find and findOne.
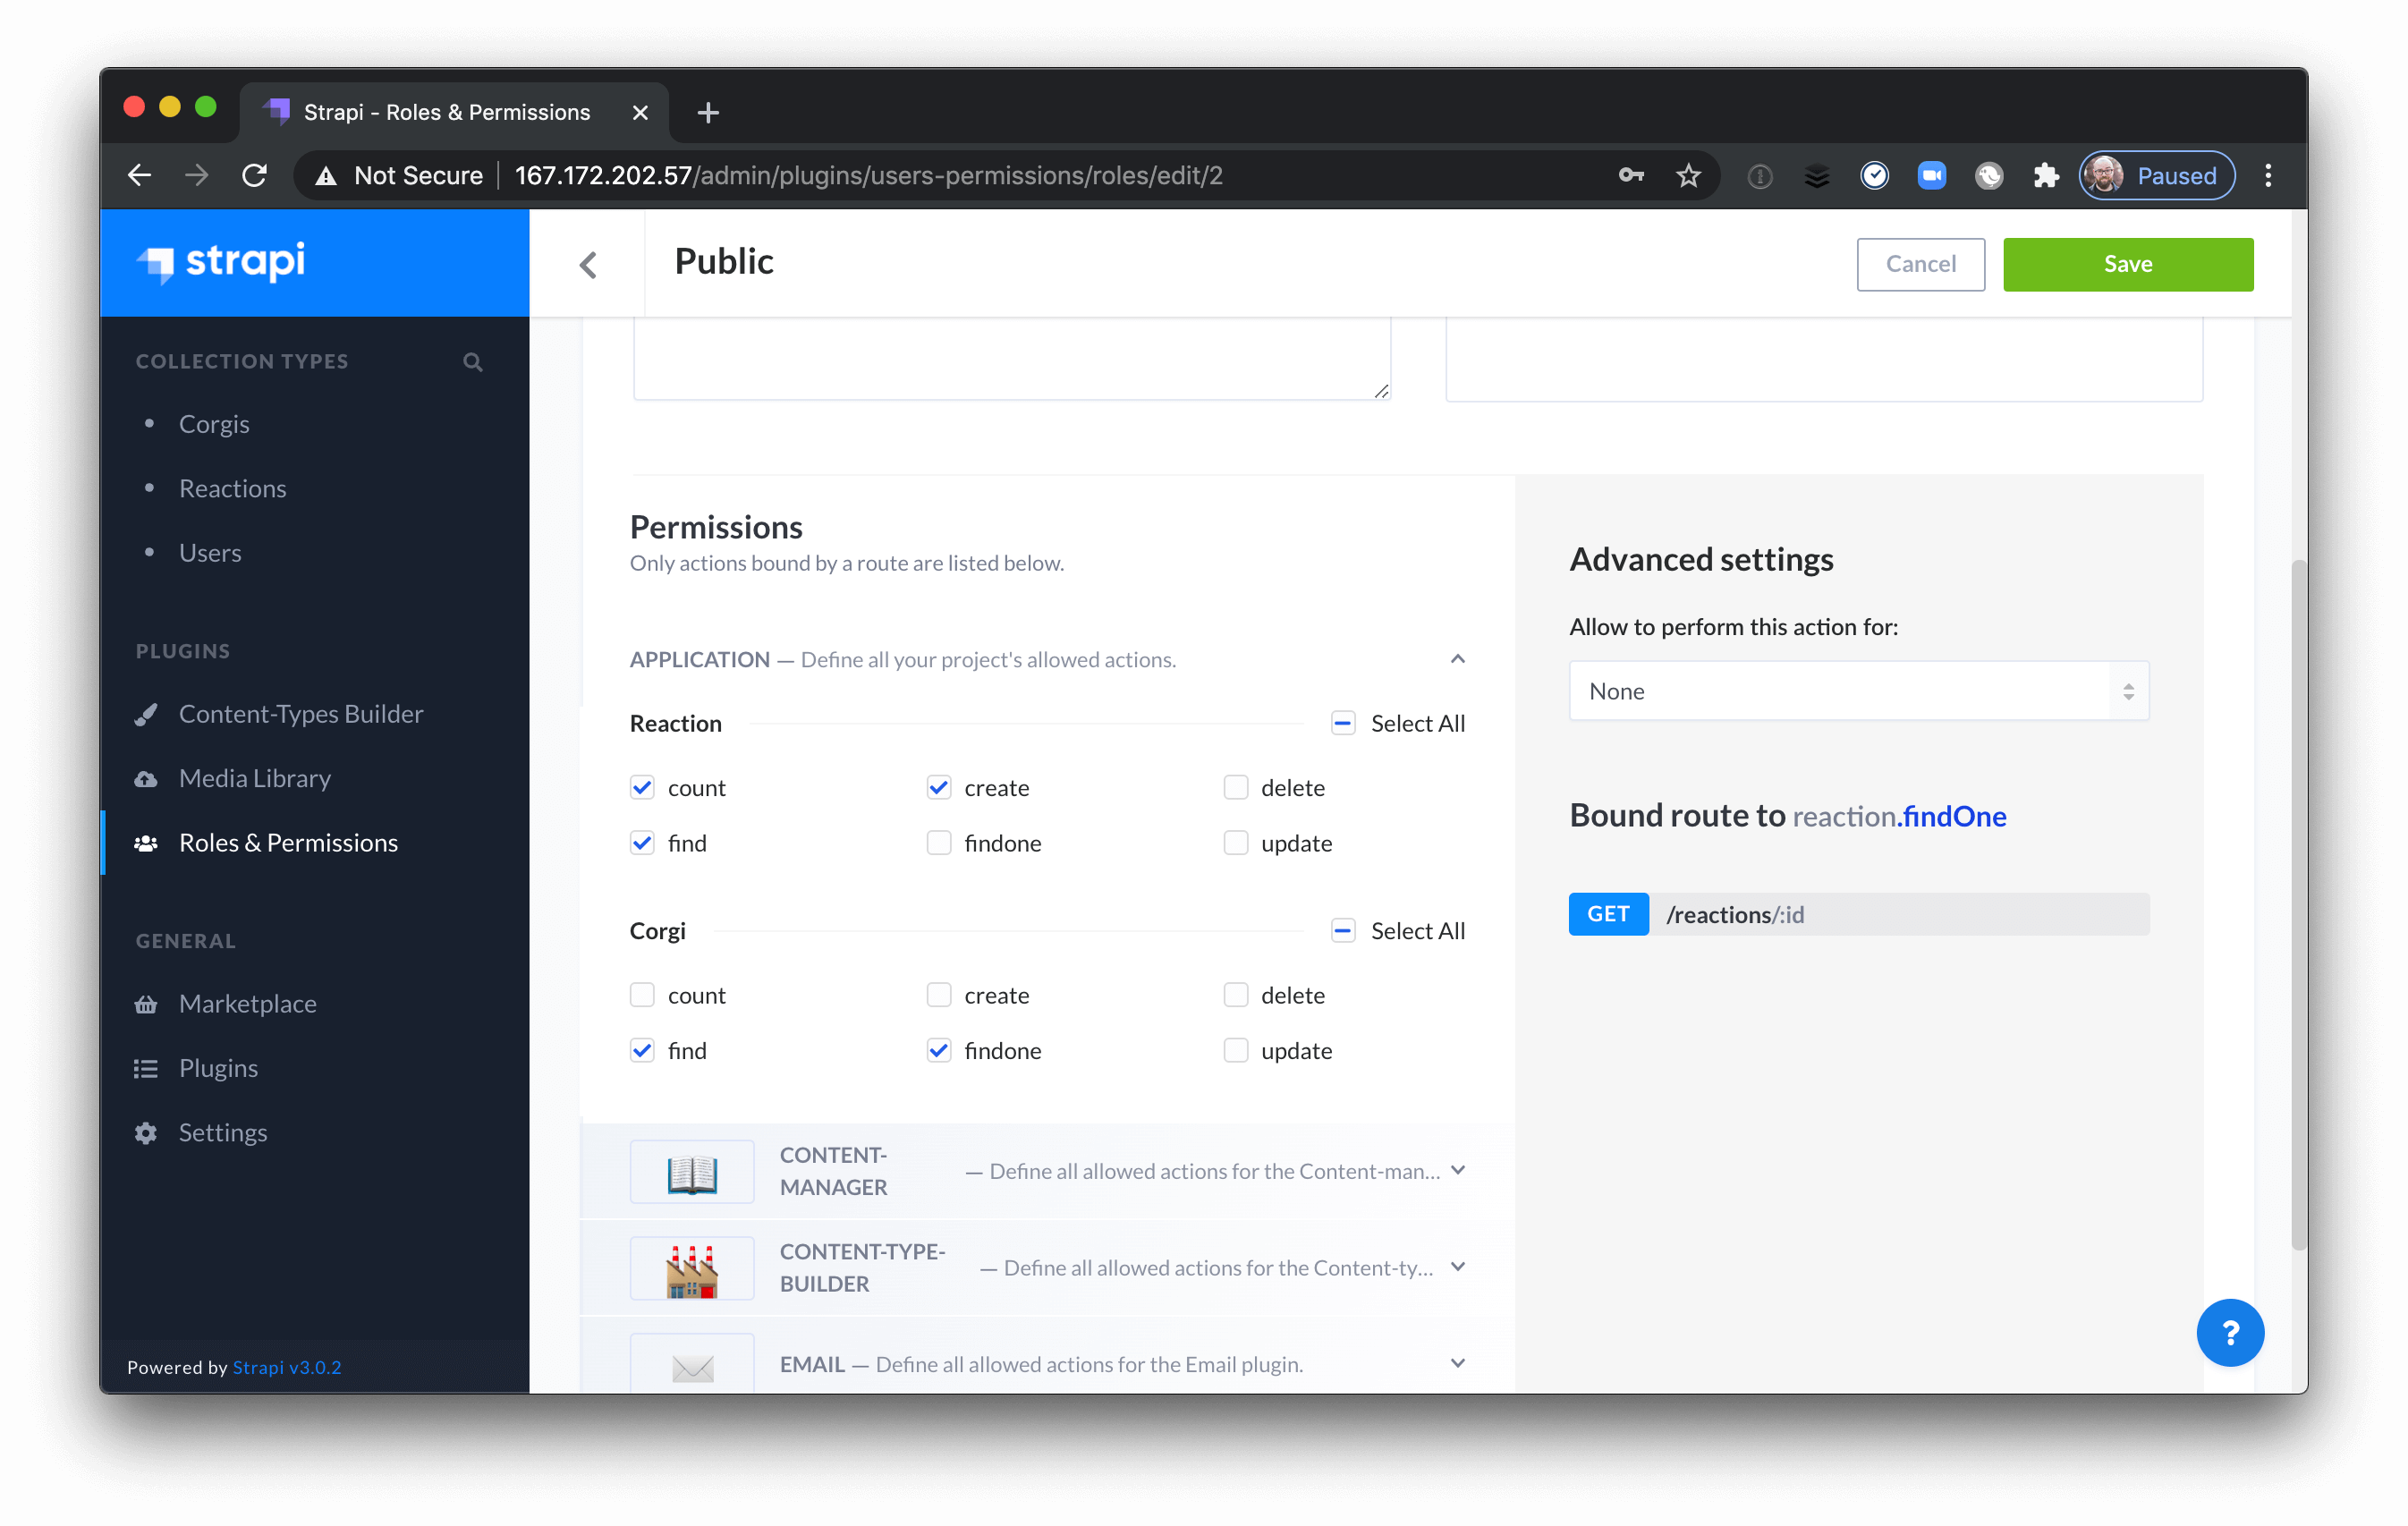
Strapi also makes it straightforward to set up different types of authenticated access, which is great for more advanced use cases like commenting where someone should be able to edit or delete their own posts, but not other people’s.
Heads up! If you need to safely make requests using secret keys, I wrote a post about protecting API keys in Jamstack apps using serverless functions. Check it out!
After configuring the permissions, visit your Droplet’s IP address /corgis and you’ll see the corgi data returned as JSON.
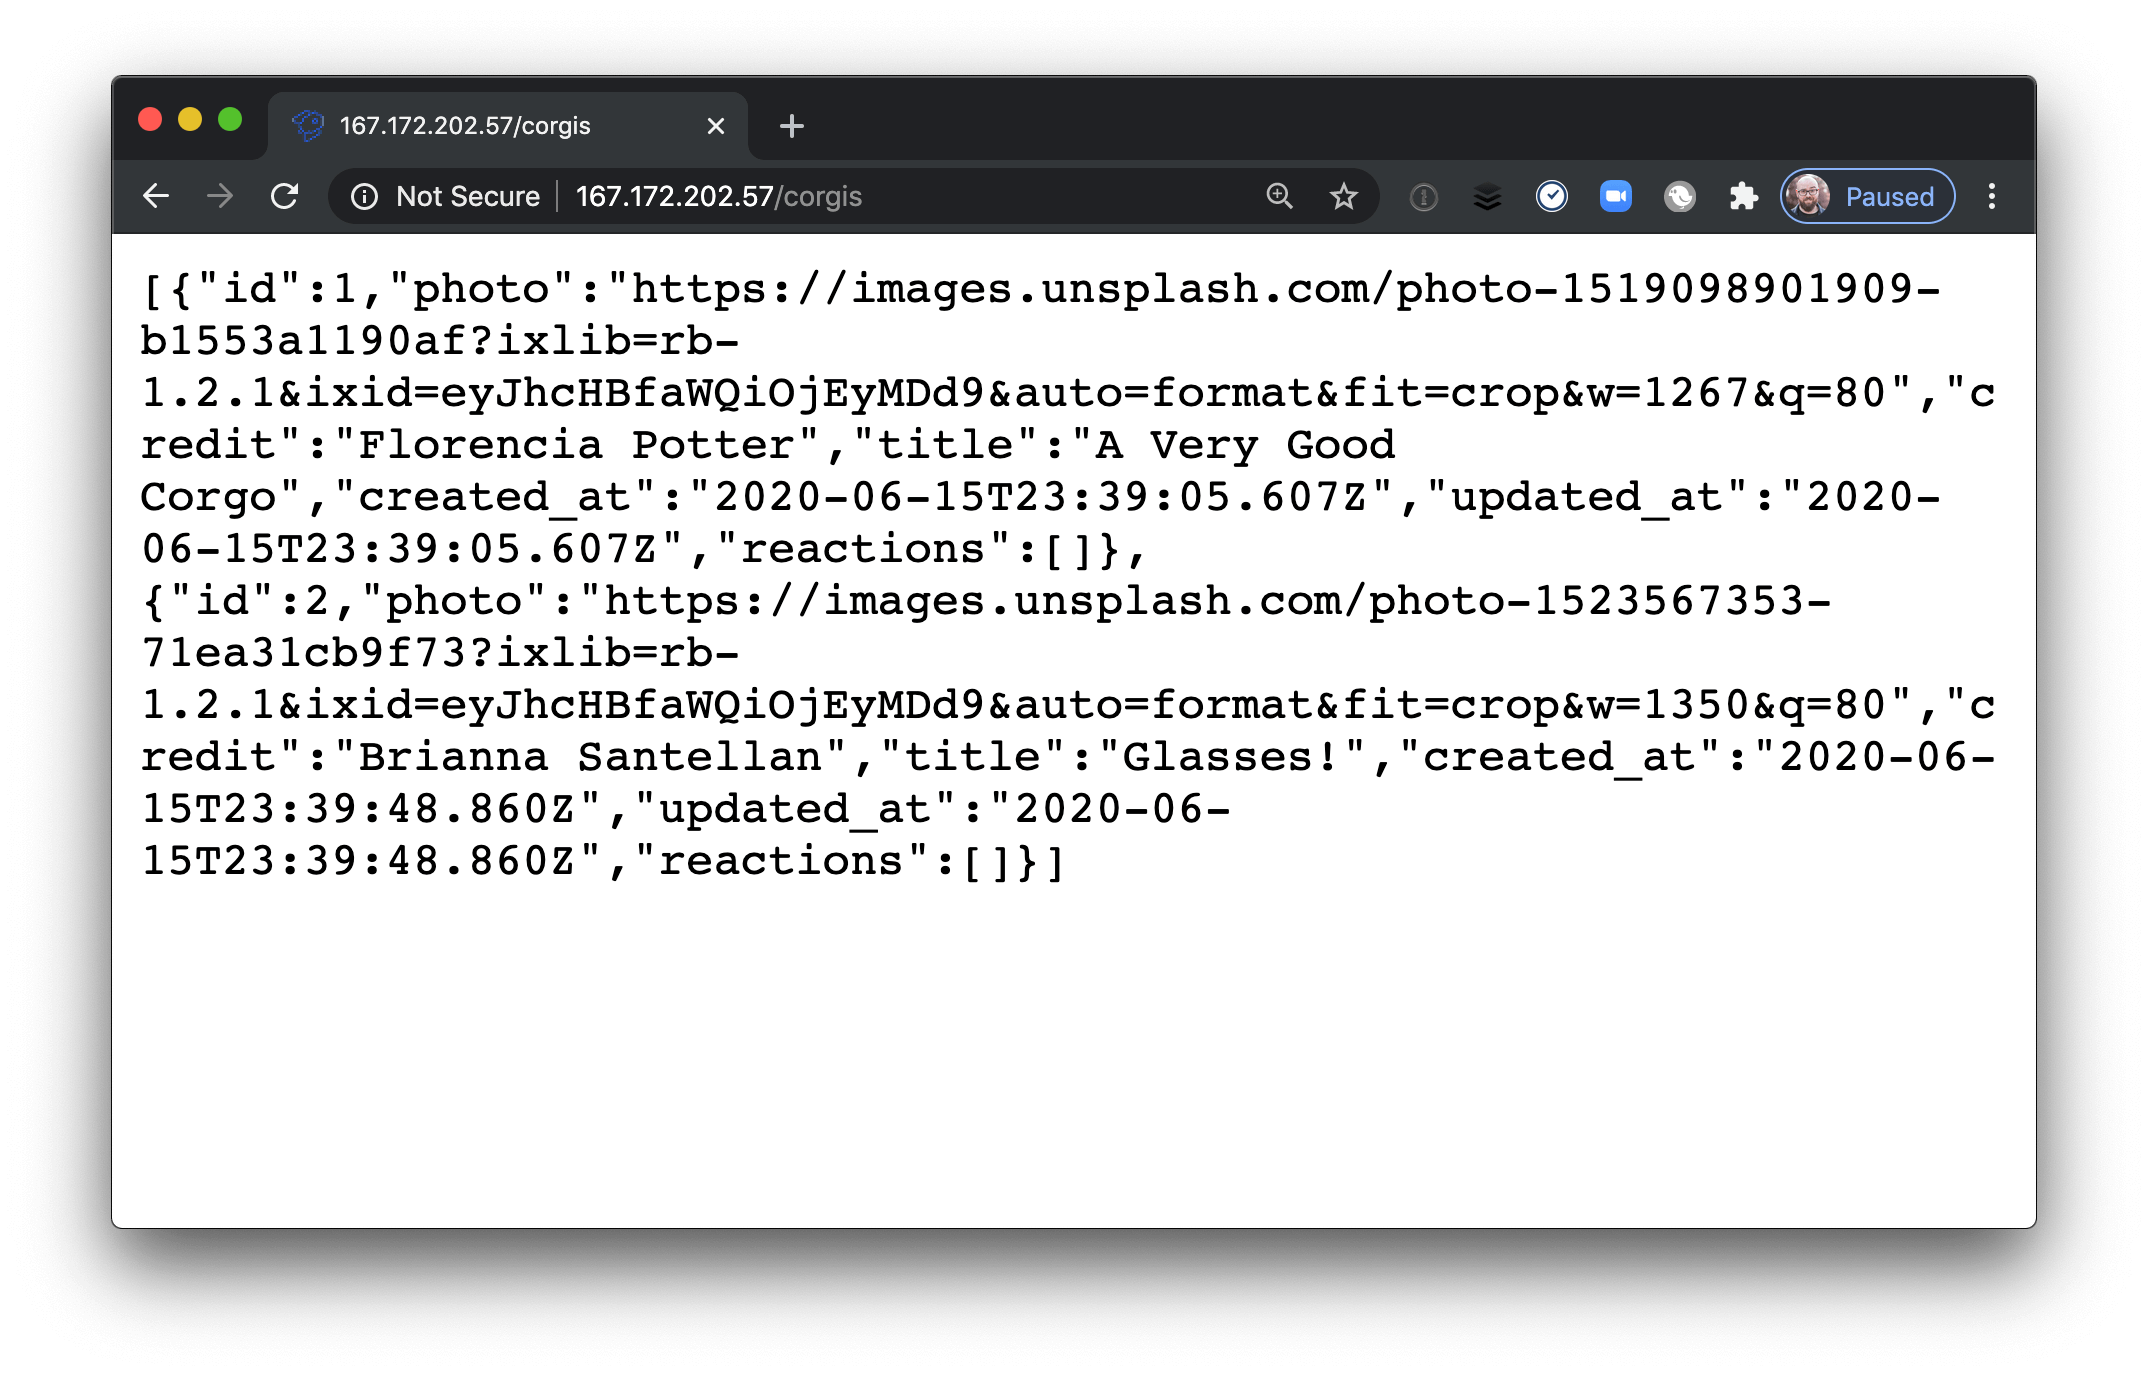
And just like that — with no code written and no servers logged into — you’ve built and deployed a full-on custom backend using Strapi!
Now’s a great time to take a quick break and recharge. In the next section, you’ll switch gears and learn how to build a frontend to read and write from this backend.
What Happens Next
In the next part of this series, you’ll use your custom Strapi backend to power a Jamstack site. In addition to loading the corgis into the page, you’ll also create the ability for site visitors to add reactions to each corgi and save those reactions to Strapi.
Check out these additional resources.
To go further, check out these resources for more information:
- Check out the live demo of a Jamstack app using this custom backend
- Set up Strapi as a CMS for Gatsby
- Learn more about Strapi
- Get $100 in credit to get started with DigitalOcean
- Create a new Strapi instance with 1 click in the DigitalOcean Marketplace
Share a custom backend you’ve built (or are planning to build) on Twitter!


