Guides & Tutorials
Deploy a Strapi and React Blog on Netlify
Have you ever wondered how a React blog could work while consuming a Strapi API? Strapi is a 100% Javascript, fully customizable, and developer-first open-source headless CMS. Using Strapi, building self-hosted, customizable, and performant content APIs is more approachable than ever before.
In this tutorial, you’ll learn how to deploy a React blog on Netlify that fetches content from a Strapi instance, which will be deployed on Heroku, which is a cloud platform where you can host a Strapi server for free.
Deploy a New Strapi Instance to Heroku
To deploy your Strapi instance you'll need:
- A free Heroku account to run Strapi
- A free Cloudinary account to host and deliver image assets
The Cloudinary account is required because Heroku will restart at least once a day, which would remove any files not tracked in source control (e.g. uploaded blog post images).
Once you have your Heroku and Cloudinary accounts set up, click here to deploy a new Strapi instance on Heroku.
Once you have created your new Strapi instance, copy its URL for the next step.
Deploy Your React Blog Frontend on Netlify
To deploy your React blog frontend you'll need:
Netlify allows for a one-click deployment experience by cloning and deploying the starter repository. Click here to deploy the Strapi React Blog starter to Netlify.
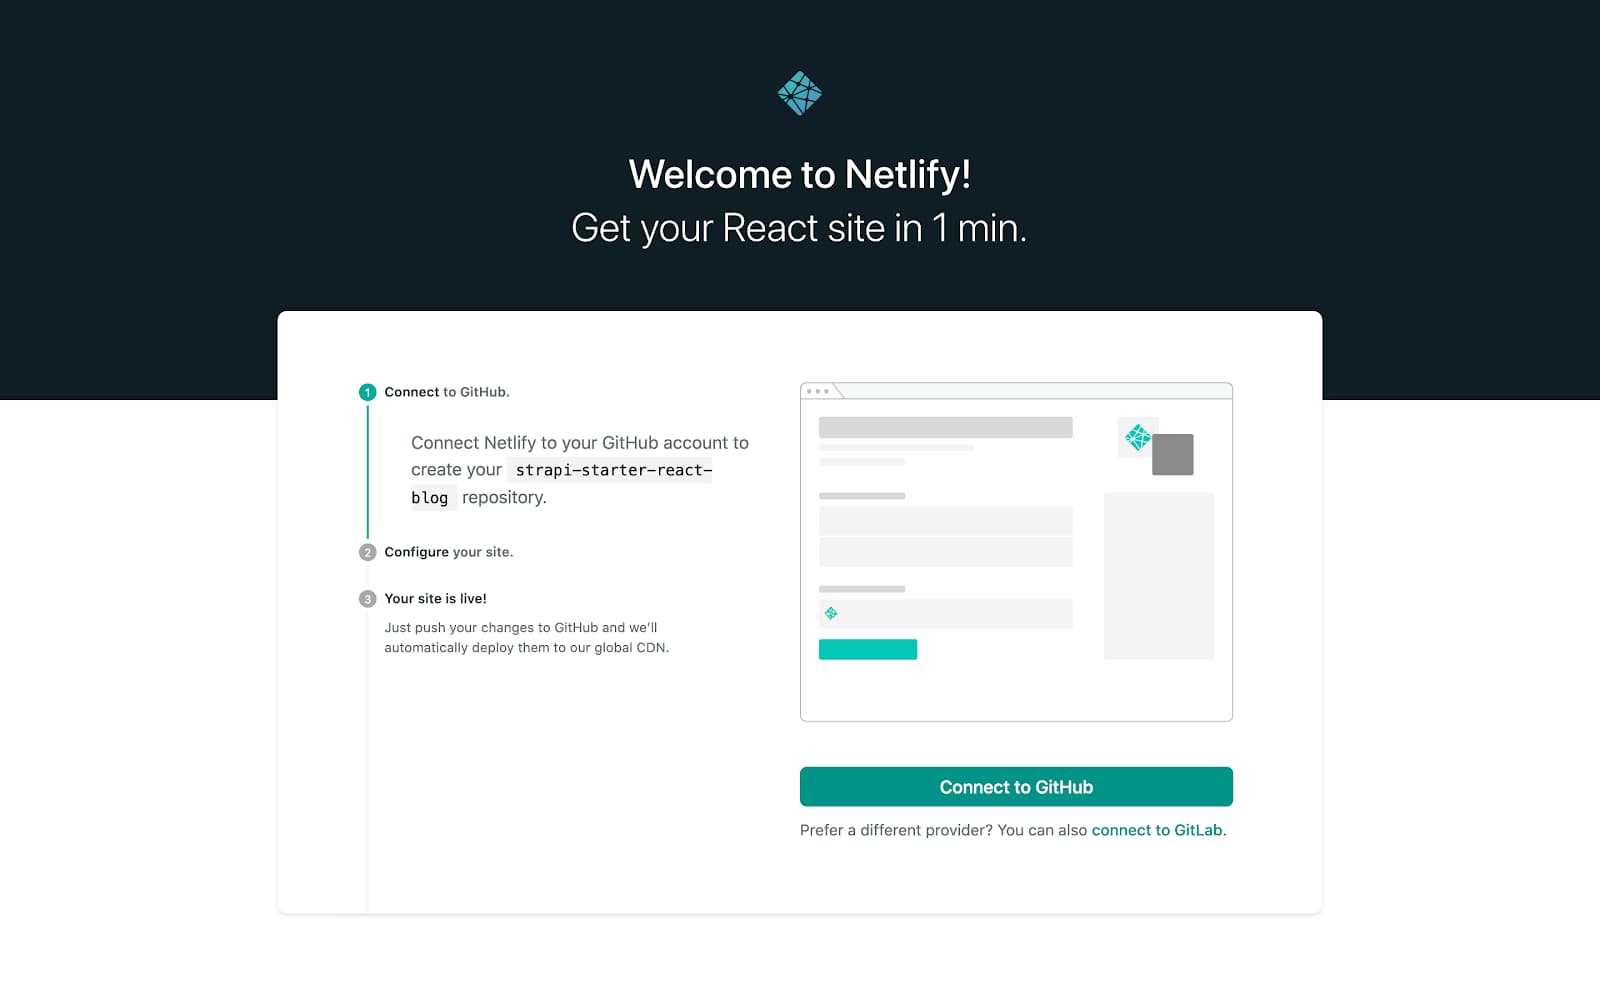
Connect your Github account to Netlify
On the next screen, add your API_URL, which is the URL of your Strapi instance running on Heroku (e.g. https://your-strapi-app.herokuapp.com), without the trailing slash
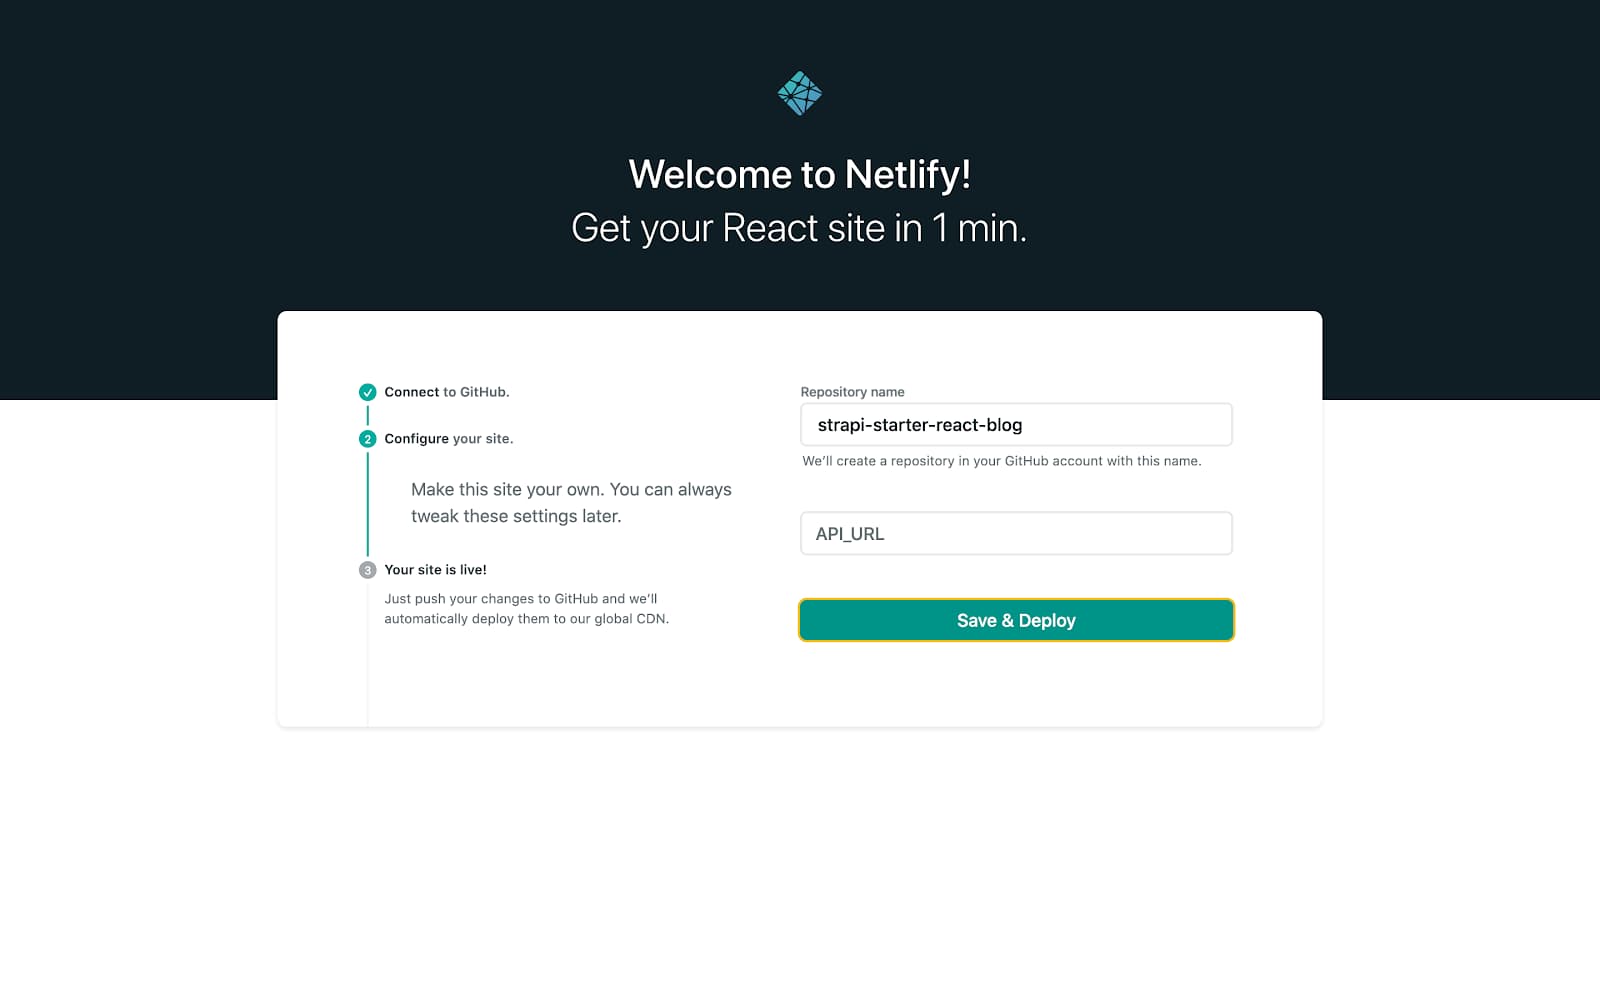
Enter your Strapi instance URL in the API_URL field
Netlify will create a copy of the starter repository on your GitHub and deploy it to production!
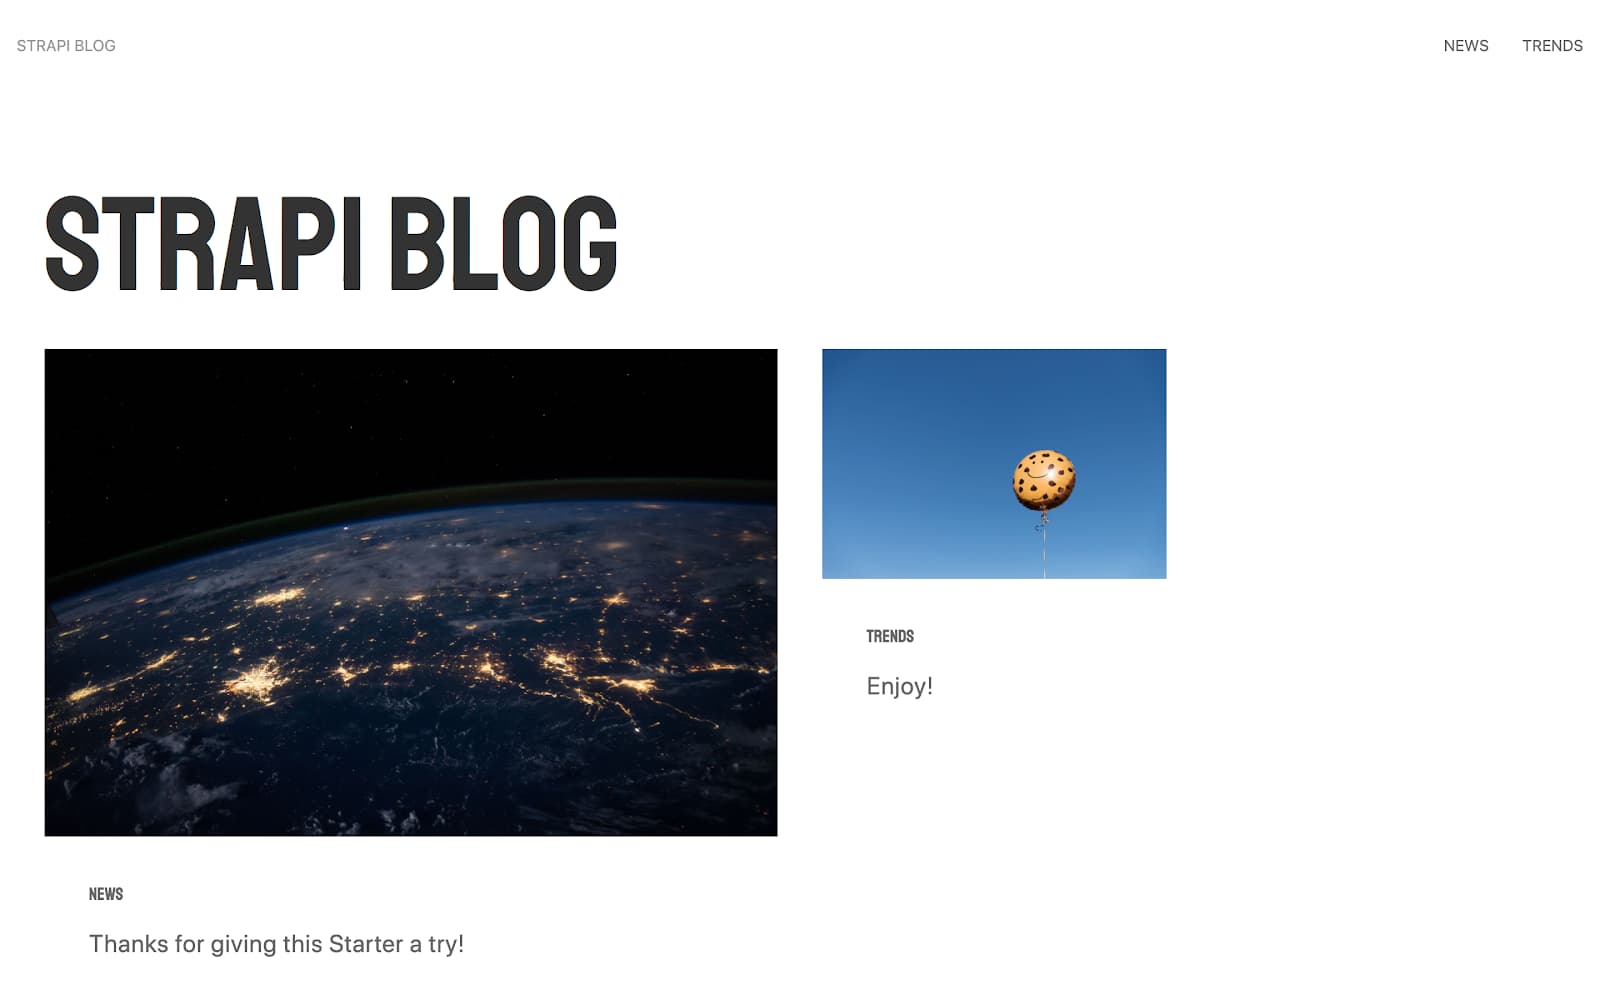
Your deployed Strapi-powered React blog
Create New Articles in Strapi
When you have a new article in mind, dive into your Strapi instance to create a new post!
Head to the /admin route of your Strapi instance (e.g. https://your-strapi-app.herokuapp.com/admin) and log in. Click the "Articles" collection type to see your current list of articles.
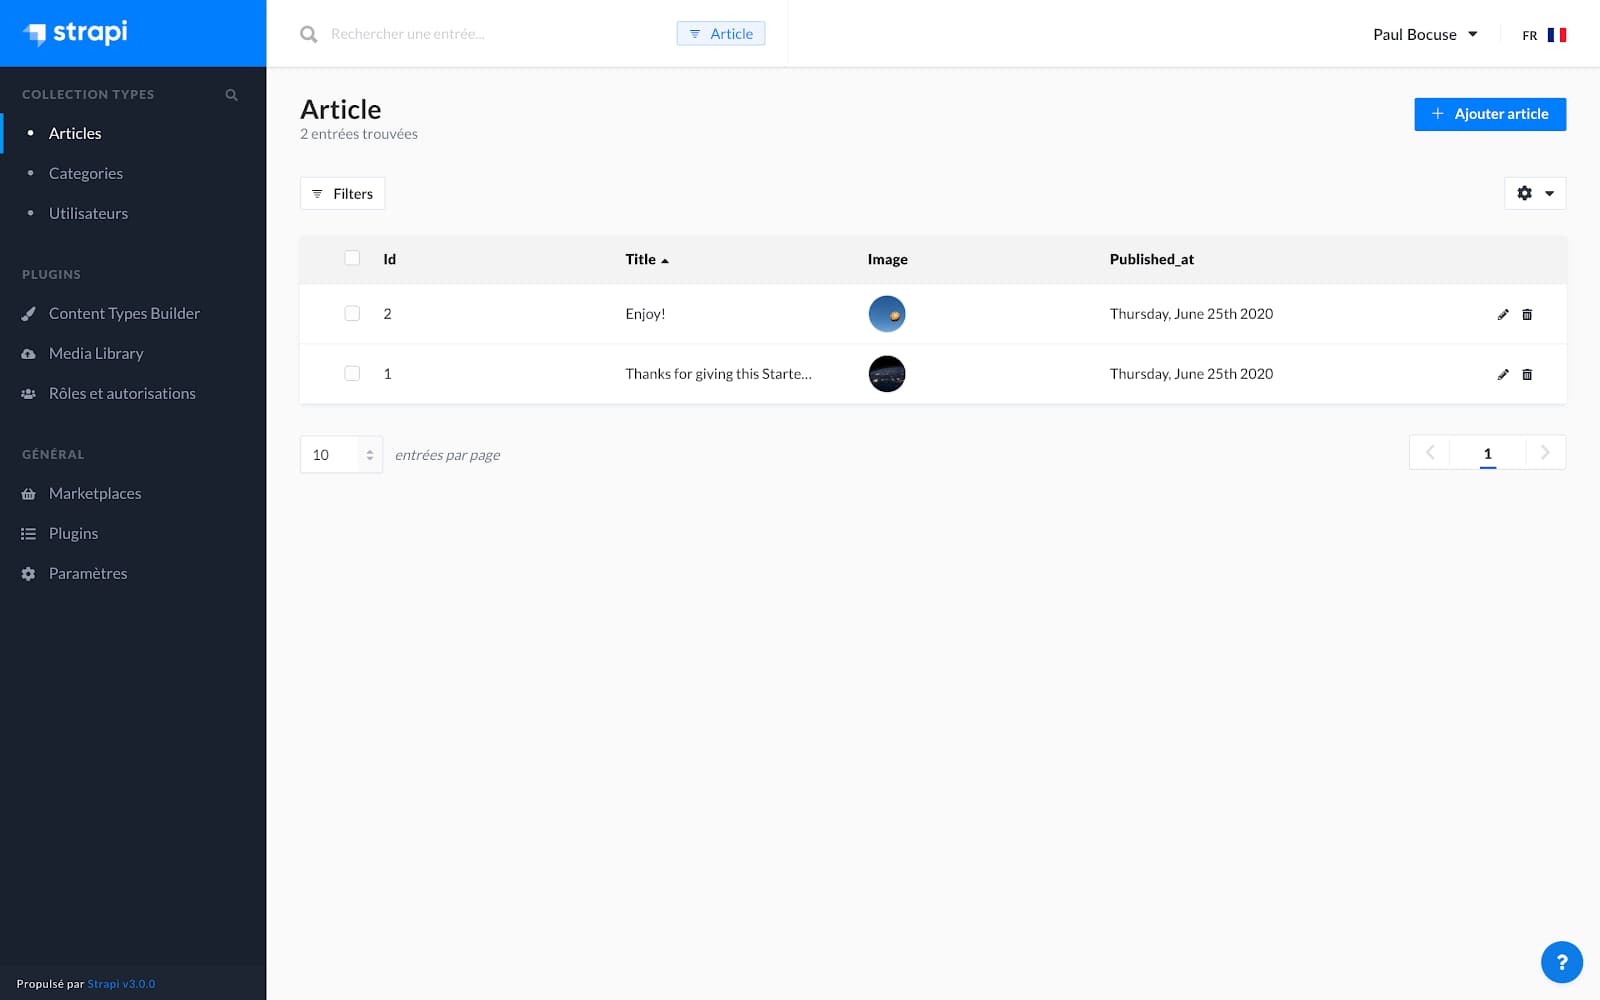
Articles listed in the Strapi UI
Click the "add article" button to create a new article.
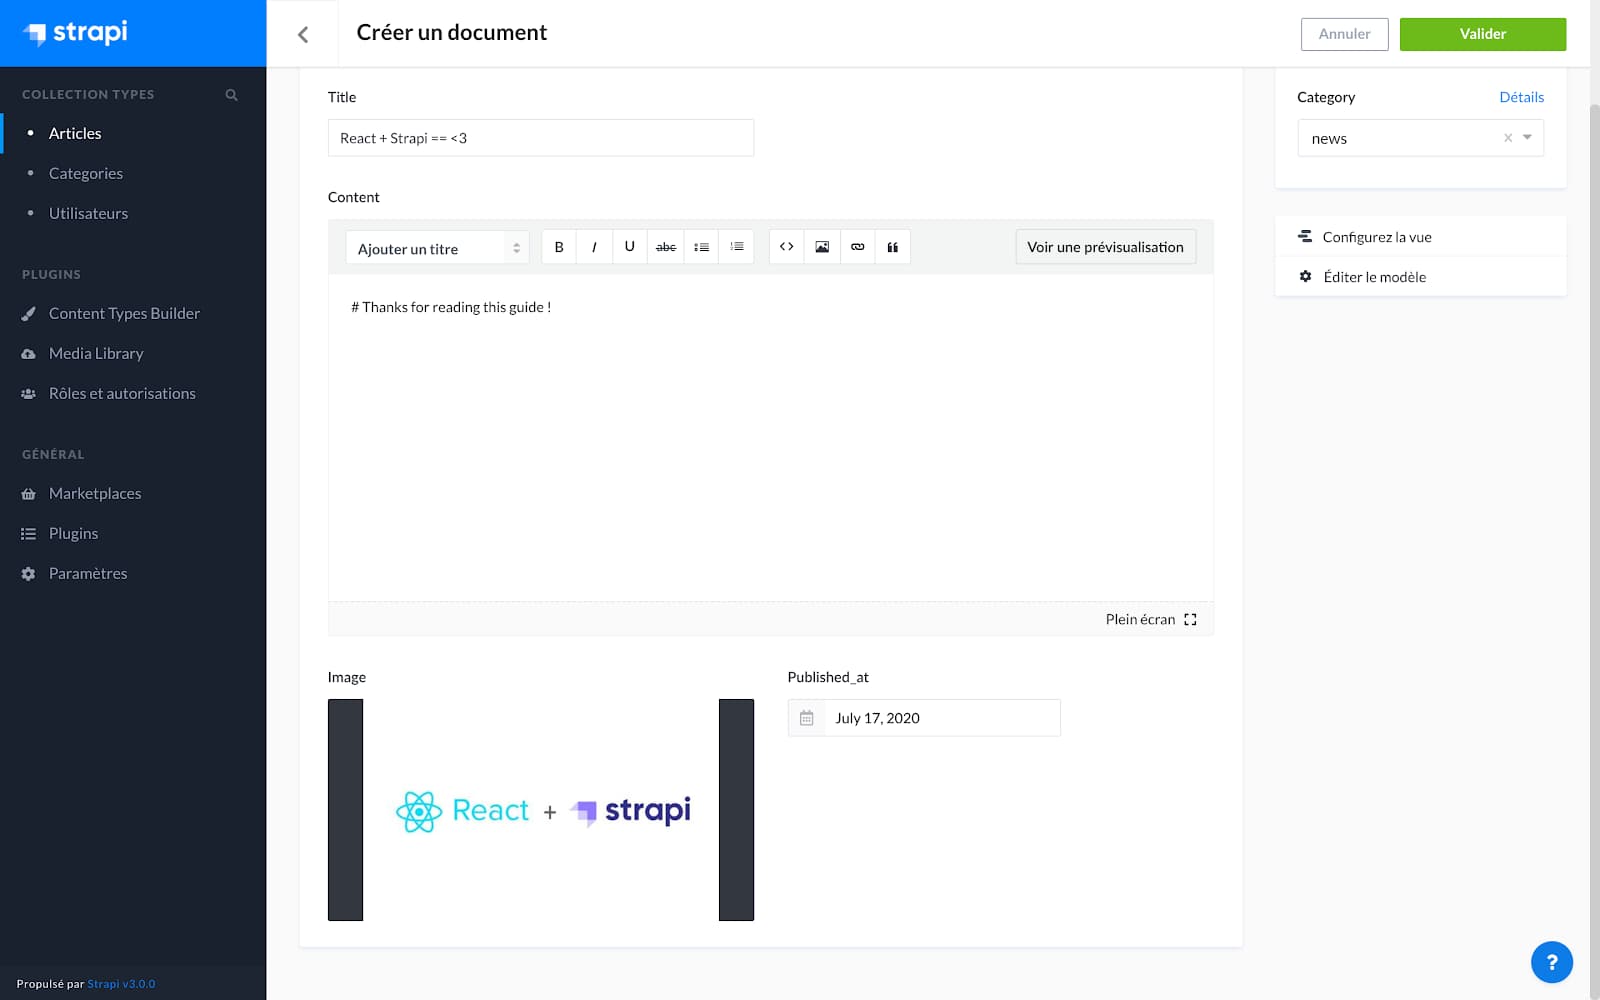
Article creation in the Strapi UI
After saving, go to your Netlify dashboard and deploy the site to see the new article live!
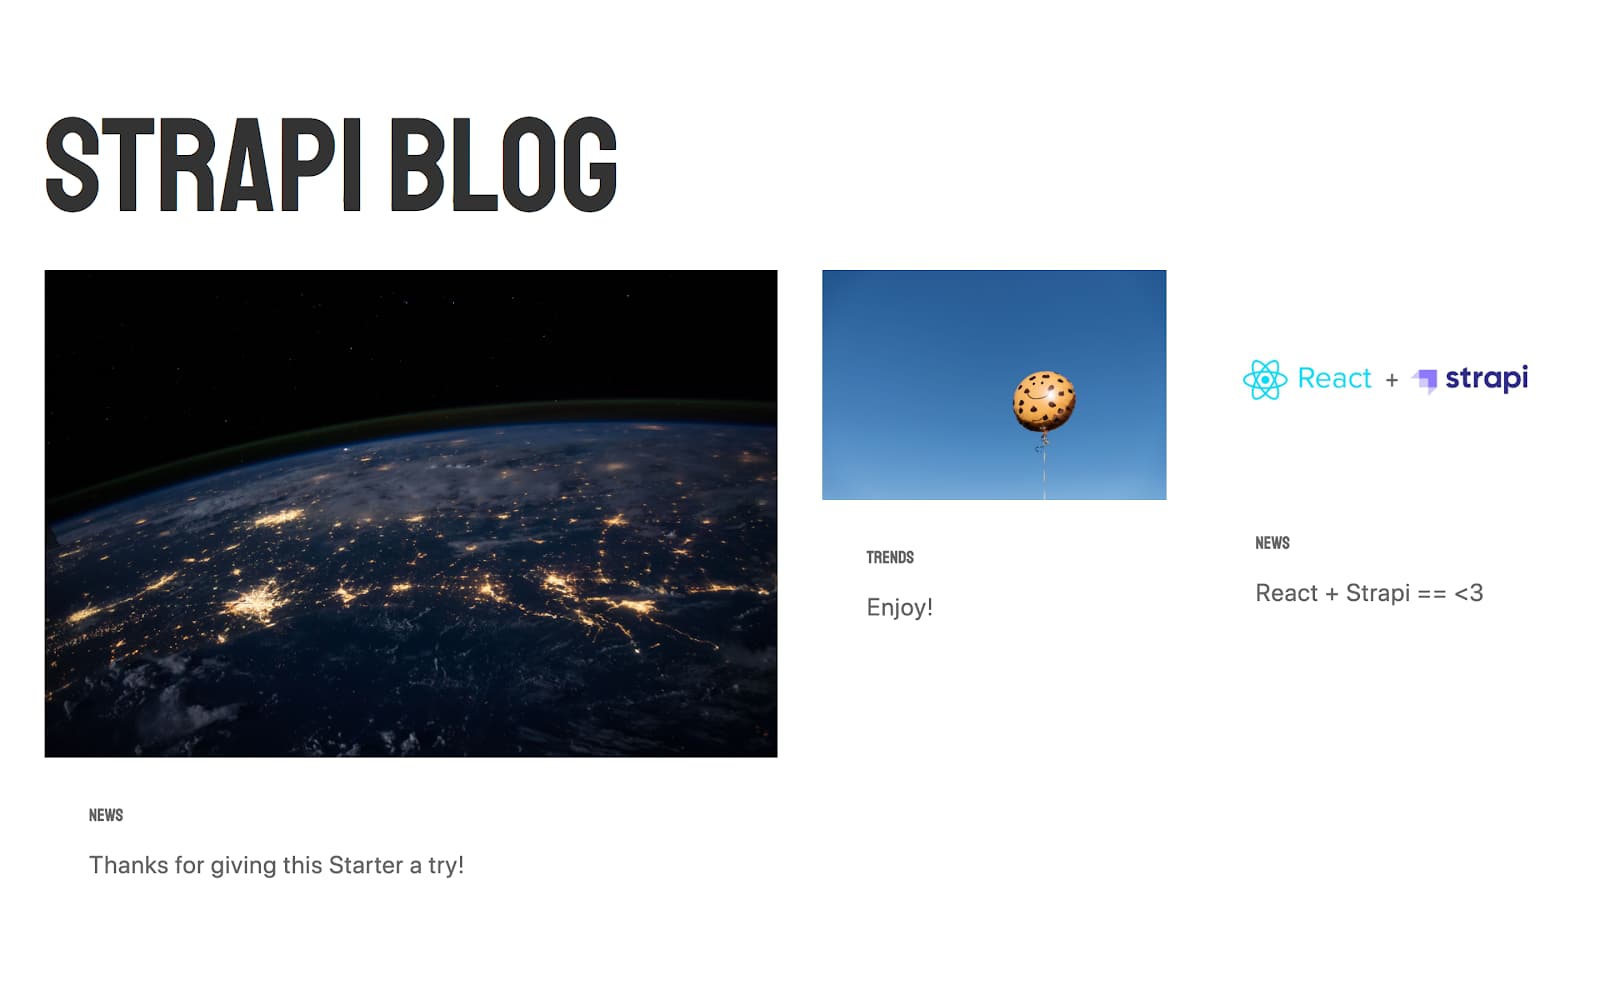
The new article is visible on the deployed site
Heads up! If you want to know learn how the React blog was built, check out this tutorial on how to build a React blog from scratch with Strapi.
Automatically Redeploy to Netlify When Content Is Changed In Strapi
If you don’t want to manually deploy your site every time you add an article, you can create a build hook for your site.

Adding a build hook in the Netlify dashboard
Copy your new build hook, then head to your Strapi dashboard and add it as a new webhook by visiting Settings > Webhooks.
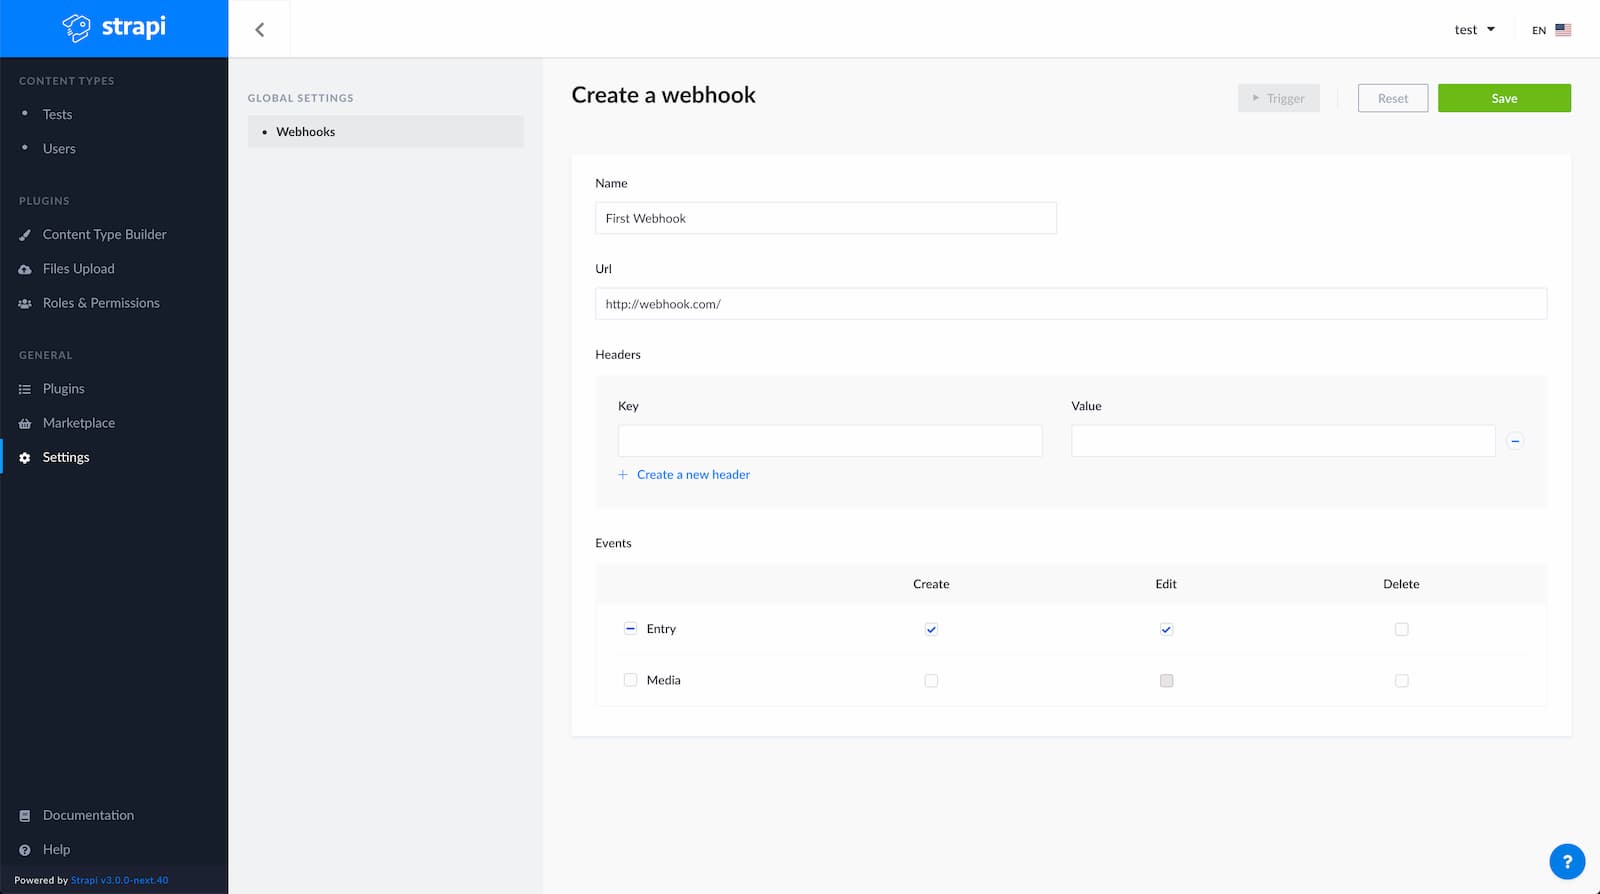
Create a new Strapi webhook in the Strapi UI
Choose which events should trigger a rebuild, then save the webhook and make a change to see your Netlify site automatically redeploy!
Edit Your Strapi Collection Types
For safety, Strapi doesn’t allow you to edit the structure of your data in production. If you want to modify the article collection type to have a new field, you’ll need to make modifications locally, push the changes in your repository, and deploy your application again.
To do this:
- Clone the repository that was created when you deployed the site to Netlify
- Clone your Heroku project to your local machine
You can now run your Strapi server in development in order to edit collection types either through the admin UI or by editing the model. When you’re done, commit your changes and push it to Heroku.
git add .
git commit -am "make it better"
git push heroku master
What to Do Next
There are several options for Strapi blog starters:
You can learn more about Strapi in the docs. Happy building!


