Guides & Tutorials
Pre-rendering with Angular Universal
This is going to be a quick one because pre-rendering with Angular Universal and deploying to Netlify are nice and easy. Being able to pre-render parts of your Angular application will give you content on the page for quick interaction for your users and something for the bots to crawl for better SEO.
📓 To learn more about pre-rendering and bots check out this blog post!
Angular Universal is Angular's answer to server-side rendering and pre-rendering your applications. It has a hybrid approach to rendering: pre-render what you can at build time then send some parts to be rendered into HTML on a server at request time. Here, we're going to look at how we can run a command to pre-render routes and deploy them to a CDN using Netlify.
⏭ Words are hard, I get it. So, to skip all this you can check out the project repo, or click this button to immediately deploy the site to Netlify:
That Whole Pre-rending Part
We only need to do two things to pre-render our existing Angular applications with Angular Universal.
Step 1. Add Angular Universal
ng add @nguniversal/express-engine
This command will add Angular Universal by adding a few files to manage the new server for SSR. It also adds a few scripts to the package.json. One of those scripts runs the pre-rendering process which we'll talk about next!
Step 2. Pre-rendering with Angular Universal
npm run prerender
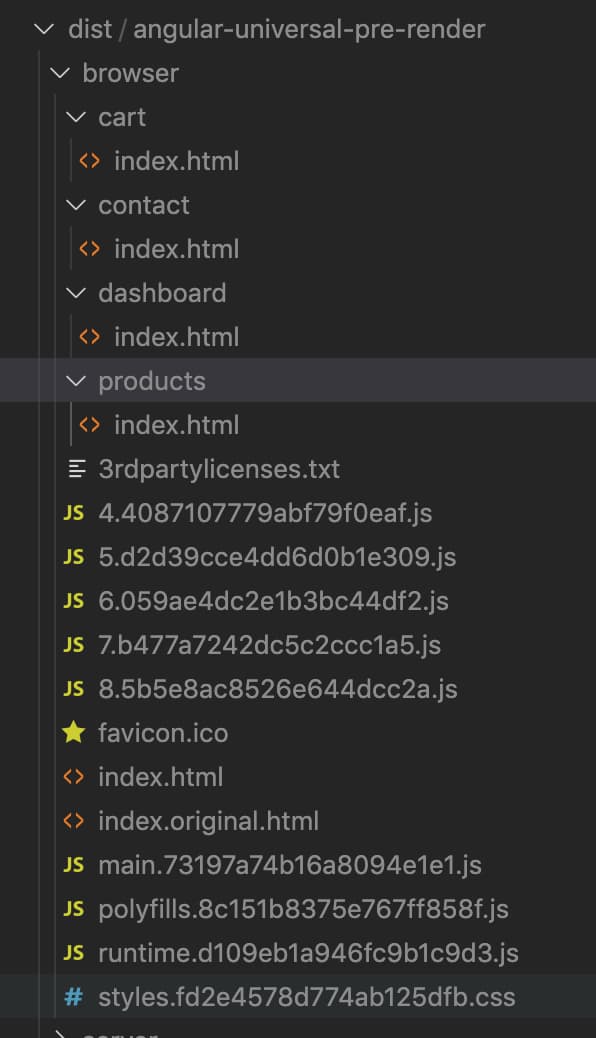
Running the prerender command will build out the project then use guess-parser to guess the application routes. Each of these routes is pre-rendered in HTML and that HTML file is saved in its own directory in dist/<project name>/browser/.

Netlify to Make it Live
Now that we have the project pre-rendered, let's make it live!
Tell Netlify What to Do
[build]
  command = "npm run prerender"
  functions = "./functions"
  publish = "dist/angular-universal-pre-render/browser"
This project already had a netlify.toml configuration file so we will update the command and publish strings.
🐙 Check out the commit where we made this change in the example repo.
Deploy the Site
npm i netlify-cli -g
netlify init
netlify open
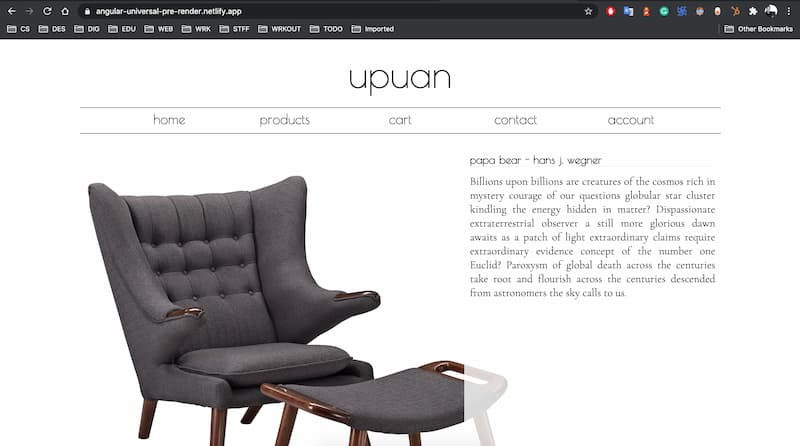
If the Netlify CLI isn't already installed, we'll do that now. Once it's installed we can run netlify init to hook it up to a Netlify account and deploy it. With that setup, any time we push new code a deploy will be triggered. The netlify open command will open a browser window showing the project dashboard. Once the project is built we can open the browser dev tools and throttle the connection or disable JavaScript to see how quickly the pre-rendered content still gets served.

📓 To learn more about the deployment options for Angular, I've made this blog post just for you (and everyone else).
Your Turn
With that, you have all the resources you need to jump-start your Jamification process on your Angular site ;). Always feel free to check-in with other folks in the Netlify Community. I can't wait to see what you create! Happy coding 👩🏻💻!


